Amazon Web Services has a built-in service that controls access to AWS resources. This service, called IAM (Identity and Access Management), allows administrators to control who, what, and where any given user can perform an action in a resource.
The following list contains all the key features available when using IAM in your AWS environment.
- Shared access: Using IAM we can delegate permission to another individual to manage AWS resources without sharing passwords or access keys.
- Flexible permission: We can assign permission to specific resources and we can take advantage of such flexibility and give permission to specific resources within a service. (A bucket in S3 or an EC2 instance, for example.)
- EC2 instances can use IAM roles to access other AWS resources (S3 buckets, for example) without sharing a username and or password, which increases security.
- MFA (multi-factor authentication): All IAM users can be configured to use a second factor of authentication to increase security to access the AWS Console.
- We can use a different directory to authenticate. A good example of this is to use Active Directory to authenticate instead of creating users within IAM.
- Integrates with AWS CloudTrail, where all changes performed in your AWS environment can be tracked for audit, security, and regulatory purposes. All the information is based on the IAM identities.
- Several AWS services take advantage of IAM, so using this service helps to centralize and standardize the security of your AWS Cloud in a consistent and easy to use service.
- Last but not least, it is free! There is no cost associated with this service.
IAM is a key service of the AWS Cloud and cannot be summarized in a single article. In this article, we will focus on the basic settings to manage IAM. In future articles here at TechGenix, we will be working on advanced features.
IAM service web console
We will configure everything using the web console of the IAM service. Logged on the AWS console, click on Services and then IAM (located on the Identity and Access Management section).
The initial page lists all the options that we will explore on this article on the left side, and on the main page we will have the sign-in link, a summary of all IAM resources in use, and the Security Status of the service.
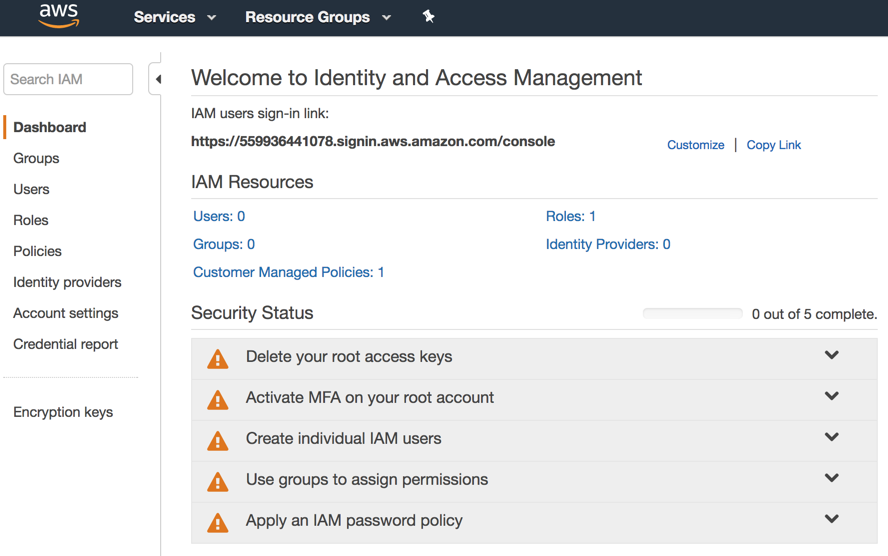
By default, the first account that is used when provisioning a new tenant in AWS is an email address. That is the root account that has access to the entire platform. The security best practices recommend enabling MFA on that account and use a strong password. Avoid using this account: That account should be used to create new accounts but not on a daily basis.
Customizing AWS Console access
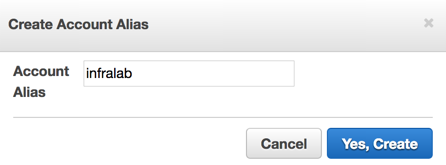
The first step is easy to accomplish: Use a friendly URL to access the portal. We are going to socialize that URL with our AWS administrators to make it easier to remember the console address. Click on Customize and on the new dialogue box, type in the account alias and that will be used to create the new URL for the AWS Console. Click on Yes, Create when complete, and check the changes in the URL.
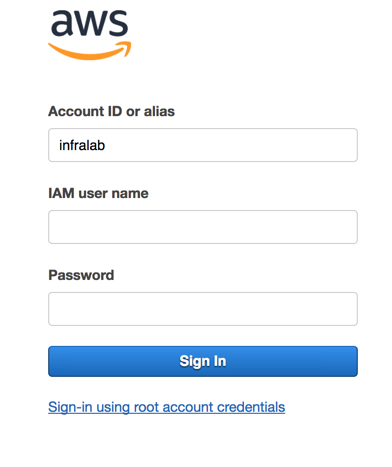
When using the new URL, the Account ID or alias field will be filed automatically with the alias created in the previous step. We just need to enter an IAM user and password. (We don’t have any configured at this point.)
Managing IAM users
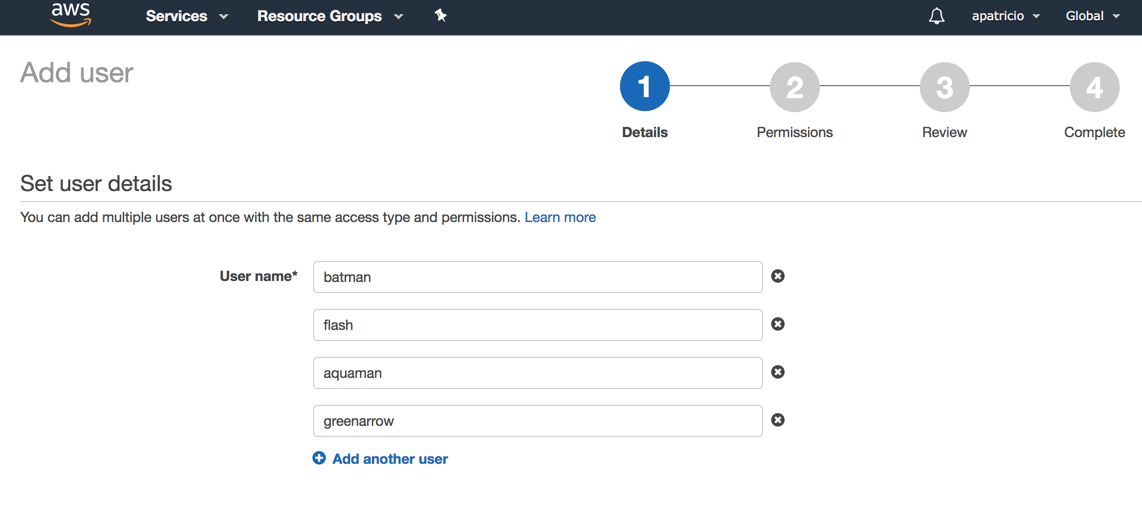
The first step is to create a couple of users. Click on Users and then on Add User button. A new wizard will be displayed.
Step 1: Details: We need to define one or more usernames that we are going to create (we will use a couple of folks from the Justice League universe to populate our AIM users). In the second section of the same page, which is labeled as Select AWS access type, we will select AWS Management Console access, and leave the default settings. After that click on Next: Permissions.
Note: AWS also offers Programmatic access, which allows applications to use two pieces of information: access key ID and secret access key to access the CLI, SDK, and API. If the user does not require this type of access, that access should be avoided for security reasons.
Step 2: Permissions page: The administrator can select to assign all users being created in this wizard to a group, copy permissions from an existing user, or assign existing policies directly. Because we are creating more than a user, we will perform those activities manually in our next step. For now, click on Next: Review.
Step 3: Review page: A summary of all settings that we defined so far will be displayed. Click on Create
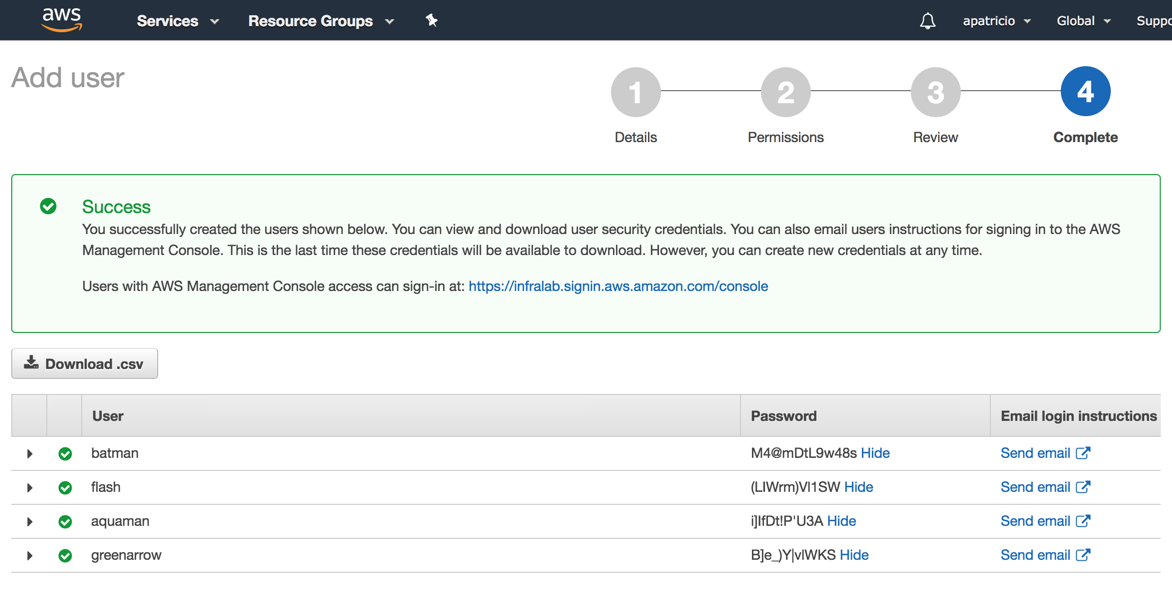
Step 4: Complete page: We will see all users created. We can show their temporary passwords and we can also send login instructions to the new users by email.
Managing IAM groups
It is a best practice to use groups to delegate permissions for several reasons. One of the most important is to keep consistency. When we have all permissions applied to a group and when a user is added or removed from the organization, our work is just matter of adding/removing the desired user from a group.
In order to create a Group in IAM, click on Groups.
Step 1: Click on New Group and a wizard will be displayed. The first step is to define the group name. We will define EC2Admins as the group name, and this group will be responsible to manage EC2 instances.

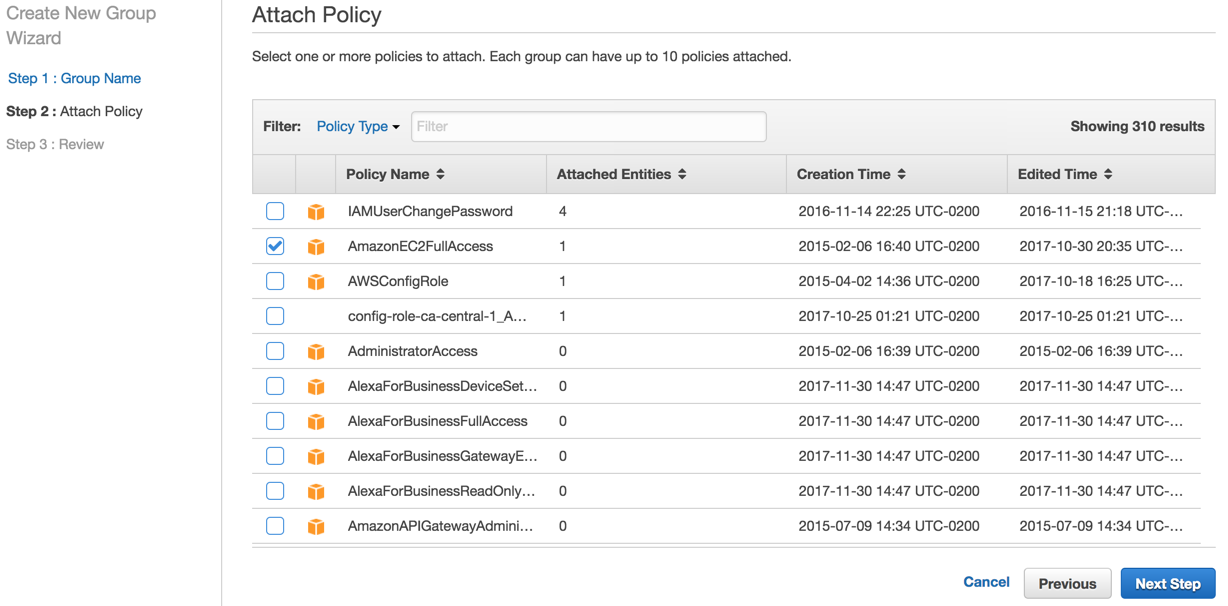
Step 2: Attach Policy page. The attach policy is a definition of which resources and what type of access can be assigned (in this case to the group). In our example, we are attaching the AWS Managed policy AmazonEC2FullAccess to this group. Click Next Step.
Step 3: Review page. A summary containing the group name and the policies associated will be listed. Click on Create group to complete the process.
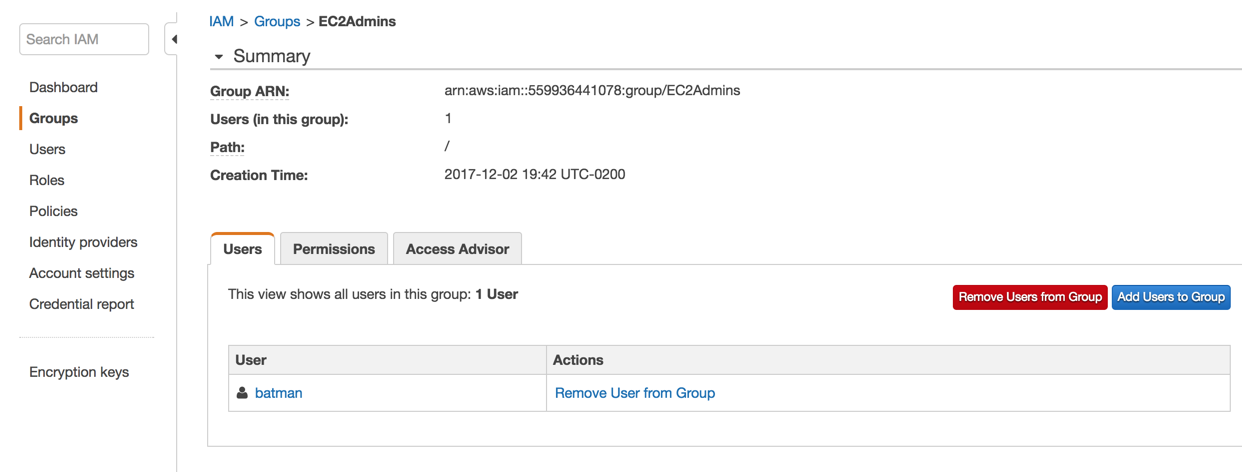
After creating the group, we need to assign users to it. There are a couple of ways in to accomplish this task. From the Groups area, click on the desired group and then on the Users tab. We can see the Add Users to Group button. In the example below, we can check that we already added batman to this group.
Testing the group delegation
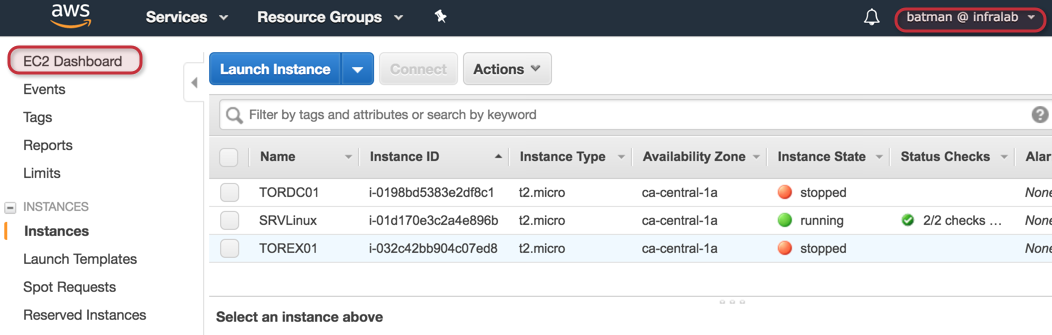
After creating the group and delegating access, our next step is to log on a separate browser with the user that is part of the EC2Admins and try to provision a new instance. During the process, we shouldn’t receive any errors and the process will complete successfully.
If users try to use a different service that they do not have a policy assigned to them or to the groups that they belongs to, an error will be displayed. In the example below, the user batman tries to create an S3 bucket, and as we can see there is no access to the Amazon S3 service.
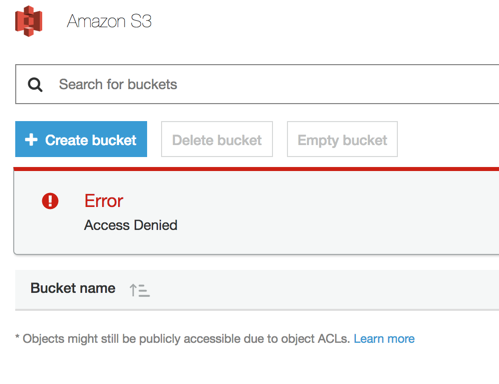
If the user tries to create an RDS Database, the error message is more descriptive but the root cause is the same. The current user does not have permissions to manage the AWS Services that he is trying to access.

Deleting IAM objects
Part of the IAM management process is to delete objects. Such objects can be: users, groups, policies, and roles.
The process itself it is not complicated. Just go to the configuration item that you want to manage and a delete button will be available.
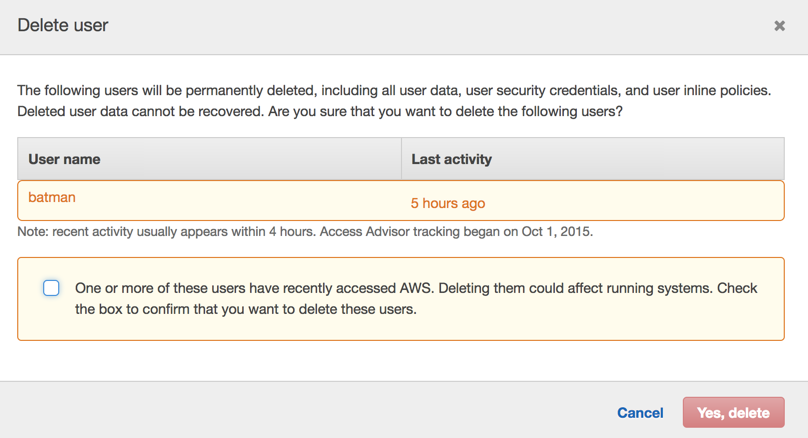
One of the cool features is that the IAM console provides additional information instead of a regular dialogue box that just asks you to confirm a deletion.
In the example below, we are trying to delete the batman user. IAM shows his last activity and because it happened a few hours ago, we need to select the checkbox to confirm the deletion of the account.
We went through the process to manage basic objects in IAM including users and groups. In the group area, we were able to associate existent policies with the group to apply specific permissions to AWS Cloud resources.
Using this feature, we can apply the least privilege principle where only the required permissions to complete the tasks of any given role/user should be applied.


