If you guys remember, we discussed, in these two previous articles (Part 1, Part 2), how to customize the Microsoft RDP Client to prevent users from disconnecting their sessions and also how to enhance the overall terminal services security by changing the client version number (a four digit number) so we can filter the RDP connections to our terminal servers by using the 2X SecureRDP freeware.
All great stuff for sure. But after writing these articles I started getting emails from angry readers telling me how great the first two articles were but… They were saying it was great to have a new customized RDP Client the way they wanted but how would you deploy such beast to all their machines? How do you repackage the files into a new MSI (so they could use something like Group Policy to redeploy the client)? So here you have the answers to all your prayers! I will show you in this article how to do it and more than that – how to do it for FREE.
Introduction
As any other ‘hands-on’ article, I must clarify a couple things. Any kind of tool that creates MSIs is evil and more than that using Group Policy to deploy such evilness is even more evil. The same rules/great ideas apply here. With these you may cause some damage depending where and how you use them. So I am NOT responsible for your actions, acts of God, weather, etc. Do it at your OWN risk.
And ALWAYS have a backup ready!
The tools
For this article we will need something that can create MSI packages for the two files we modified in the previous articles. After much research from my end, I found the perfect tool for the job: Advanced Installer from Caphyon (Fig.1). It can do that and a lot more. The freeware will do all we need, but in case you need something fancier consider their paid versions (cheap by the way). You can download it at:
http://www.advancedinstaller.com/download.html
Fig.1

Simply download it at the link provided and install it on your machine.
Doing some work…
So now you have got the Advanced Installer installed, let’s start doing some real work. The first thing you need to do is very simple. Create on your desktop a folder called something like MyRDPClient and copy the two files we created in the previous articles (MSTSC.EXE and MSTSCAX.DLL). After you get this done launch the Advanced Installer application and on the first screen select ‘Simple’. (Fig.2):
Fig.2
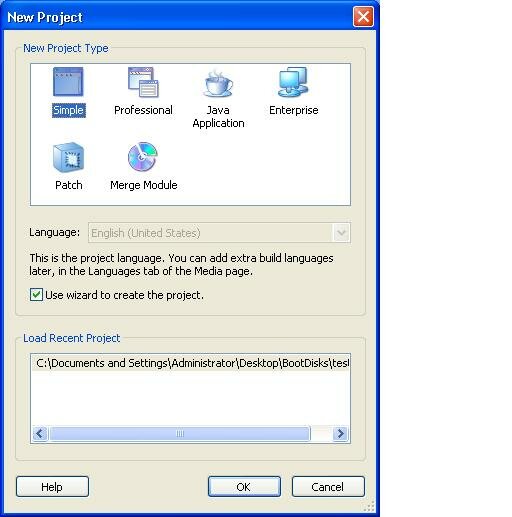
Once you click ‘OK’ the Simple Project Wizard should come up on the screen (Fig.3).
Fig.3

Click ‘Next’. You can now enter the name of your application and your company name. Note the product name and company name will be used for the directory name where the application will be installed. The default directory is ‘Program Files\Your Company\Your Application’ so if you choose something like MyRDPClient and MyCompany the final directory will be ‘Program Files\MyCompany\MyRDPClient’. You can choose whatever you want here. Once you figure out what name you want and the company you work for (that is the hard part, is not it?) simply click ‘Next’.
Fig.4

Now select the folder where the files we need are located and click ‘Next’ (Fig.5).
Fig.5

Advanced Installer will find the only executable we have in the folder and will list as the executable we want to have shortcuts created. Simply choose if you want the shortcuts in the start menu or desktop (or both if you want) and click ‘Next’ (Fig.6).
Fig.6

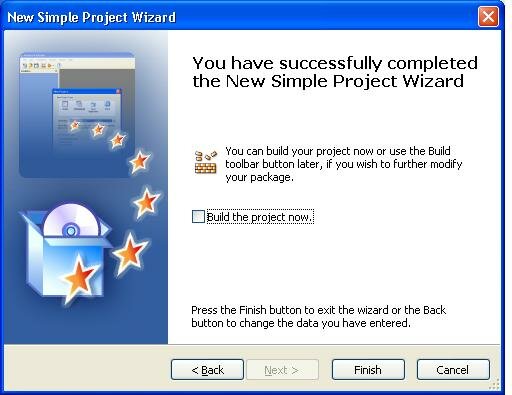
We are almost done! The final Wizard screen will show up and will ask you if you want to build the project. Do NOT build the project yet! Simply uncheck the ‘Build the project now’ checkbox and click ‘Finish’ (Fig.7).
Fig.7
Final touches
Ok now we are almost there. The first thing we need to get is an icon for our Customized RDP Client. In this example I used the original icon but you can use any icon you want.
On the left hand side you will see under ‘Project Settings’ a link for ‘Project Details’. Click on it and you should see a screen with information about your project like Product Name, Company Name and so on. Under ‘Add/Remove (Control Panel)’ you should see ‘Icon file’ and a small browse button (the little square with dots) (Fig.8).
Fig.8

After you click on the browse button, go to the folder where you copied the two files we need and select the MSTSC.EXE executable. Click ‘Open’ (Fig.9).
Fig.9

After you select the right executable (note you could select an icon file or anything listed on the screen for ‘Files of type’) you should see the first icon available for the application (some executables may have many different icons in use) (Fig.10).
Fig.10

We are almost there. Still on the left hand side, under ‘Project Definition’ click on ‘Files and Folders’. You will see a folder called ‘Application Shortcut Folder’ and on the right side the MSTSC.EXE file (shortcut). Click on it and press ‘F2’ to rename it. Type something like ‘MyOwnRDPClient’ or anything else you want (Fig.11).
Fig.11

That is all. Now simply click on the menu ‘Project’ and click ‘Build’ (Fig.12).
Fig.12

It will ask you where you want to save it. After you choose a folder you should see a screen with the status of the building process (Fig.13). You are all set! If you check on the target directory you selected you should see your brand new, customized MSI ready for deployment!
Fig.13

I am not going to describe here how you deploy MSIs using Group Policies or any other tool you have in place at your company. You should know that by now right?
Conclusion
Before you complainers start to email me saying I should have written something explaining how to deploy MSIs with Active Directory, I would recommend you downloading and reading one of the product manuals for the 2X ApplicationServer or the 2X LoadBalancer products (as I wrote the first versions of these). Simply jump to the section that explains how to deploy their clients using Group Policies and you will have a step-by-step guide on how to deploy this customized RDP Client.
And for the nice people out there, I hope this article (with the previous two I wrote) wraps up everything you need to get your own RDP Client done and more than that, out there on all your company PCs!
