Welcome to Part 5 of our series on Building an Exchange 2019 Server from scratch. (For the first four parts of this series, check the links at the end of this article.) To make your Exchange 2019 server highly available, you need to get your database availability group (DAG) up and running. Database availability groups can be created using the Exchange admin center (EAC) or the Exchange Management Shell (EMS). If you are like me and prefer to work in PowerShell, this should help you.
You cannot mix and match Exchange versions in a DAG. So, you cannot add an Exchange 2013 server to your Exchange 2019 DAG.
When a mailbox server is added to a database availability group, failover clustering is installed on the server. One thing to take note of here and what I have noticed with Windows Server 2019 is that it will install Failover Cluster Manager and then give you an error that it’s not installed. This is because the server needs a reboot, and you can view this by opening Server Manager and seeing the feature installed with a pending restart info field.
Once you reboot and try again, the member server will be added successfully.
Manage your Exchange 2019 Server DAG with PowerShell
If you are not planning to use a witness server but rather let Exchange 2019 use an administrative access point, you do not need to stage the cluster name object (CNO) in Active Directory or assign an IP address. An important note here is that you need to manage the DAG with Windows PowerShell instead of Failover Cluster Manager.
Pre-creating the computer object in Active Directory is not hard to do. You first create the DAG name, for example, MBXDAG01, and then disable the object as once you create the DAG in Exchange, it will enable it.
You need to add the two servers and the Exchange trusted subsystem (if not there already) with full access to the object.
Below is a sample command you can use to create a database availability group with an IP address:
New-DatabaseAvailabilityGroup -Name MBXDAG01 -WitnessServer FileServer01 -DatabaseAvailabilityGroupIPAddresses 10.0.0.10
If you do not want to use an IP address, then you can run the command below:
New-DatabaseAvailabilityGroup -Name MBXDAG01 -WitnessServer FileServer01 -DatabaseAvailabilityGroupIPAddresses ([System.Net.IPAddress])::None
In the example below, you can see that we created a DAG using the second command and did not specify an IP address.
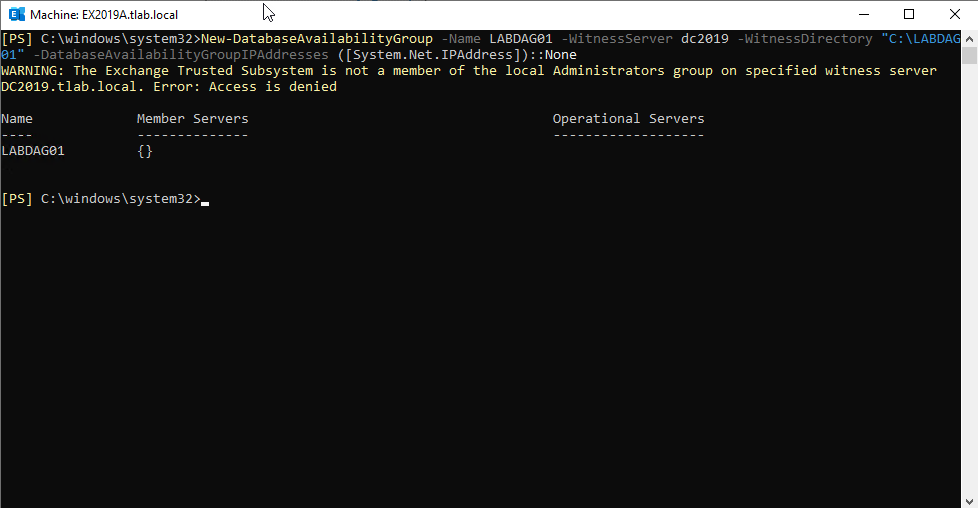
If you notice in the command we ran above, it gave an error. This is because we specified a domain controller as our witness server. As this is my lab, I had no other server to specify. If you now open the Exchange admin center and click on Servers and then on database availability groups, you will now see the new DAG object.
If you have a larger environment, Active Directory replication might take a bit longer than if you have a single server in a lab or in a small environment.
Add a member server to the Exchange 2019 Server DAG
We can now proceed and add a member server to the database availability group we created:
Add-DatabaseAvailabilityGroupServer -Identity LABDAG01 -MailboxServer EX2019A
As mentioned, the task to install Windows Failover Clustering on the server will start as you can see below:

We mentioned in the beginning that failover clustering requires a reboot, so don’t forget to do that, and then you can proceed.
You will notice the info changes where it forms the cluster. In this example, the windows changed quickly to grab all the screenshots:

In the above image, you will see it is now forming the cluster named “LABDAG01” on Server “EX2019A.” The next step after that is a message to say that server “EX2019A” is being added to the DAG, as shown below:

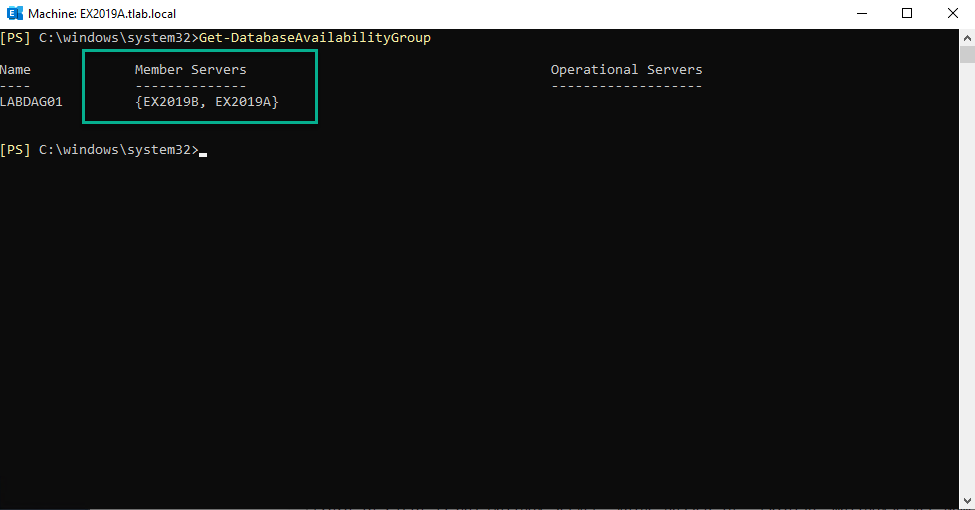
Once the server is added to the database availability group, you can then run the following command to see the members of the DAG:
Get-DatabaseAvailabilityGroup
Once you have typed in the command, press enter, and you should see an output similar to the one below:

As you can see above, the first server has successfully been added to the database availability group. You can now proceed and add more servers to the group and follow the same principle as above.
If you open Exchange admin center and you log in and then click on Servers on the left and then Servers again, you will see your first server on the list. You will notice once it is selected that it shows you immediately what DAG the server is part of, as shown below:
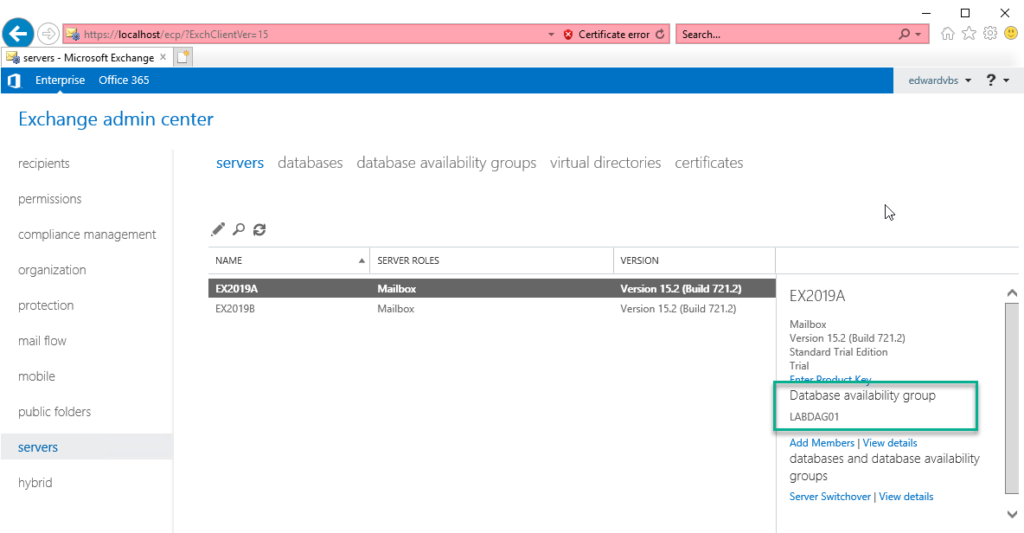
I want to bring to your attention is that the Server EX2019A above is the full version of Windows Server 2019, and the second server EX2019B is running the Core version of Windows Server 2019.
When you try to add EX2019B to the database availability group, you can see the steps in the log file it creates on the server:

The log shows that both servers listed have the same operating system version; both servers are running datacenter. The second server was added to the database availability group without an issue.
If you want to add a DAG and members using the Exchange admin center, you can do so by clicking Servers -> database availability groups and then clicking the + button. This will bring up a new window, as shown below:

You can see the values are the same as when you did it in the Exchange Management Shell, except here you specify 255.255.255.255 as the IP.
Once you click Save, it will create the object. If you now click the Manage DAG Membership button, you can then select the servers that should be part of the DAG and then click Save. You should see a window similar to the image below:

Done! Now, add copies to mailbox stores
Now that you have created your database availability group, you can add copies of your mailbox stores.
Featured image: Shutterstock


