In my previous article in this series of building an Exchange 2019 environment from scratch, we deployed our Windows Server 2019 domain controller. In this article, we are going to cover the prerequisites needed before you can attempt an Exchange 2019 installation. I am sure you all know how to join a machine to the domain, so I am not going to cover that part. You need to ensure, just like with Exchange 2019 on Windows Server 2019 Core or any other Exchange installation, that you have an account with domain, enterprise, and schema admin rights.
Exchange 2019 installation prerequisites
Here are the steps we will be covering:
- Download Exchange 2019 from Visual Studio (previously known as MSDN). This is not publicly available. You need to have a valid subscription, unlike Exchange 2016.
- Download UCMA Runtime 4.0 or use the setup file in the Exchange 2019 ISO.
- Download .NET 4.8.
- Download Visual C++ 2012.
- Download Visual C++ 2013.
Installations will be as follows:
- .NET 4.8.
- UCMA 4.0 runtime.
- Visual C++ 2012.
- Visual C++ 2013.
- Install the PowerShell Prerequisites or let the setup run with it.
- Install the RSAT tools from PowerShell or let setup run /PrepareAD.
The download for Exchange Server 2019 is about 6GB. I like to open the ISO and extract the setup to a folder and then run it. Every admin will have their own preference for running the install. The GUI installation of Exchange 2013, Exchange 2016, and Exchange 2019 is pretty much very similar. You have to accept the license terms and then go through the different windows and accept the defaults and then choose one of two roles, mailbox or edge, and then let the setup run.
We will be doing the unattended setup in the next article this series, so you can get familiar with running installs from the command line. I have already downloaded all the files so we can begin with the installation of .NET 4.8.
Note: For the .NET 4.8 setup, we did not run this install from the command line with the /q switch like with the installation on Windows Server 2019 Core.
Double-click on ndp48-x86-x64-allos-enu.exe.
Once the setup is run, it starts extracting the files.

Splash screen once it is done.
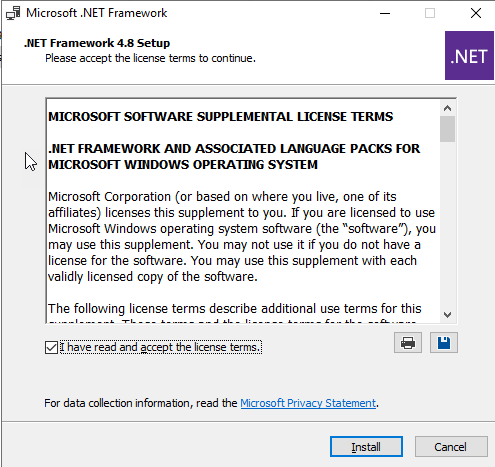
You need to accept the license terms before you can click the Install button.
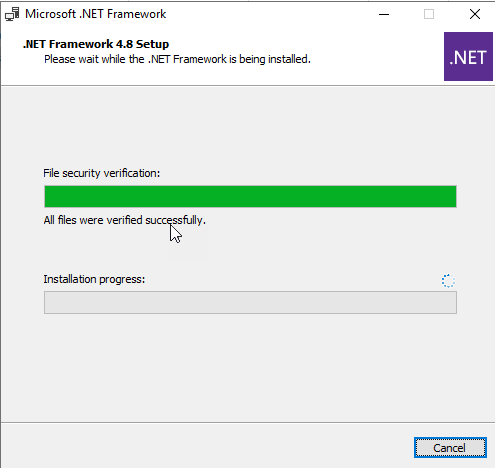
This is a progress screen of the install.
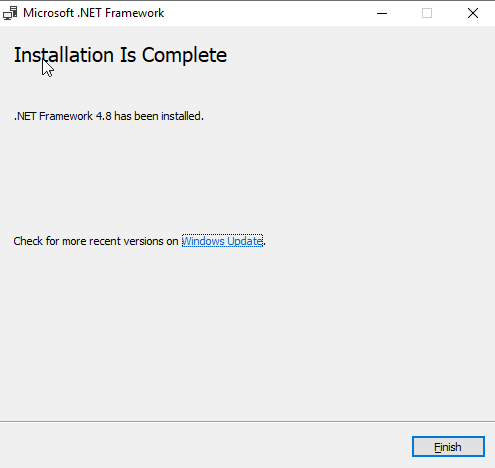
After a few minutes, the installation will complete. Click Finish. Once you have done that, you will be presented with the window below:
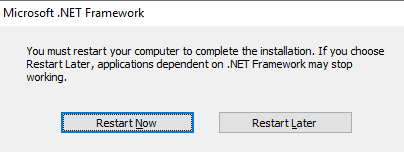
Finishing the setup
Click Restart Now to finish the setup.
Now we can start with the UCMA 4.0 runtime installation. Open up the ISO file and navigate to the UCMARedist folder, as shown below:

Double-click on Setup.
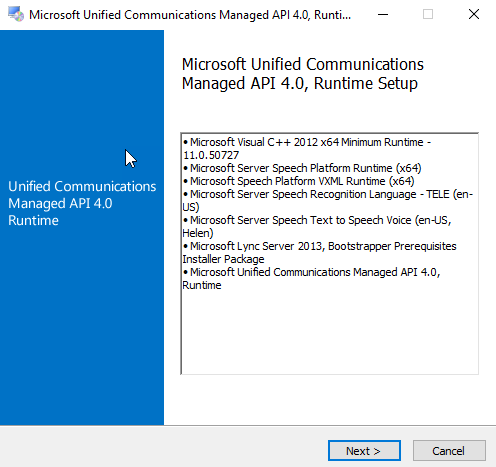
You will see a splash screen, and then the first window will appear. Click Next.

As with the previous installation, you need to accept the license terms for the Install button to become enabled. Click on Install.

Progress window is shown above.
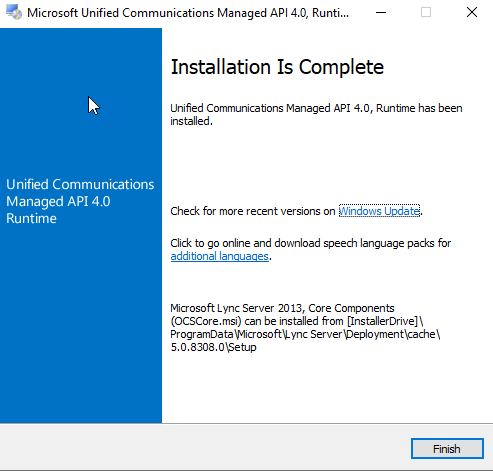
Click the Finish button. You can reboot now, or you can proceed with the Visual C++ installations, as shown below.
Visual C++ 2012 Install:
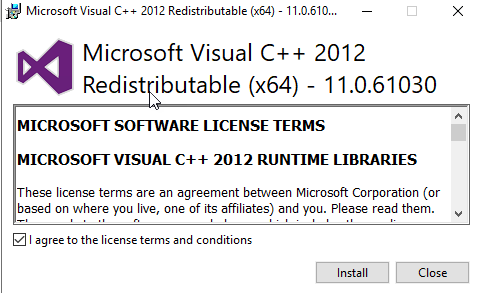
Accept the license terms and then click the install button.

Once complete, you will see the window above. Click Close.
Now proceed to launch Visual C++ 2013 Installation file.
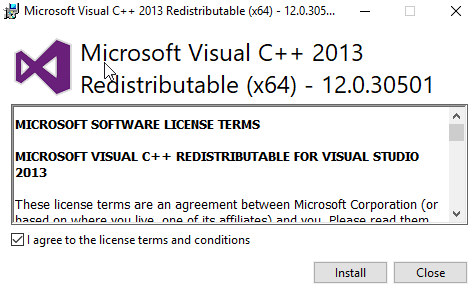
Same as Visual C++ 2012: Accept the license terms and then click Install.

Click close and reboot your server.
Exchange 2019 installation prerequisites: PowerShell
Now we can move onto the prerequisites we need to run from PowerShell. In my Windows Server 2019 Core/Exchange 2019 Article, we let the setup do this for us, but in this one, we will run it so you can see firsthand what it looks like. Here is the long list of the roles and features we need to install:
- Install-WindowsFeature Web-WebServer
- Web-Common-Http
- Web-Default-Doc
- Web-Dir-Browsing
- Web-Http-Errors
- Web-Static-Content
- Web-Http-Redirect
- Web-Health
- Web-Http-Logging
- Web-Log-Libraries
- Web-Request-Monitor
- Web-Http-Tracing
- Web-Performance
- Web-Stat-Compression
- Web-Dyn-Compression
- Web-Security
- Web-Filtering
- Web-Basic-Auth
- Web-Client-Auth
- Web-Digest-Auth
- Web-Windows-Auth
- Web-App-Dev
- Web-Net-Ext45
- Web-Asp-Net45
- Web-ISAPI-Ext
- Web-ISAPI-Filter
- Web-Mgmt-Tools
- Web-Mgmt-Compat
- Web-Metabase
- Web-WMI
- Web-Mgmt-Service
- NET-Framework-45-ASPNET
- NET-WCF-HTTP-Activation45
- NET-WCF-MSMQ-Activation45
- NET-WCF-Pipe-Activation45
- NET-WCF-TCP-Activation45
- Server-Media-Foundation
- MSMQ-Services
- MSMQ-Server
- RSAT-Feature-Tools
- RSAT-Clustering
- RSAT-Clustering-PowerShell
- RSAT-Clustering-CmdInterface
- RPC-over-HTTP-Proxy
- WAS-Process-Model
- WAS-Config-APIs
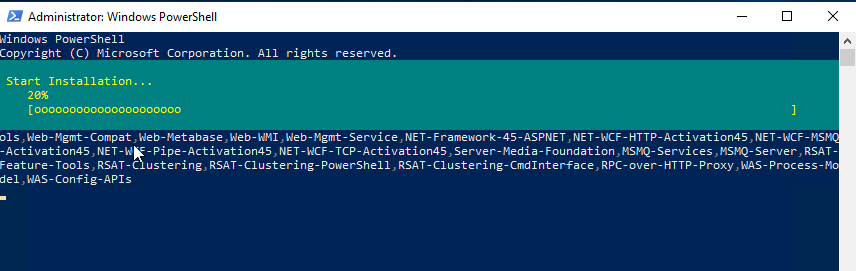
This is the progress window of the installation from PowerShell.
And below, we now have the completion screen:
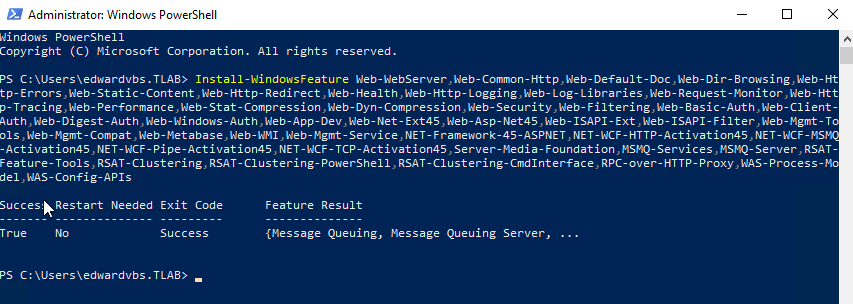
As shown above, you can see that it was a success. It says no restart required, but I reboot afterward before running the installation of Exchange 2019.
Before heading over and running the unattended installation, start with Windows updates. As this is not Windows Server 2019 Core, there will be a few more updates to install, and you might need to do a few reboots to be up-to-date with Windows patches.
Installation of Windows updates can take 30 minutes to a few hours. I have had servers that are monsters take that long, and it just stays there, saying it’s applying updates. You have to wait till it’s done. Do not attempt to reboot the server to try and speed it up as you might end up with a broken operating system.
We are not going to cover the RSAT-Tools feature as we ran the full PowerShell prerequisites. If you are old school and prefer running the commands /PrepareAD and /PrepareSchema from a domain controller as I do, then you need to ensure that your domain controller has the following installed:
- .NET 4.8
- Visual C++ 2012
Note you need to either mount the ISO or extract it to a folder and run the setup command with those 2x switches above. Once you have done this, depending on how large your environment is, replication can take anything from a few minutes to a few hours, and each environment is different from the next. I normally run the above commands a day before the installation to give the environment enough time to settle down.
Coming up next
In the next part of our Exchange 2019 series, we will look at the unattended installation setup.
Featured image: Shutterstock


