While the year saw a huge move to software-as-a-service platforms like Microsoft 365, many companies were holding on to their on-premises Exchange servers. And because of the pandemic, some were trying to do it with fewer admins. This tutorial from February by our Exchange expert Edward van Biljon takes a deep look into a sometimes confusing problem — Exchange receive connectors and how to configure them correctly. As the pandemic hit hard in the spring, it was a big help for some IT pros familiar with Exchange 2010 but who were called back into action to administer Exchange 2013, 2016, or 2019. For them, especially, this was a 20 Best of 2020 article if ever there was one.
As an Exchange admin managing different versions of Exchange, you may have first noticed that on Exchange 2010 you had two receive connectors. They were:
- Client [ServerName]
- Default [ServerName]

We not going to deep dive into each option. Instead, here is a high-level overview: On the “client” you can specify your EHLO name and on the “default” you can select the option for the anonymous relay so you could receive email from the Internet. This was not so complicated, was it?
But Exchange 2013 came along and you got more than just two receive connectors. Now you had five per server and this started confusing admins a bit. Which one do I configure for anonymous email as I cannot receive email from the Internet?
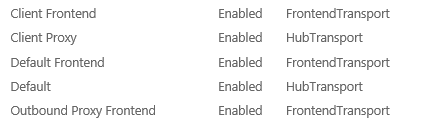
As you can see, you still have the client frontend and default but you have client proxy, default frontend, and outbound proxy. Exchange 2016 and Exchange 2019 have the same setup.
Breaking mail flow
Now what admins ended up doing is fiddling with the default frontend and adding/removing IPs, and this, in turn, breaks mail flow on Exchange 2013, Exchange 2016, and Exchange 2019. Microsoft advises that you need to leave the default frontend connector alone and if you want to add anything, create a new receive connector and modify it.
If you want applications to be able to relay within your organization, create a new receive connector as per the instructions below and configure it to allow printers or applications that need to use no authentication to be able to send email. Adding in the IP addresses of these printers/applications will allow them to relay anonymously to Exchange to send mail. You don’t want to open up the relay to the Internet as then hackers will hijack your connection and eventually you will get blacklisted for spam.
Create a custom receive connector
OK, so let’s go and create a custom receive connector. In the Exchange Admin Center (EAC), click on Mail Flow on the left and then click on Receive Connectors on the top right-hand side. This will bring up all servers in the environment. Click the drop-down menu to select the hub server you would like to create the connector on. Once you have done that, now click on the + button to create a connector. You should see a window as per below:
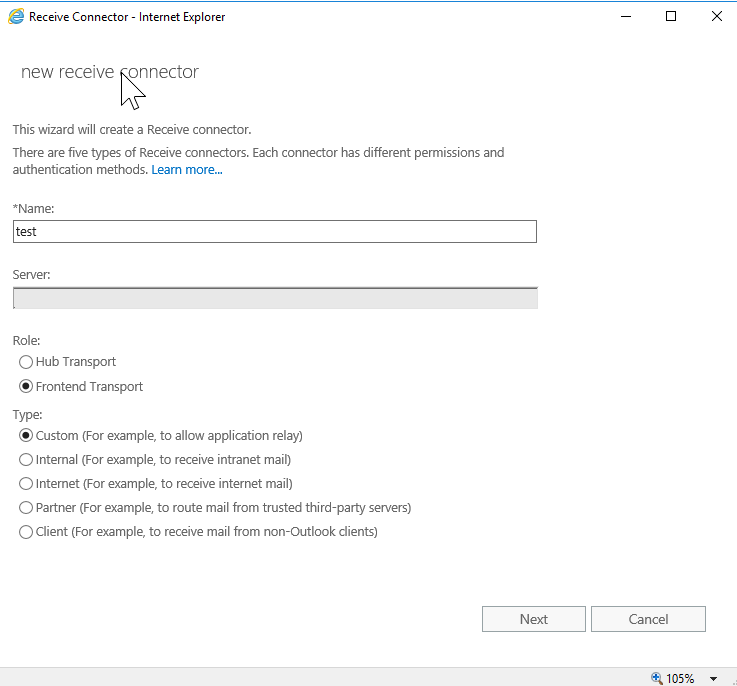
Select Frontend Transport as your role as you are not creating a hub transport receive connector. Once done, click the next button, which will bring you to the bindings section:

As you can see above, by default it allows all IPv4 addresses on port 25. Click next to continue.
Once you reach the next page, it will be for the Remote Network Settings. By default, it allows everything (0.0.0.0-255.255.255.255) that we want to change.

Now click the – button to remove this entire range. You will see the bar go red, not to worry.
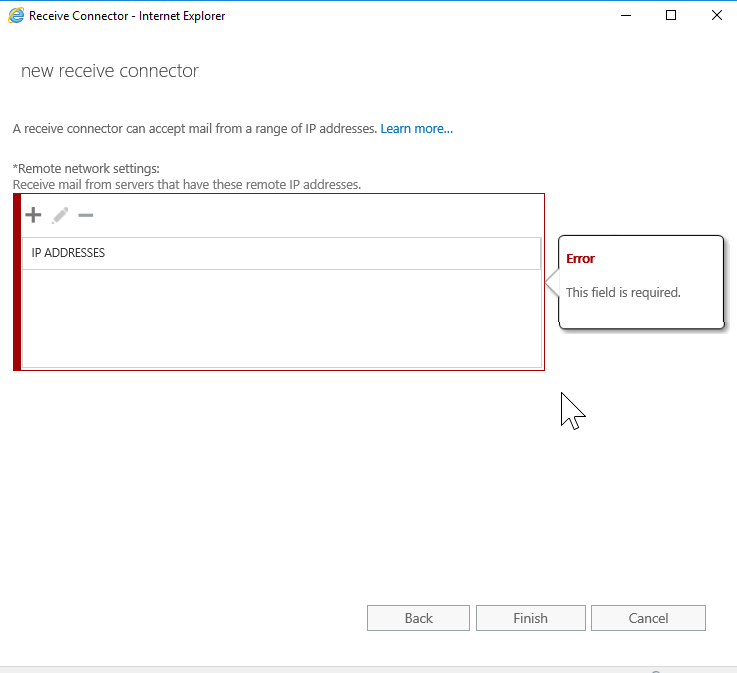
Click the + button to add in the IP address. In this example, it was for an internal application:
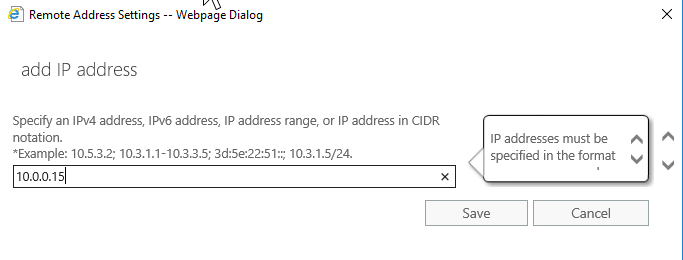
Click the Save button now. When you are taken back to the previous screen you will notice it does not have 0.0.0.0-255.255.255.255, it now has the IP (10.0.0.15) that you added in the previous step in the list now:

Now you can click Finish and your new connector will be on the list under that server. Your application should work now without getting a relay error.
If you wanted to allow mail from the Internet, you can go to the default frontend [ServerName], click the pencil button or double click the receive connector and then click on the security tab on the left to see the Permissions Groups:

I have highlighted Anonymous Users as it is not enabled by default. Select the checkbox and then click the Save button. Once you are finished editing your connectors, head over to services.msc so you can recycle the Frontend Transport Service:

Once complete, check your mail flow.
If this is a brand-new forest with a brand-new Exchange server, you will also need to configure your send connector with the information provided by your ISP and you need to advise them to allow your Exchange Server IPs only to send/receive mail. Remember, your applications will send internally but you don’t want them to send externally as it needs to go through the correct send/receive connector to the Internet and vice versa.
List of connectors
Back to the list of connectors. We have the following additional connectors and we will touch base on them quickly:
- Client proxy [ServerName]
- Default [ServerName]
- Outbound proxy frontend [ServerName]
Client proxy [ServerName]: This is a hub transport service. It receives email from the frontend services sent on port 465 and it sends it to the mailbox transport service.
Default [ServerName]: This is also a hub transport service that will accept mail from the frontend transport service on port 2525 and it also sends it to the mailbox transport service.
Outbound proxy frontend [ServerName]: This connector receives outgoing emails on port 717 but only if the option “Proxy through Client Access Server” is selected.
As you can see, each one of these handles traffic on different ports. You should refrain from modifying them because it can cause issues with mail flow in your environment.
Featured image: Shutterstock


thank you!1
I am on Exchange 2010 and i’m very confusing because on the Default Receive Connector, Anonymous users is unchecked and all works fine.
So how we can explain that ?