When using Microsoft Azure, the cloud administrator always has several ways to deploy any given solution. We can take advantage of the Azure Portal, which is a great tool for deployment, it is easy to use, it has documentation all over the place, and hints to get the job done. It is my choice for small deployments and testing. A second option is using PowerShell and Azure CLI (Cross-Platform Command Line Interface), which gives us more flexibility than the Azure Portal because it exposes more options to be defined in any given resource. I usually take advantage of the PowerShell/Azure CLI when Azure Portal is not enough or I need to explore and flip some options around to get the expected results.
If for some reason I can’t get the results after trying Azure Portal, PowerShell, and Azure CLI, then, my friends, the situation calls for RestAPI — and that requires more developer skills than the previous options. The good thing is that Microsoft Azure has tons of examples that help a lot when performing your first steps using RestAPI.
When you are planning to create consistent and organized deployment, we are talking about ARM Templates that use a declarative syntax to provision resources in Microsoft Azure. The Azure Resource Manager (ARM) provides a single point to work with your solution, which may be composed of several resources (VMs, virtual network, key vault, OMS, you name it) and tasks to interact with ARM can be done through Azure PowerShell, Azure Portal, RestAPI, Azure CLI, and client SDKs.
In this article, we are going over the process that you can use to create your first ARM Template. There are several ways to do that and we will shed some light on the most common methods.
First ARM Template: Begin with Azure Quickstart
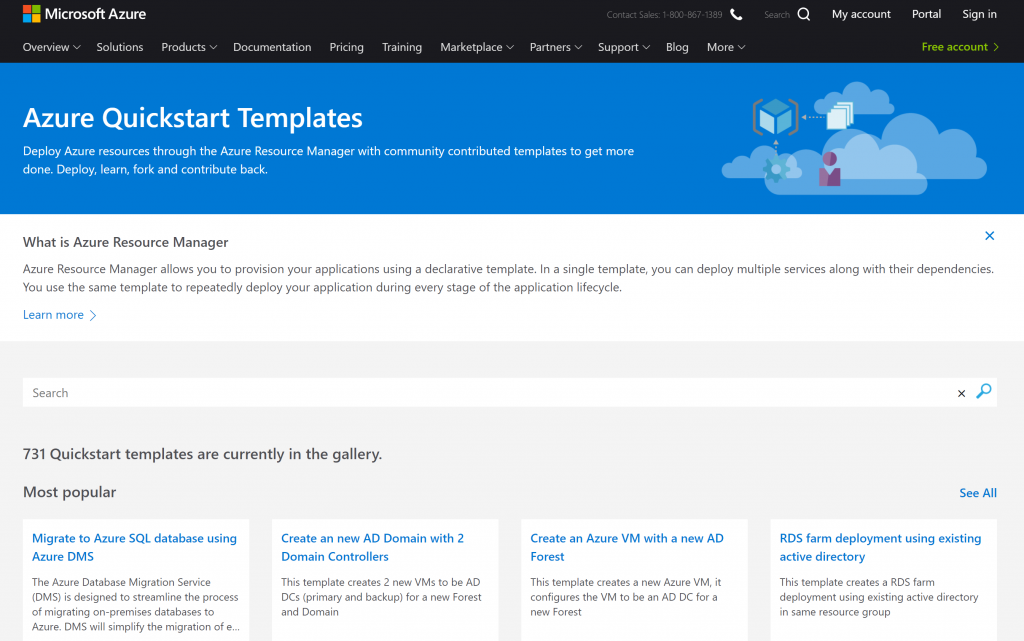
Microsoft Azure has a portal where we can search templates and it is most likely that your current requirement will find a good start from the existent templates, or perhaps, even the entire solution ready just waiting for you!
The first step is to go here and type in what we want to deploy to start exploring this portal.
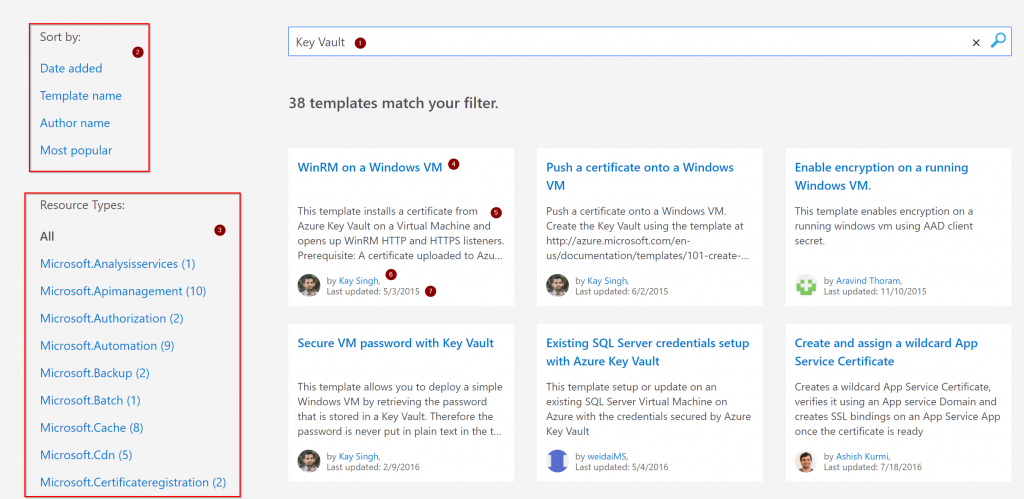
When typing any string (let’s say that we want something with key vault) the next page will provide all results based on the string entered (Item 1), from there we can sort by date added, template name, author name and most popular (Item 2). We can also narrow down our search by the resource type (network, compute and so forth) using Item 3.
In the actual results, we can check the template name, a brief description, author and the last update.
After selecting a template from the list, the next page has detailed information about the template including the parameters being used, how to use the template (Azure PowerShell or Azure CLI), and even more templates from the same author.
However, the most important ones when starting to work with templates are those two buttons, which are Deploy to Azure and Browse on GitHub.
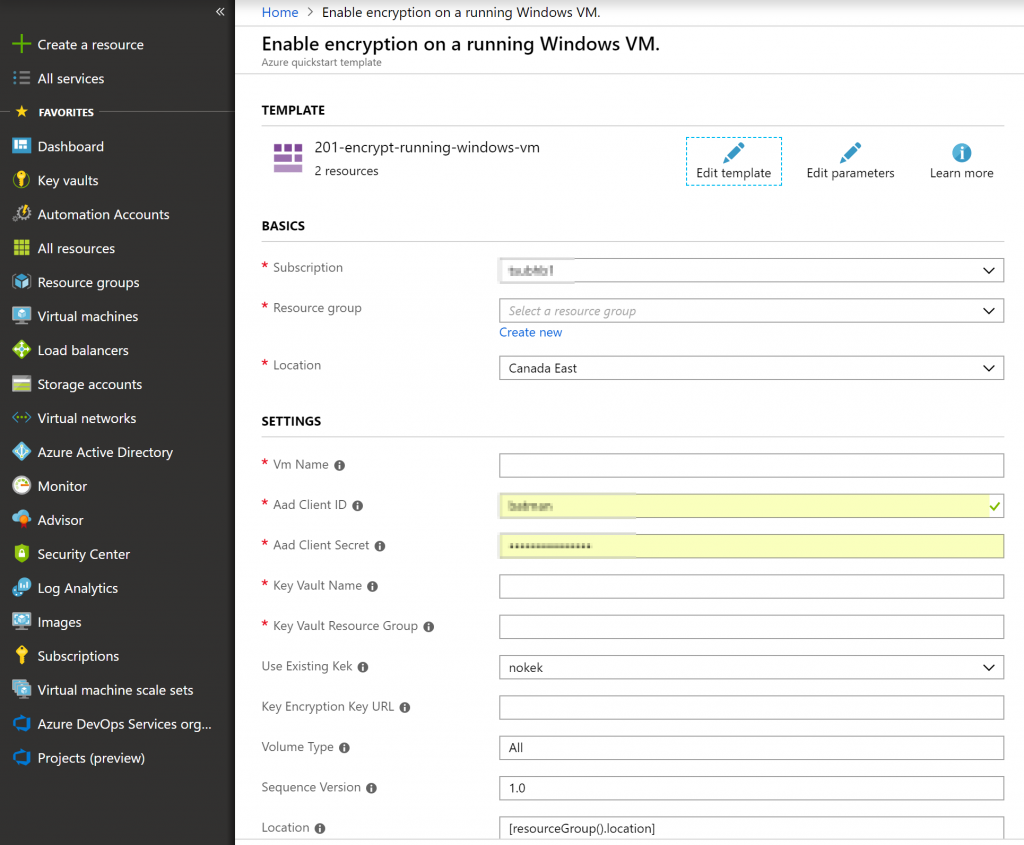
When using the Deploy to Azure button, it automatically creates a Deploy a Custom Template with the information from the template. Basically, we just need to add the values and start the deployment. The same blade has the option to explore the content of the template and parameter file as well.
The second button, which is Browse on GitHub, will redirect the user to a GitHub page where all the files used to create the template will be listed.
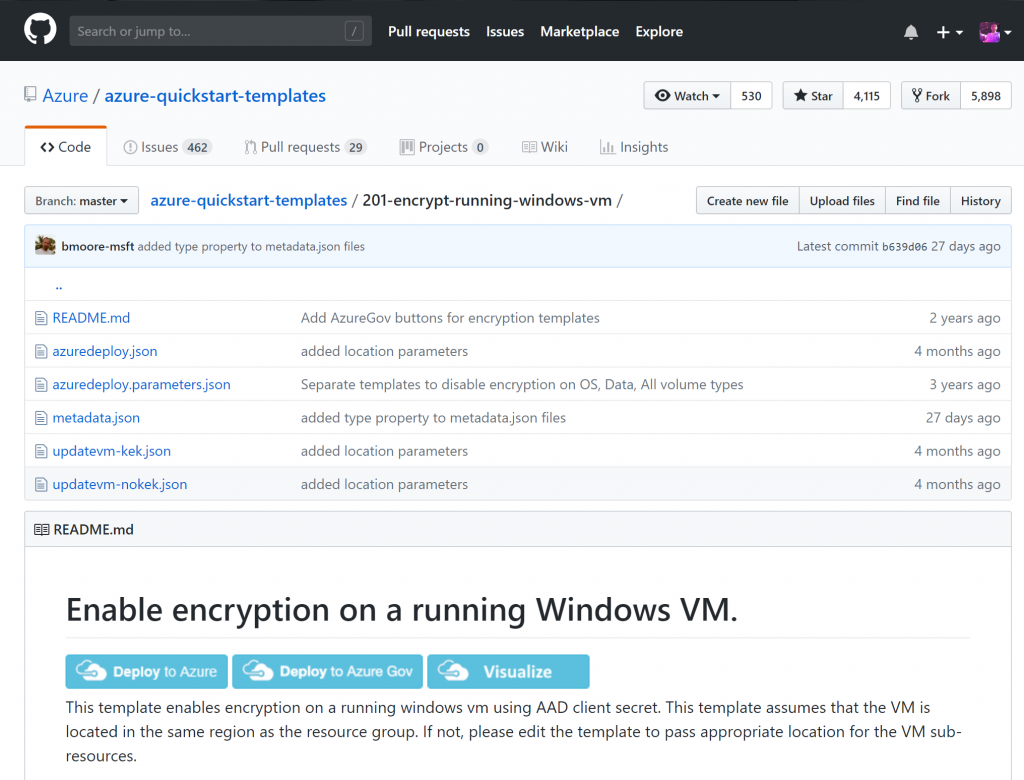
One of the coolest features when using GitHub is the Visualize, which gives a graphical representation of the ARM Template, and when you click on a specific resource the ARM Template code is displayed. Here is an example of the visualization in action. It is really useful when learning to code ARM templates.

Using Azure documentation
When looking at Microsoft documentation, especially when looking at resource types (storage, compute, etc.) we can always use this page https://docs.microsoft.com/en-us/azure/templates to see the existent resource types available.
When a resource type is selected — in our case, we are looking at Storage Accounts — the documentation page starts with a section with a JSON file that has all the necessary code to implement the resource that we are exploring. The page also contains information about every property that can be used in the given resource, and a link to our new best friend resource page Azure Quickstart Templates.

Using Azure Portal
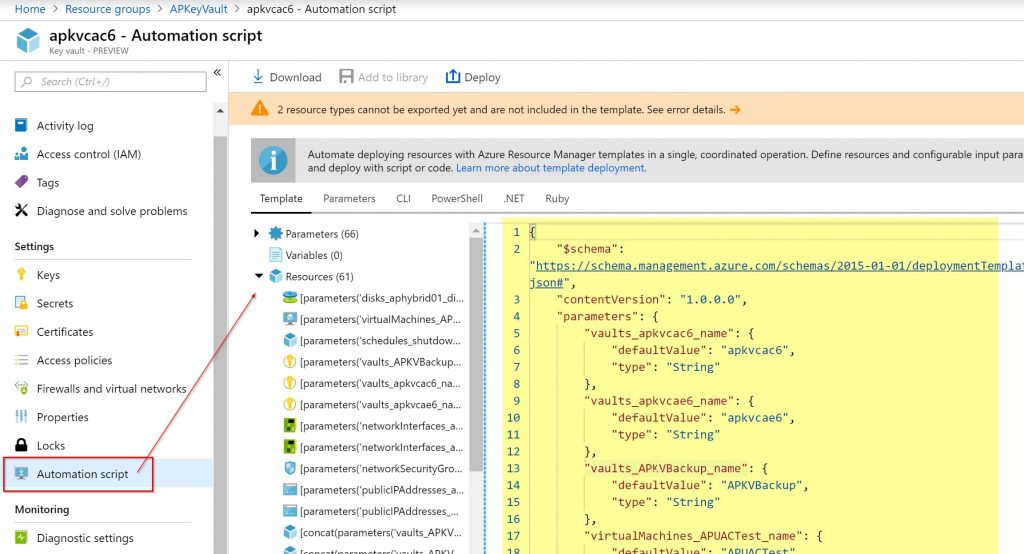
After provisioning all the resources in your resource group, we can get in the resource group properties, and click on Automation Script item. All items deployed will be listed and an ARM Template and parameters file will be provided.
It is not the cleanest ARM Template, and it will require some time to clean up, but you have the entire solution that you built ready to go. I strongly recommend looking at the parameters section and incorporate variables to reduce the size of that automatically generated script, but it is a good start and can be useful when comparing with another template.
Using Visual Studio
Within Microsoft tools we have several options to write our code to build our Azure solutions. You can check some of the tools available on VisualStudio.com page.
I will be honest, since I shifted gears in my career and stopped working with Visual Basic (well, if my memory serves me well, it was before the last ice age period) the Visual Studio IDE wasn’t my favorite. However, since I started working with Azure and ARM Templates, that has become my first option, hands down!
Working with ARM templates in Visual Studio is a breeze, and we can add resources using a wizard. Just right-click on resources and then Add New Resource, and if your resource is being listed you will have the code as a result when completing the wizard.
Keep in mind that it does not have all Azure resource types available, but it is a good start and has the all-time favorites for infrastructure folks, such as virtual network, compute, load balancer and so forth.

With your first ARM Template in the bag, you’re ready for the big time!
Featured image: Shutterstock


