In September 2016 Citrix, announced they acquired Norskale, a French company founded by well-known community contributor Pierre Marmignon. The Norskale product existed of two major components: User Environment Manager and a thin client solution (called Transformer). In this article, we are going to install this product, which is nowadays called Citrix Workspace Environment Management (WEM).
Citrix WEM infrastructure components
Currently, the product is licensed as a feature of Citrix XenDesktop and XenApp, if you are running Enterprise or Platinum with a Customer Success Services Select (formerly known as Software Maintenance) agreement only. So check in advance of you have this contract, otherwise you are not allowed to use Citrix Workspace Environment Management. The latest version is 4.3, which is currently still a separate download and installation. In other words, you need to install and configure this besides your Citrix XenApp/XenDesktop environment.
After downloading, you will find three separate installers. This brings us briefly to the architecture of Citrix WEM. Like most Citrix products, all settings and configurations are stored in a Microsoft SQL server. This database is attached to the Citrix WEM Broker. You can have (and should have) multiple brokers for load balancing and high availability. The configuration is made out of the Citrix WEM console. The machines where the actual user environment management will be applied on need to have the Citrix WEM Agent installed. For each component, you will find separate installers. There are also two additional directories. I will come back to those later on this article.
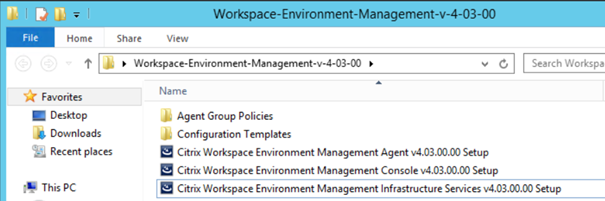
Citrix WEM broker installation
The first installation we will start is the Citrix WEM Broker. The installation file is called Citrix Workspace Environment Management Infrastructure Services setup. The installation will start by installing the prerequisites, which are not already available on the system.
After the prerequisites are installed, the actual installation of the Broker will be started by clicking the next button on the initial screen. As you will see the actual installation is pretty straightforward.

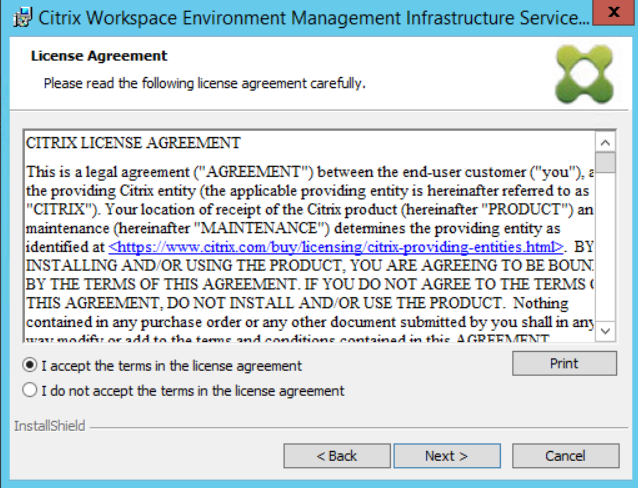
Next step is to accept the license agreement.
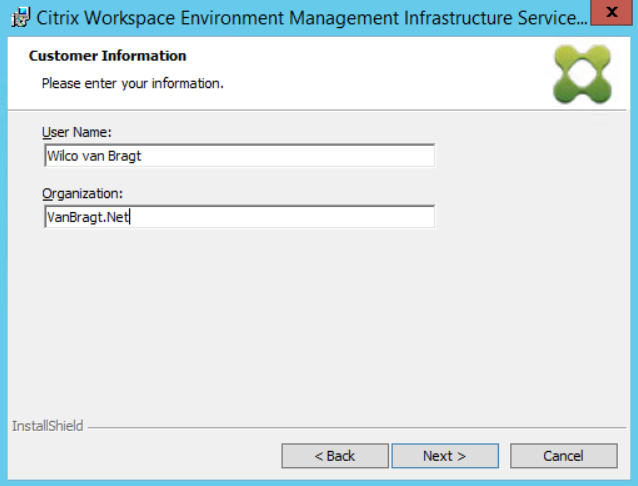
As the wizard is based on InstallShield, the next step is to provide optionally the user name and organization as shown below.
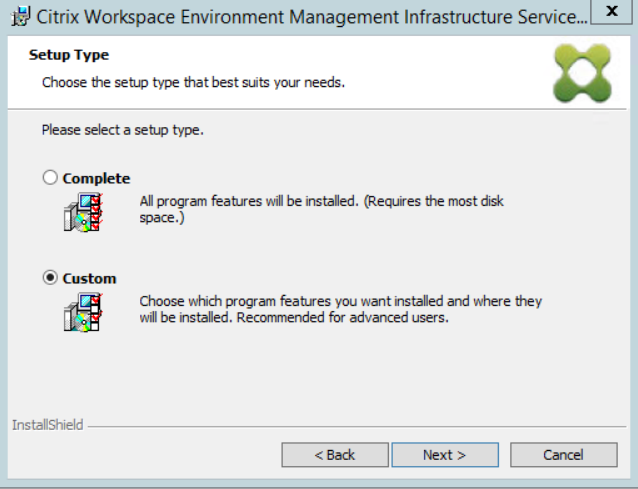
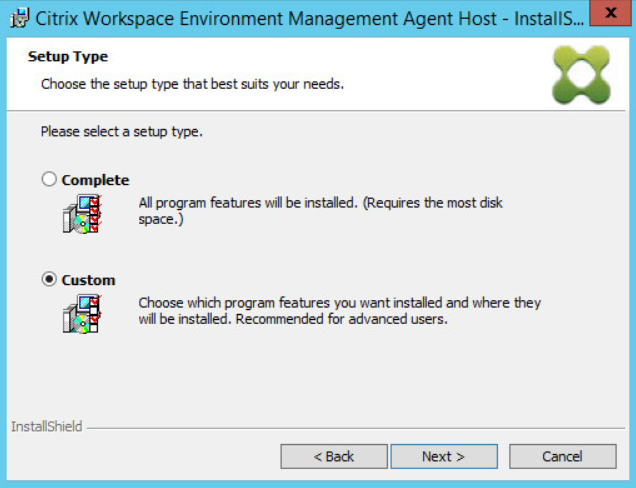
InstallShield offers the possibility to choose between a “complete” and “custom” setup. In the case of Citrix WEM, you have this option at all installers, but there are no separate options to select. So it is best that you choose the “complete” option.
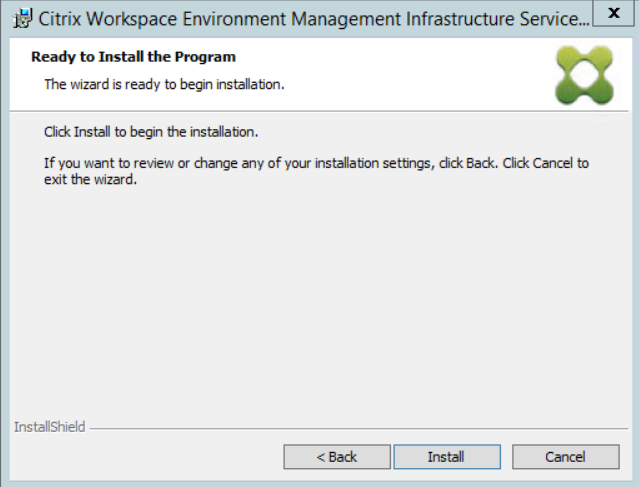
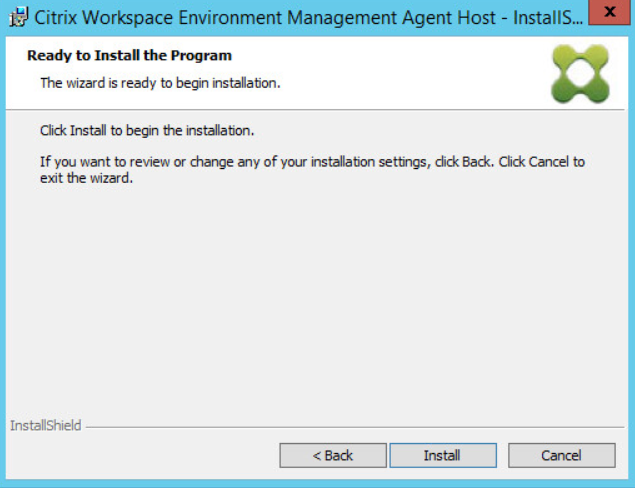
Next, the actual installation will be started by pressing the install button.
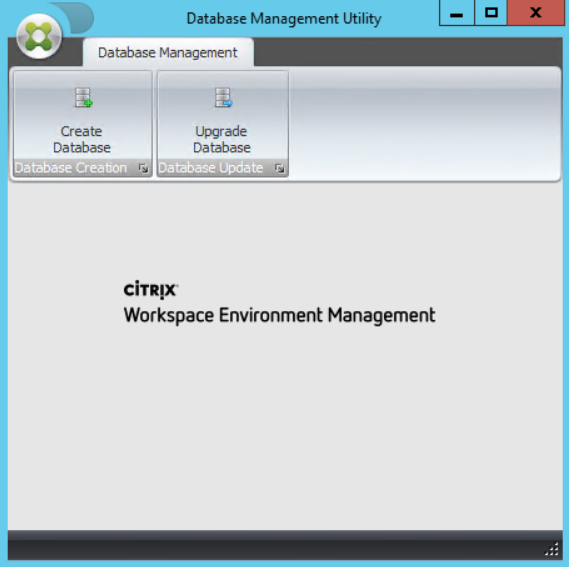
When the actual installation is done, a last window will be shown. In this window, you can check the box to automatically start the database management utility. On the first server, you will run this utility to start the creation of the database. If you install more Broker servers, you don’t have to start this utility on those servers.

As just mentioned, on the first server we need to create the database on the MS SQL server to store the configurations and settings of the product. Therefore we need to choose the option “create database” within the utility.
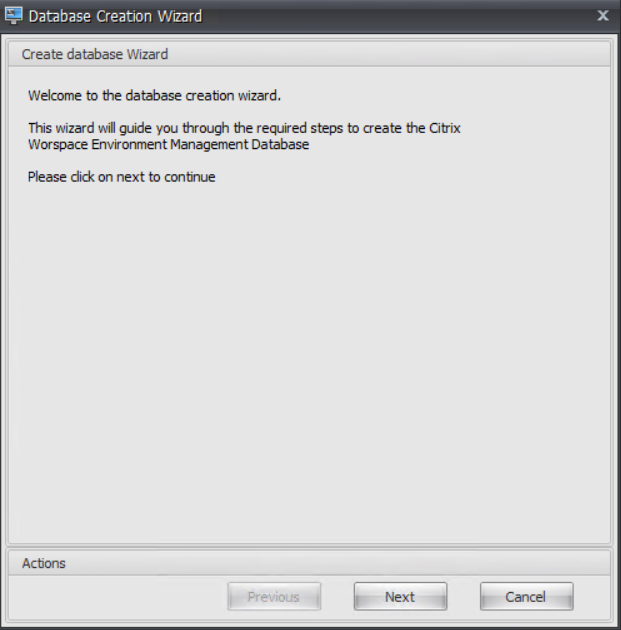
A new wizard will open to create the database. Continue via next within the initial screen.
Next, you will fill in the SQL server name and, optionally, the instance (dependent on your SQL infrastructure), followed by filling in a database name. When the database is filled in, the data file and log file properties are automatically generated. However, you need to check the path carefully if this is the actual situation on your SQL infrastructure.

Next, you need to define the account that has enough rights to create the database on the SQL server.

Next, you need to define the group that will be configured as the initial Citrix WEM administrator group. (You can change this later.)
You also need to configure the way the connection to the database should be set up. You can either configure a Windows account for accessing the database via the checkbox Use Windows Authentication for infrastructure database connection or use SQL authentication. You will have to use Windows Authentication if the SQL server does not allow SQL authentication or in the case you want to have the Broker service high availability. Unchecking the box will install the database with a SQL account with an automatically generated password. If you want to specify your own password, you need to check the box for Set vuemUser SQL user account password, followed by the desired password. This can also be necessary if the password requirements on the SQL are higher than the automatically generated password.

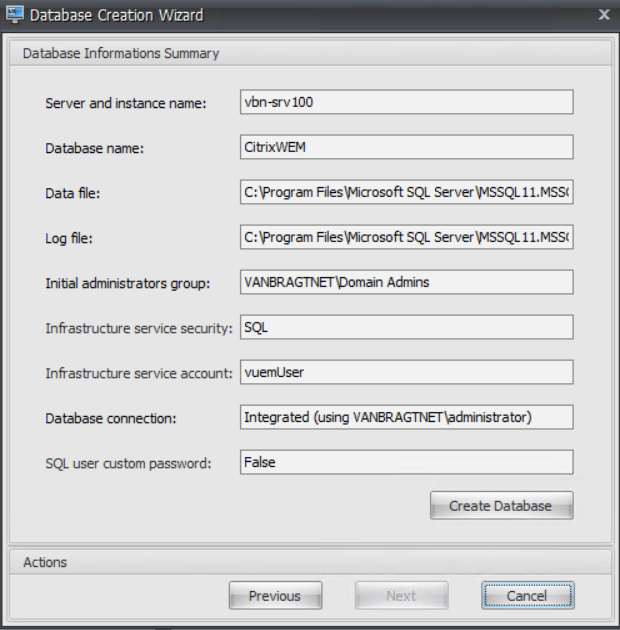
In the next screen, all configured parameters are shown again and you need to start the actual creation via Create Database. The GUI will show the result of the creation. More detailed information can be found in a specific logfile in the installation directory of the Citrix WEM Broker software for troubleshooting purposes. Close the wizard by using the Finish button.
After the database is created, it is time to create the Broker CONFIGURATION SERVICE. If you are installing the second Broker service, this is the first step after the actual installation. Therefore you need to go to the start menu and start the Broker Service Configuration shortcut.
With this part, you are actually connecting the Broker to the database. For the first time you need to fill in the database (and optionally, the instance, dependent on your SQL infrastructure) on the first tab Database settings. On the second tab you can configure the Citrix WEM communication port. I advise to leave those default if possible; only change them when there is conflict in your infrastructure.

The advanced settings tab needs to be changed if you are using Windows Authentication to the database (as just configured in the Database Creation wizard) or if you have used your own defined password for the SQL account of Citrix WEM. At the database tab, you can configure a retention for monitoring data, so the database will not grow that large. It is also a good idea to configure the Citrix License Server at the Licensing tab, otherwise you need to do this when you first start the console later on. Citrix WEM is using the standard Citrix Licensing servers, so specify your XenDesktop/XenApp license server.

Now that all settings are configured, it is time to store the configuration via the Save Configuration button. The corresponding service will be restarted and we are finished with the installation and configuration of the Citrix WEM Broker. Next step is to install the corresponding console.
Citrix WEM console installation
The installation of the console is started via the file Citrix Workspace Environment Management Console setup. The installation is actually just a next setup, which starts with the initial screen where you need to press next.

Accept the license agreement, then click next.

In the following screen, you can enter a username and organization if wanted, again followed by clicking next.

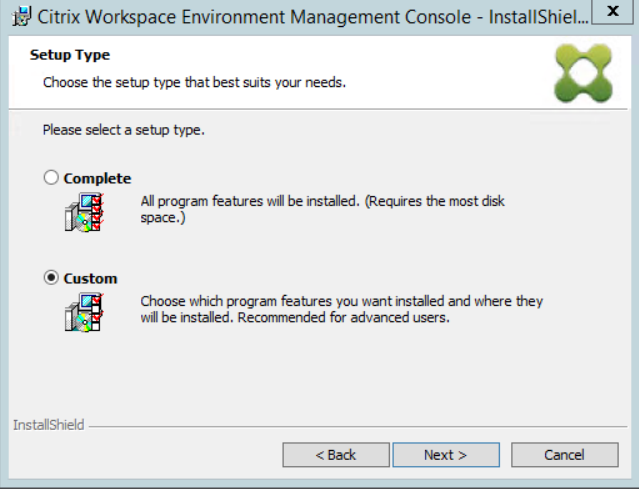
Just as with the Broker, there is a “complete” and “custom” option in the installation wizard, and just as with the Broker service, there are no components that can be selected and de-selected when you choose “custom.” In other words there is no reason for choosing the “custom” option.
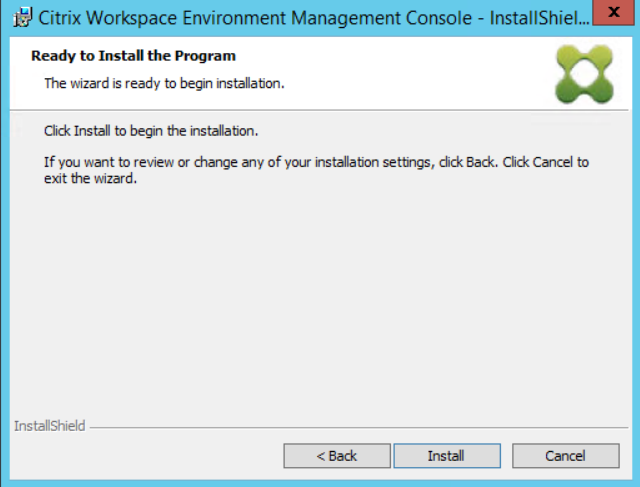
After choosing “complete,” the installation can be started via the Install button.
When the installation is finished, a last window is shown, where Finish needs to be chosen to end the installation wizard.

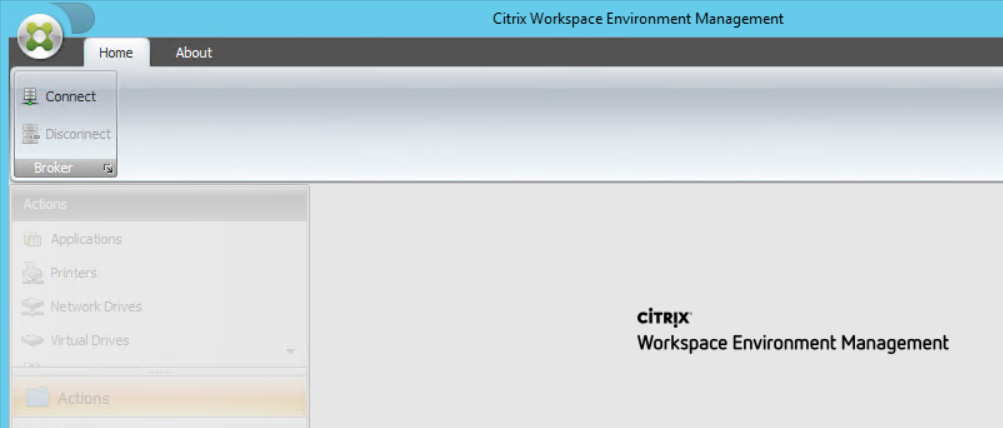
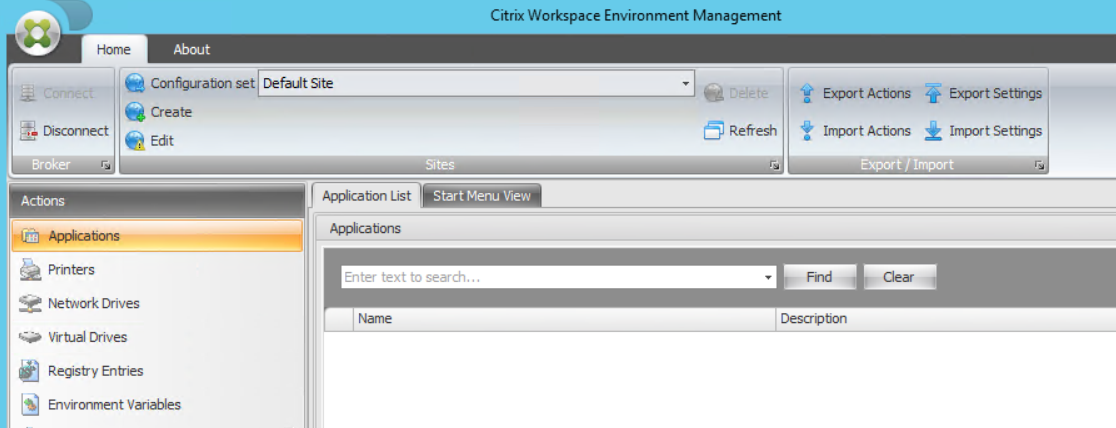
After the installation, we can start the console. At the initial startup of the console, you need to connect to your Broker server. This is done by using the Connect option within the Home ribbon.
After choosing connect, you need to provide the name of your Broker and the configured port (so remember the port numbers if you changed those during the broker service configuration). I used the default port 8284.

If you have filled in the information correctly and the Broker service is configured correctly (you will notice that at this stage at first), the console shows the interface for configuring and optimizing the User Environment, as shown below.
Citrix WEM agent installation
The third and last component is the agent, which needs to be installed on all VDIs and/or XenApp servers you would like to be managed via Workspace Environment Management. The installation is easy. Just as with the other installations, the prerequisites will be installed by the installer.

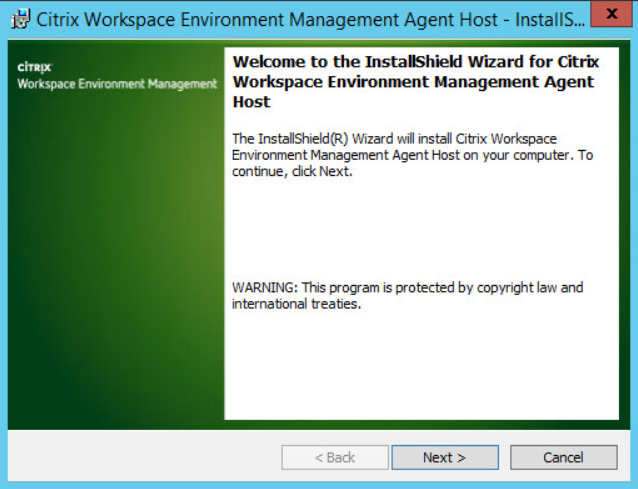
The installation will show the familiar initial screen, where the Next button should be chosen again.
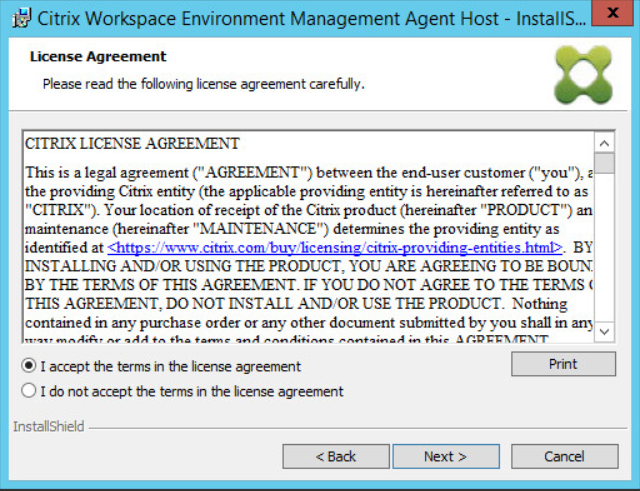
After this window, we need to accept another license agreement, followed by Next.
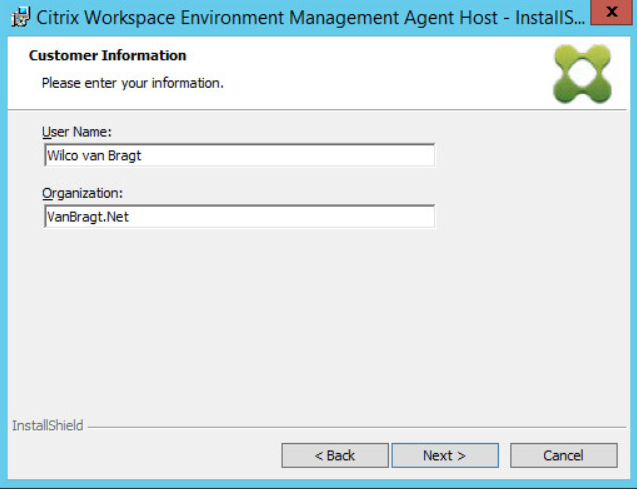
Here, you can fill in the user information.
Again, there is an option for a “complete” or “custom installation.” Just as with the others it does not make any difference which option you use.
Now, the installation can be started by using the Install button.
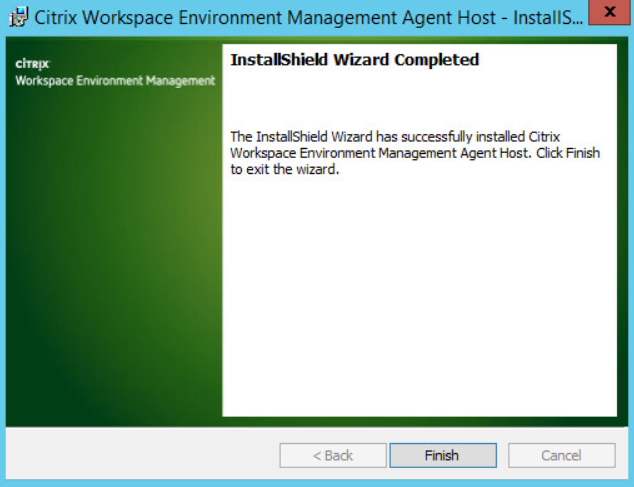
After the installation, the Wizard Complete is shown again.
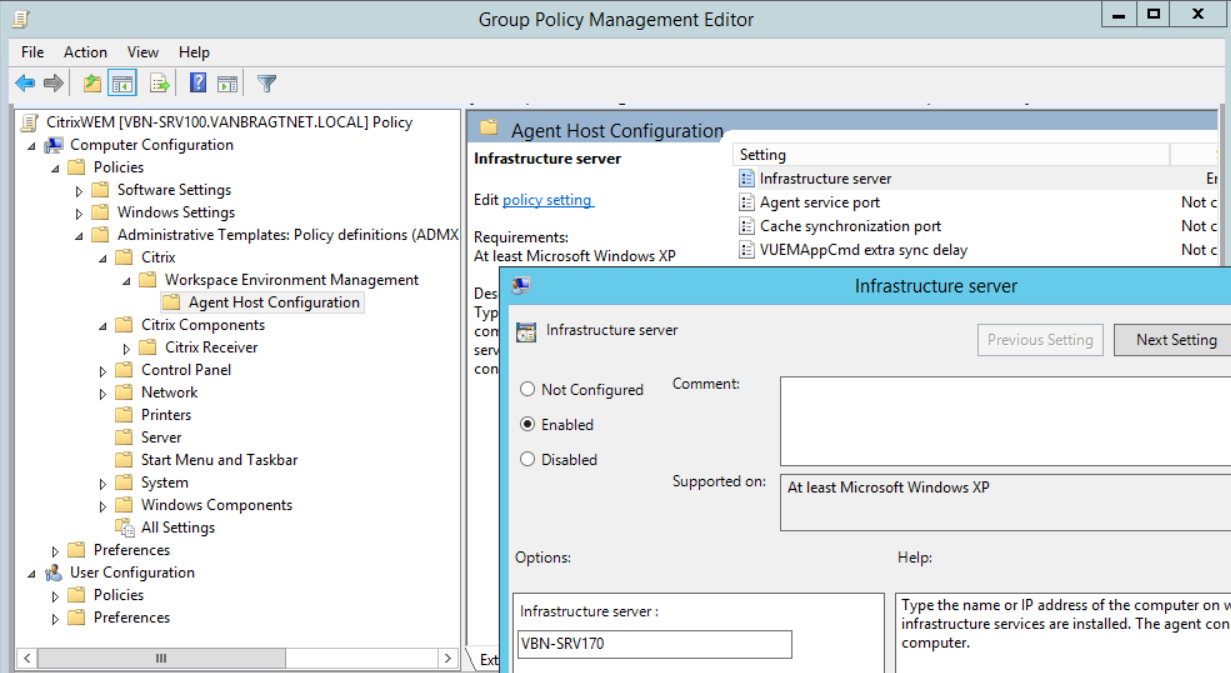
After the installation, we need to arrange that the agents will connect to the broker. The best method is using a GPO. Within the installation sources, the ADMX template is delivered. Copy the ADMX template to your PolicyDefinitions folder (dependent on your environment local on the AD controller or in the SYSVOL folder). Within the GPO, you need to configure at the least the setting Infrastructure server, where you will fill in the (server) name of the Broker service. If you have changed the agent port number, you should add this as well. Logically, you need to assign the GPO to the OU where the agents are located.
With the configuration of the GPO and assigning it to the corresponding OUs, we have finished the installation of the product. The next step would be setting up the user environment configuration within Citrix Workspace Environment Management, which will be described in a separate article later on this site.


