System Center Virtual Machine Manager is well known for its ability to create templates from which Windows virtual machines can be created. However, VMM is also capable of creating a Linux VM template. In this article, I will show you how it’s done.
The first thing that we will need to do is to set up a Linux VM from which the template can be created. For the purposes of this article, I will be using CentOS, which you can download here.
According to Microsoft, there are two main tasks that need to be completed in order to create a Linux VM template. First, you are going to need to install the Linux Integration Services onto the VM (if it is not already installed). Second, you will have to install the VMM guest agent. You can download the Linux Integration Services here.
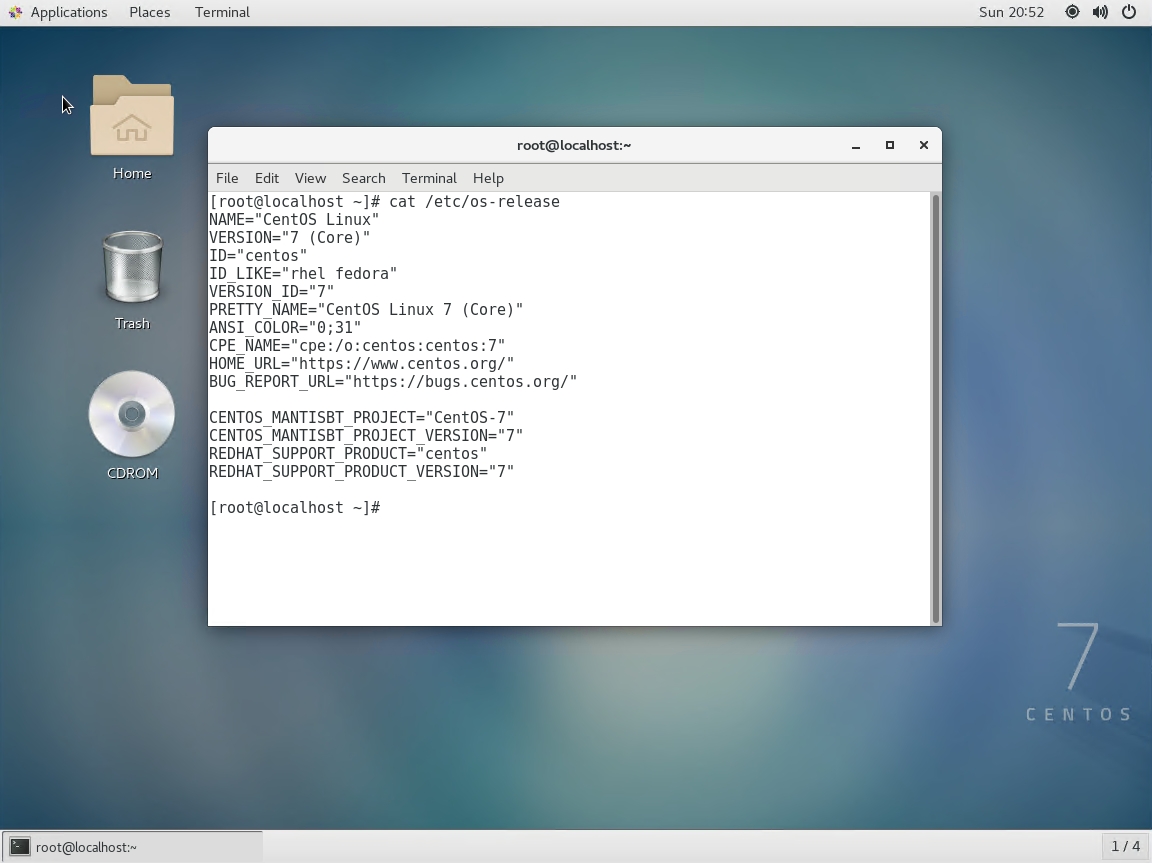
The Linux Integration Services are made available as an ISO file. You will need to mount this ISO file as a DVD drive. After doing so, log into the VM as root. Now, open the terminal and enter the following command:
cat /etc/os-release
This command will tell you the exact version of Linux that you are running. You will need to know the version because the Linux Integration Services are version specific. You can see what this looks like below.
Next, you will need to mount your Linux Integration Service DVD (which should already be attached to the VM). The commands below can be used to mount the DVD and verify its contents:
mount -t iso9660 /dev/cdrom /mnt/cdrom
cd /mnt/cdrom
ls
Here is what this should look like:

Now you will need to navigate to the folder that corresponds to your Linux version. In my case, I am running CentOS version 7.5, so I would use the RHEL75 folder. The command for accessing that folder is:
CD RHEL75
From there, the command used to install the Linux Integration Services is:
./install.sh
After a few minutes, you should see a confirmation message indicating that the Linux Integration Services have been installed, as shown below. You will now need to reboot your VM.

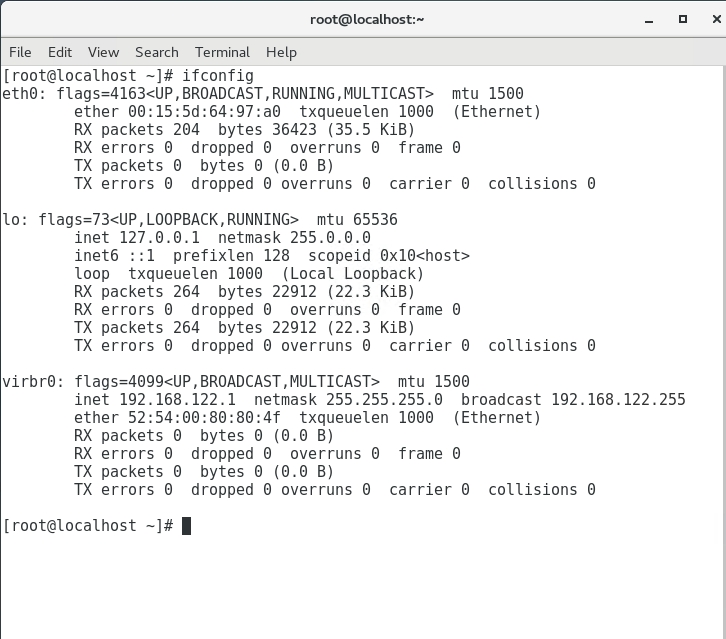
Although the integration services have been installed, the Linux VM template may lack network connectivity. The easiest way to check this is to open the terminal and enter the ifconfig command. Upon doing so, verify that eth0 exists, that it is listed as UP, and that the word inet appears, along with an IPv4 address. If you look at the figure below, you can see that the eth0 adapter exists within my VM, and is listed as being up, but lacks an IP address.
What if the IP address is missing?
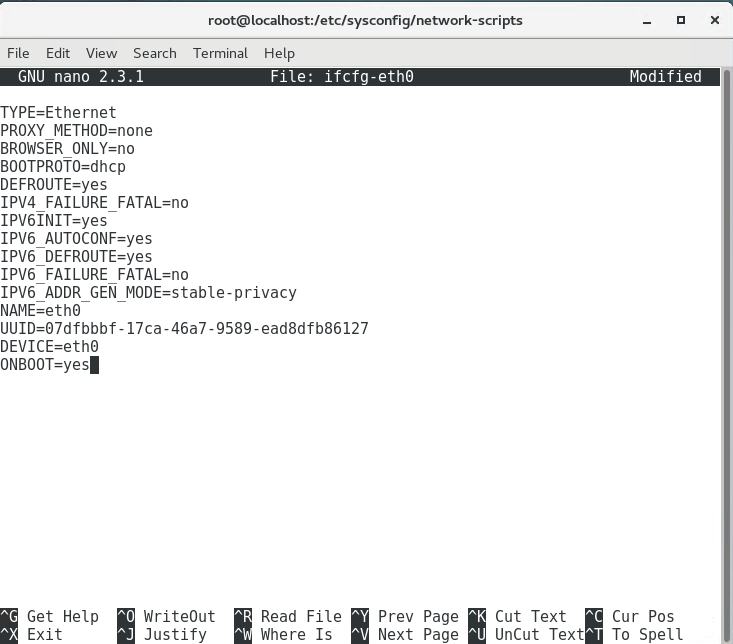
To fix the problem of a missing IP address, enter the following commands:
cd /etc/sysconfig/network-scripts/
nano ifcfg-eth0
This will bring up an editor that lets you make changes to the adapter’s configuration. You will need to set ONBOOT to Yes, and BOOTPRONTO to DHCP. Also, if there is a line for HWADDR, that should be removed. You can see the changes below. When you are done, press Ctrl-X, followed by Y and Enter to save your changes and close the editor.
Reboot and log in
Now, reboot the VM, log in, and make sure that you have network connectivity by using the ifconfig command. As you can see below, I now have an IP address.

The next step in the process is to install the VMM agent on the VM. System Center Virtual Machine Manager stores the agent in the following folder: C:\Program Files\Microsoft System Center 2016\Virtual Machine Manager\Agents\Linux. You will need to share this folder to make it accessible to your Linux VM. It’s also helpful to create a local user on your VMM server named root.
Now, enter the following commands in the terminal on your Linux server:
yum -y install cifs-utils
mkdir /tmp/VMMAgents
mount.cifs //<server name>/agents/Linux /tmp/VMMAgents
cd /tmp/VMMAgents/
./install scvmmguestagent.1.0.2.1075×64.tar
You can see what the last three of these commands look like in the screenshot below.

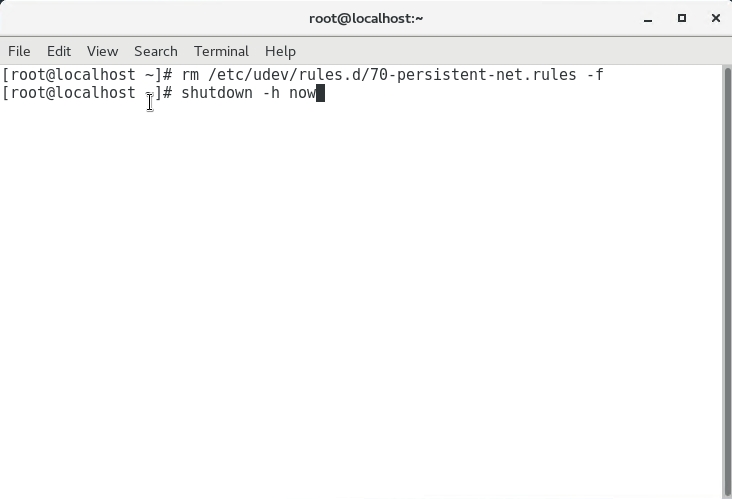
The last thing that has to be done before creating a template is to clear the network rules and shut down the server. This can be accomplished with these commands:
rm /etc/udev/rules.d/70-persistent-net.rules -f
shutdown -h now
Home stretch
Now that you have prepared the virtual machine, the template creation process is actually really straightforward. The first thing that you will need to do is copy the VM’s virtual hard disk to the VMM server’s library share.
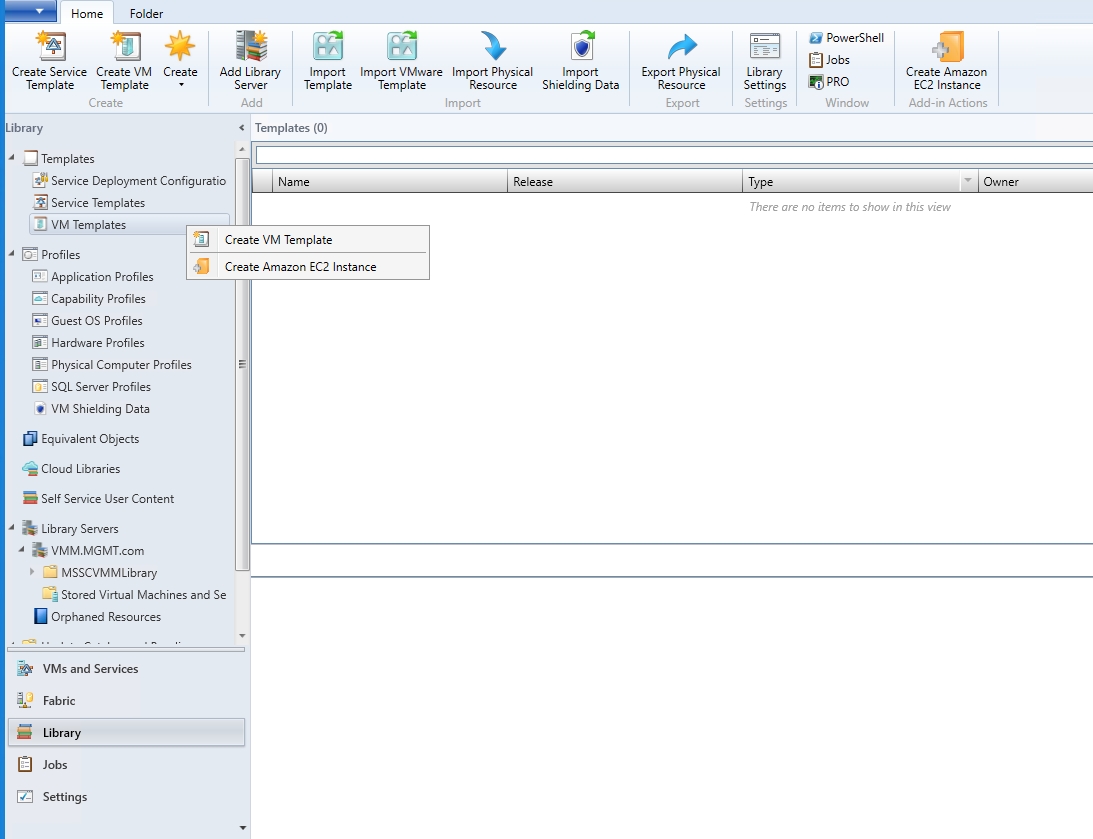
Now, launch the Virtual Machine Manager console, and go to the Library workspace. Right click on the VM Templates container and select the Create VM Template command from the shortcut menu.
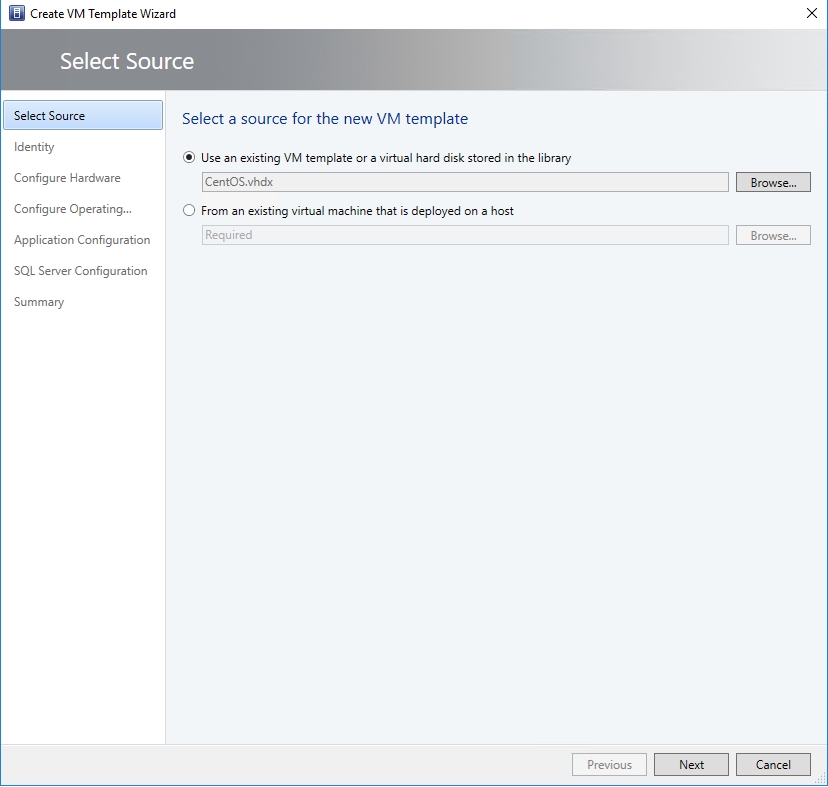
Windows will now launch the Create VM Template Wizard. On the wizard’s first screen, choose the option to use an existing VM Template of a virtual hard disk stored in the library. Click the Browse button, and select the Linux virtual hard disk. If this virtual hard disk does not show up, you will need to refresh the library share.
The next screen requires you to enter a name for the template and to choose a generation. Make sure to choose the same generation as the VM from which the template is being created.
Click Next, and you will be taken to the Configure Hardware screen. Make any necessary hardware configurations, and click Next.
When you arrive at the Configure Operating System screen, you will need to set the Guest OS Profile to Create new Linux operating system customized settings. Next, set the Operating System option to CentOS Linux 7 (64 bit). Finally, enter your root credentials and make any other desired additions to the template.
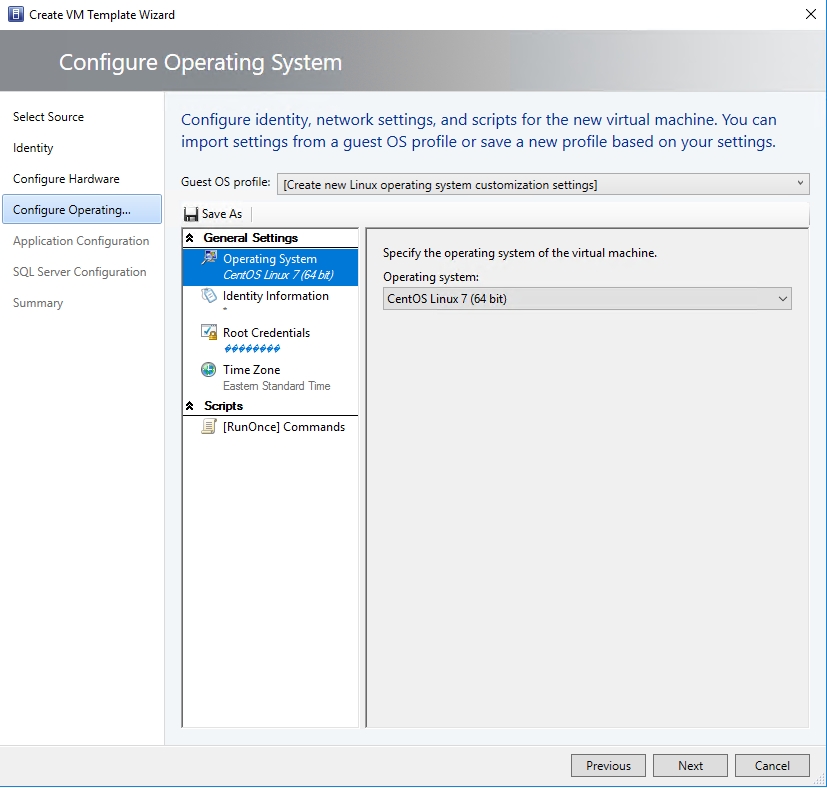
Be sure to set the operating system to CentOS Linux 7 (64 bit).
Now, click Next on the remaining screens, followed by Create. The new template will be created.

Yes, creating a Linux VM template can be tedious
Creating a Linux VM template can be a tedious process if you are not familiar with Linux. If you run into problems, remember that Linux commands tend to be case sensitive. You can use the screen captures for help. It is also important to note that I have based this article on CentOS. Other flavors of Linux may use slightly different commands.


Thanks for great details.
I’m glad that you liked it.