Amy Babinchak has done a number of excellent articles on Microsoft 365 administration here at TechGenix. (For a full listing of her Microsoft 365 configuration articles, check out the links at the bottom of the page.) This entry from April on configuring Microsoft Teams was timely then and is even more timely now with so many organizations making the move to Microsoft 365. With its exclusive tips on configuration, policies, and settings for Microsoft Teams, it is clear why this article was selected as one of the 20 Best of 2020.
This is the second in a series of articles on how to perform Microsoft 365 administration with tips on configuration, policies, and settings. In part 1, we looked at configuring your admin portal. Ordinarily, we wouldn’t tackle the Microsoft 365 admin configuration in this particular order, but given the circumstances that so many people are working from home and need good collaboration tools, we’re going to talk about configuring Microsoft Teams.
Configuring Microsoft Teams
The best way to begin our journey configuring Microsoft Teams is to open the Teams admin console. You’ll find the dashboard here and see you’re already ahead of most administrators because many don’t even realize that Teams has its own admin console.
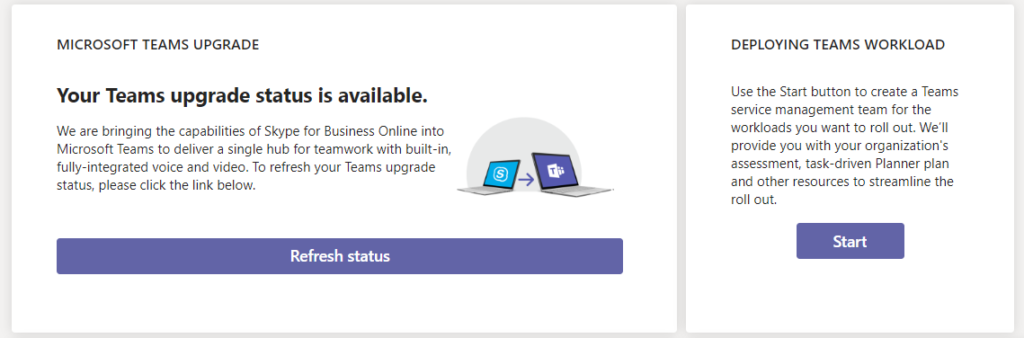
Right off the bat, you’ll notice two potentially useful things in the dashboard — Teams upgrade and a deployment assistant wizard. We’ll deal with the upgrade status inside of Org-wide settings in a moment. The Deploying Teams Workload wizard is really meant for large enterprises where there’s a group of people assigned to roll-out Teams and that group has varying degrees of admin permissions. If that is you, then go ahead and click on Start to launch that process. It’s going to set up a Team for your deployment group, along with Planner tasks for you to assign out. Before you do that, though, please read on to get your base configuration setup.
Org-wide settings
Before you launch into anything, you should first address the Org-wide settings.
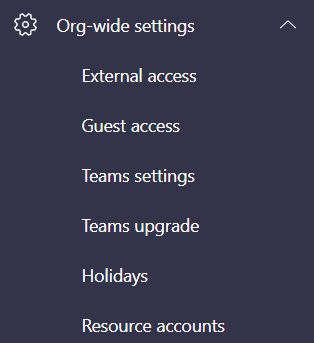
Let’s start with the biggie: Teams upgrade.
The Teams upgrade refers to your status with Skype and the Skype for Business phone system. If you are not using the phone system, then you’re in luck. This is going to be much smoother. If you are using the Skype phone system, then you need to stop right now and go into Skype for Business and plan your phone system migration.
For everyone else, we want to move Teams into being the only tool and eliminate Skype. Now some of you might want to shrink from this recommendation but not doing so will cause you a lot more support headaches.
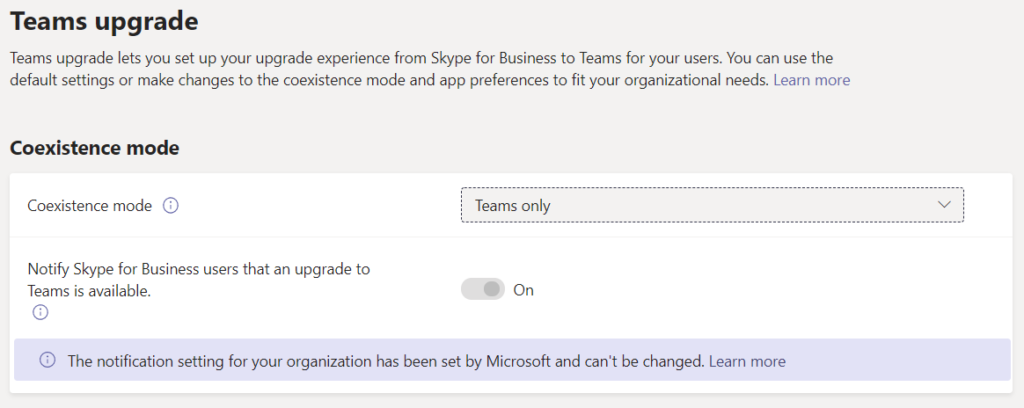
In the Teams upgrade Coexistence mode option, we have a long list. Your goal is to move your business from where it is today to Teams only.
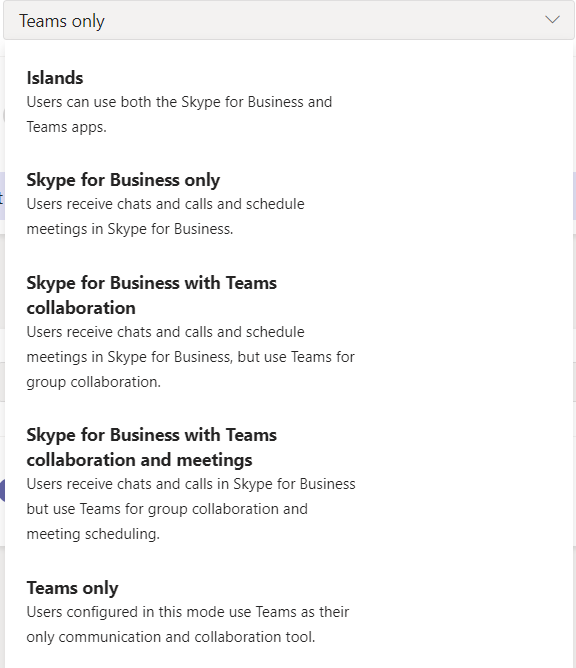
Most of you will find that your tenant is in Islands mode. Islands is the terrible mode where Teams users and Skype users are on separate islands and are unable to communicate with each other. The other modes, Skype for Business only, Skype for Business with Teams collaboration, and Skype for Business with Teams collaboration and meetings are all designed to assist with a Skype phone system migration in a feature-by-feature way.
When you’re ready to move to Teams only, what will happen is that Skype for Business users will have a message in Skype that tells them that they need to use Teams and provides the link to open the app.
No need to worry about meetings that were previously scheduled on Skype or that you might be invited to Skype by an outside organization — those will still open in Skype.
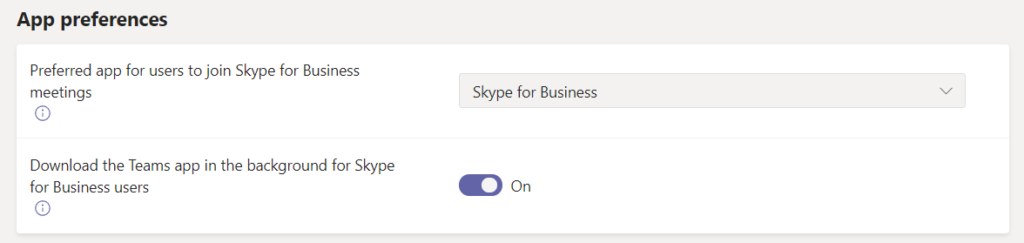
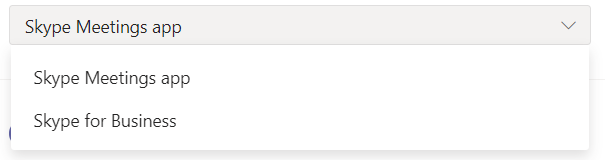
You’ll probably want to change this setting to use the Skype Meeting app instead, which is the browser version. That way your users won’t be confused with still having Skype for Business installed on their computers. You can remove Skype altogether.
When you make this change to Teams only mode, please be aware that it takes Microsoft some time on the backend to complete it. If you’re reading this during the coronavirus (COVID-19) crisis, it’s going to be a few days, otherwise, it will take a few hours to 24 hours.
External access
Our next task is to decide whether to allow Teams users to contact people outside of the company. This is called External access.
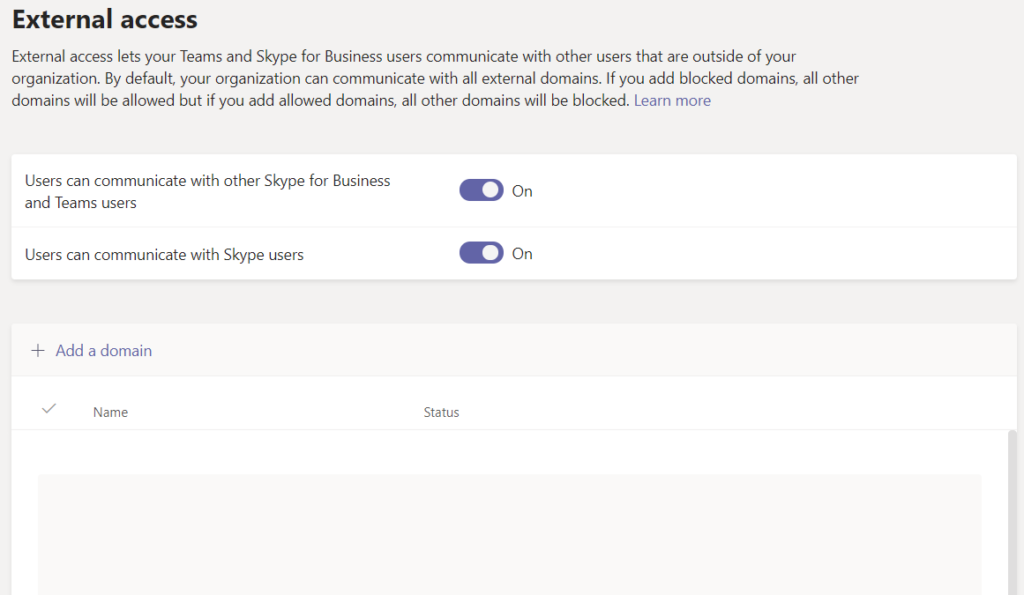
While this mainly applies to Skype users, there is an important feature here. Teams by nature is a more open platform meant for sharing while remaining secure. It is meant to be a grassroots-led product. But if you would like to limit who your users can communicate with, you can add the allowed domains here. Once you populate this list, all others will automatically be denied.
If you are having trouble with people not being able to communicate with external users, I have written a troubleshooting blog post that you can use to make that correction. It seems for some early adopters of the platform that the Skype restrictions migrated into Teams and they need to be cleared out using PowerShell. The blog post will walk you through that.
Guest access
You are probably wondering what the difference is between External and Guest access. I can’t say it any better than Microsoft does in this article,
The first — external access (federation) — lets you find, call, and chat with users in other domains (for example, contoso.com). The second —guest access — lets you add individuals to your Teams as guests, using their email address. You can collaborate with guests as you would with any other users in your organization.
The article goes on to define what each type of user can do. In a nutshell, the Guest is a member of a Team, gets added to your AD as a Guest, and has access to most of the features in Teams. On the other hand, an external user is just someone that you contacted, doesn’t log in or have an account in your AD, and isn’t a member of any Team.
Guest access has to be turned on. It is off by default. Because the Guest is actually a member of a Team, you’ve got many more options for deciding what features you want your guests to be able to utilize, starting with allowing them to be added to a Team at all.

First, you need to turn on the Allow guest access in Teams. Then you’ll choose to limit their access using the other slide options.
Teams settings
There is a lot under the Teams setting menu item. These settings affect the features available in Teams. Keeping with the theme of Teams being an open platform, most of the settings should probably be on unless you have specific operational scenarios that require you to feature-restrict the product.
Tagging may be a new feature to you since it’s a recent addition. Tagging is a shortcut way to @mention a group of people. Common uses might be Engineers, Sales, Everyone, etc. The first two allowing members to tag specific departments when the entire company is a member of the Team but the post only applies to them or is only important for them to read sooner. The Everyone tag is useful for when you want to draw attention to the post without labeling it as important or urgent.
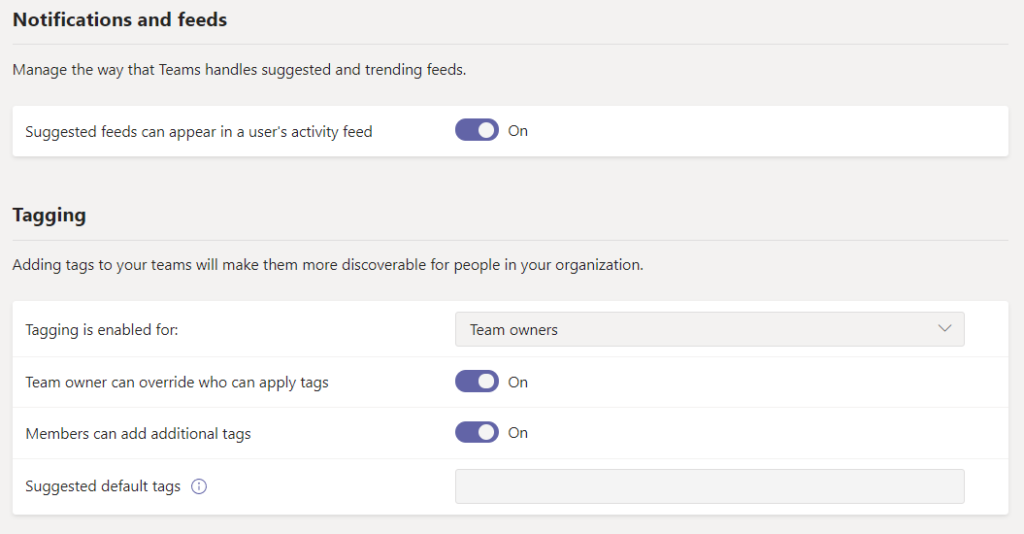
Here in the admin center, you can stage default tags that will appear in every Team.
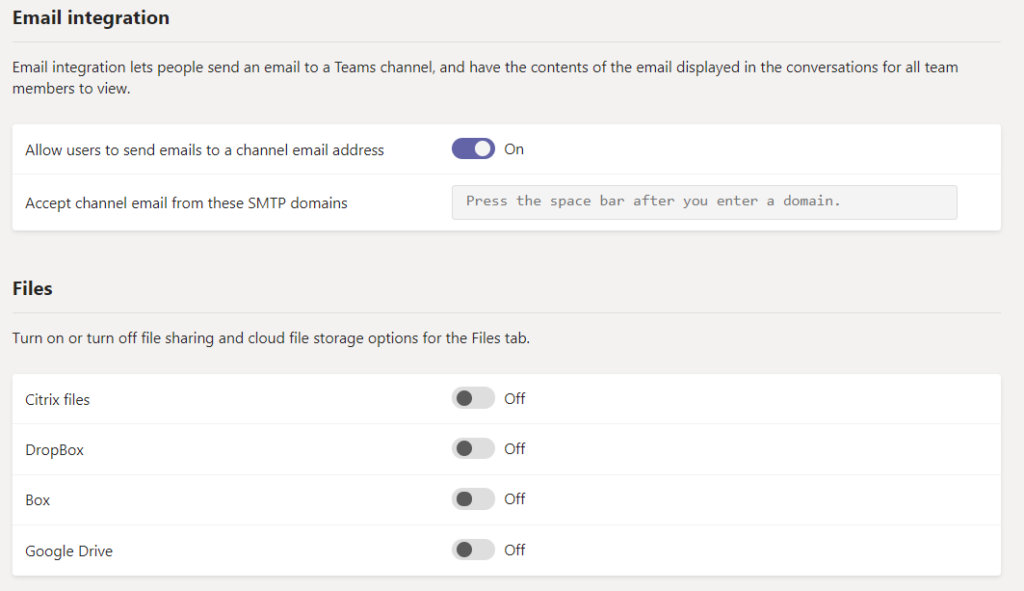
This section is where you can turn off the ability for channels to receive email or limit where channels can receive email from. Allowing channels to receive email is great for receiving RSS feeds or alerts that are important to the Team.
The Files section is interesting. It is off by default but allows you to bring third-party data storage locations into Teams. So, if you’re using Citrix Files already, you can bring that into Teams permanently or just while you’re making your transition into OneDrive.
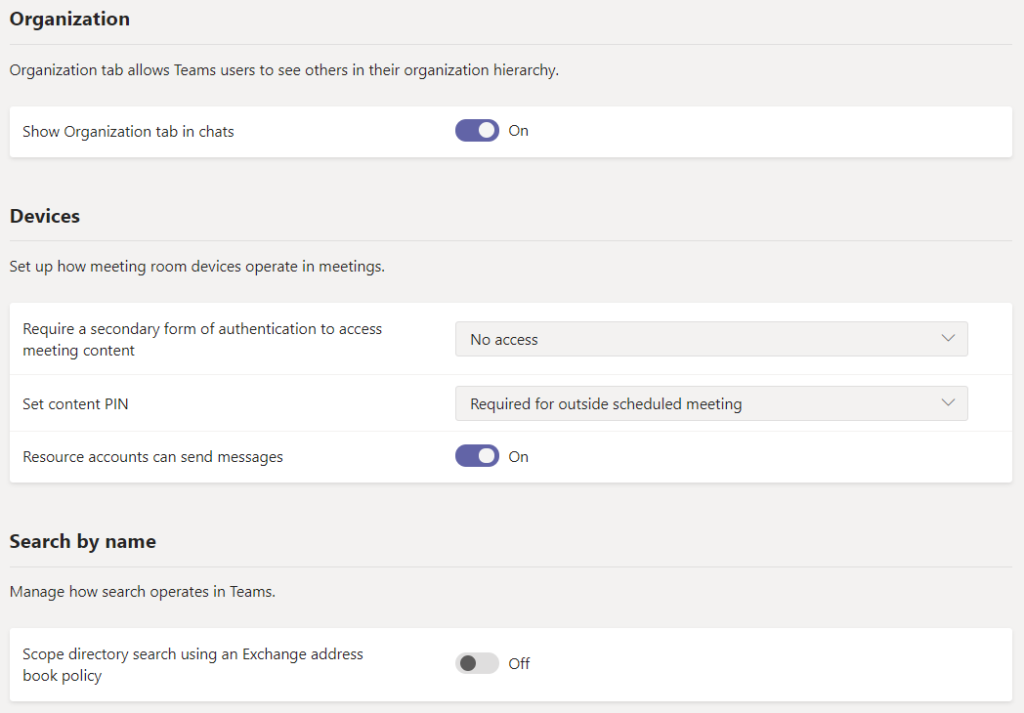
This last section deals with how your search and discovery work and how devices join meetings. The search by name feature is only required if you are using custom address book policies in an exchange hybrid scenario.
Coming up in Microsoft 365 administration: Configuring Microsoft Teams management
In the next part of our series, we’ll expand configuring Microsoft Teams with a dive into Teams management, where we’ll look at policies, private Teams, private channels, data storage, and a few other settings.
Featured image: Business vector created by Freepik / TechGenix photo illustration