If you have a personal subscription, perhaps a dev/test Azure subscription, and want a fast connection to it during your lunchtime to perform an activity or a quick fix or two, then the Microsoft Azure app for iOS and Android is your kind of tool. If you are in a highly secure environment (and you should), then the recommendation is to use a PAW (privileged access workstation) to access your Azure / Office 365 when planning to perform changes.
Let’s go through the steps to get Azure management at your fingerprints using the Azure app on an iPhone. First, search for Microsoft Azure in your Apple Store and download the app. If you are using MFA (and you should be) make sure to download Microsoft Authenticator as well and add your account to it.

Open the Microsoft Azure app. The initial page is the sign-in page. Click on it.

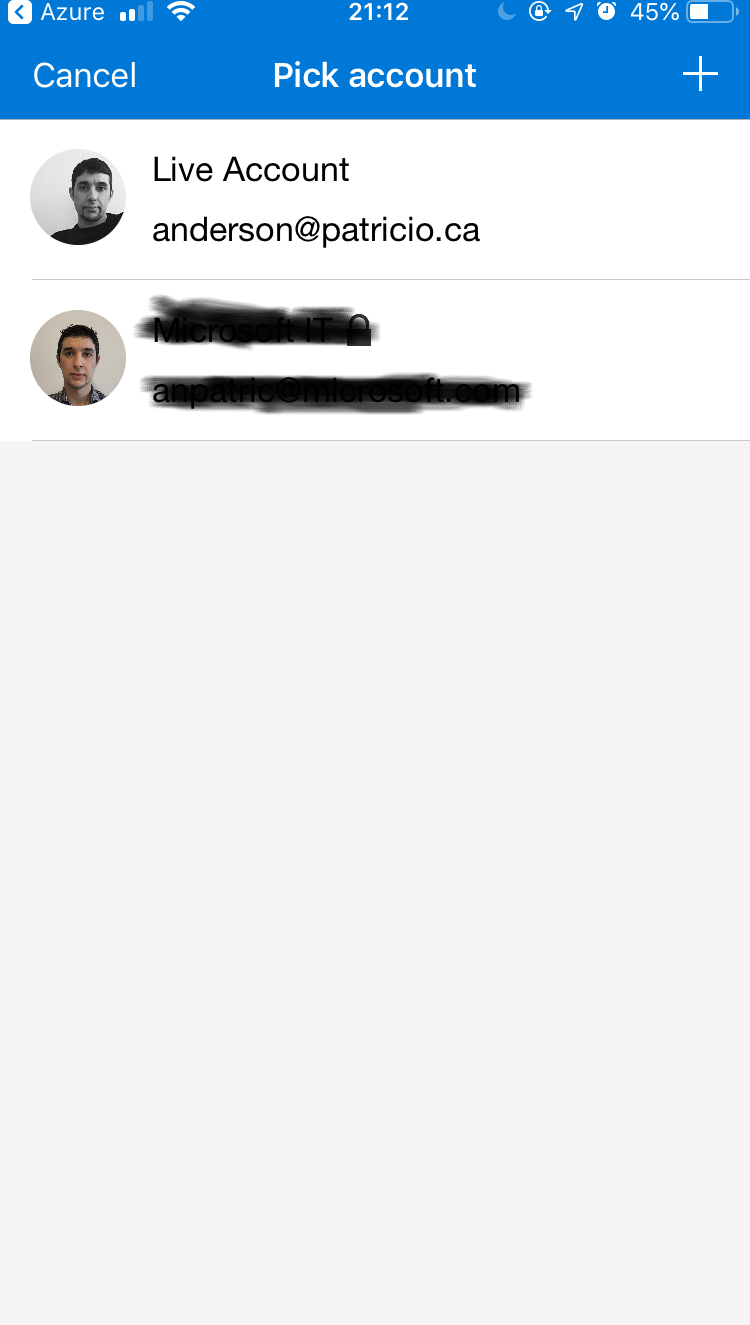
The Microsoft Authenticator will open automatically. Pick one of your accounts from the list.
After you are authenticated, you will see all your Resource Groups and resources in the Resources tab. The app has tabs for favorites, subscriptions, notifications, and Cloud Shell.

When using a specific resource, we can always make it a favorite (by clicking on the start button), and by doing that we have one-click access when using the favorites tab in the app. We can perform several tasks in any given resource.

Another killer feature of Microsoft Azure app is the ability to access Cloud Shell, which means that from our device we can use bash or PowerShell to run commands to manage Azure from the command line! The downside is that we don’t have the tabs and auto-completion using the app. (If you are reading this and you found out how to do this, please share with the community in the comment section!)


