How many hacking incidents have you heard about in the last five years? At least a hundred, if not more. If you look closely at these incidents, much of it is due to password negligence and poor security practices. Effectively, all that hackers have done is to identify these unsecured areas rather than breaking into secure networks. These hacking incidents have put the spotlight right back on security and the need to go beyond just usernames and passwords. In fact, history shows that a mere password-based security is no longer effective. This is why multifactor authentication, or MFA, has taken center-stage.
What is multifactor authentication?
As the name suggests, it uses multiple methods to identify if you’re really who you claim to be. As a user, you’ll have to acknowledge a phone call, text message, app notification, or just about anything else, other than just the username and password, to prove your credentials. You’re allowed to access the site/app only after you clear this second authentication as well.
Broadly speaking, MFA authenticates with:
- Something you know, like a password.
- Something you have, like a trusted device.
- Something you are, like biometrics and fingerprints.
Such a detailed authentication method offers much better security than mere passwords. This way, even if an attacker hacks your password, it’s useless without other information.
MFA versions
You can secure the following resources with MFA.
- MFA for Office 365 — you can set up MFA for licensed Office 365 users.
- MFA for Windows Azure administrators — you can secure Windows Azure resources for admin users.
- MFA for Windows Azure users — you can set up MFA for all Microsoft online resources, SaaS resources, VPN, and LOB apps.
Here is a table that details all the different resources you can secure and the versions you need for the same.
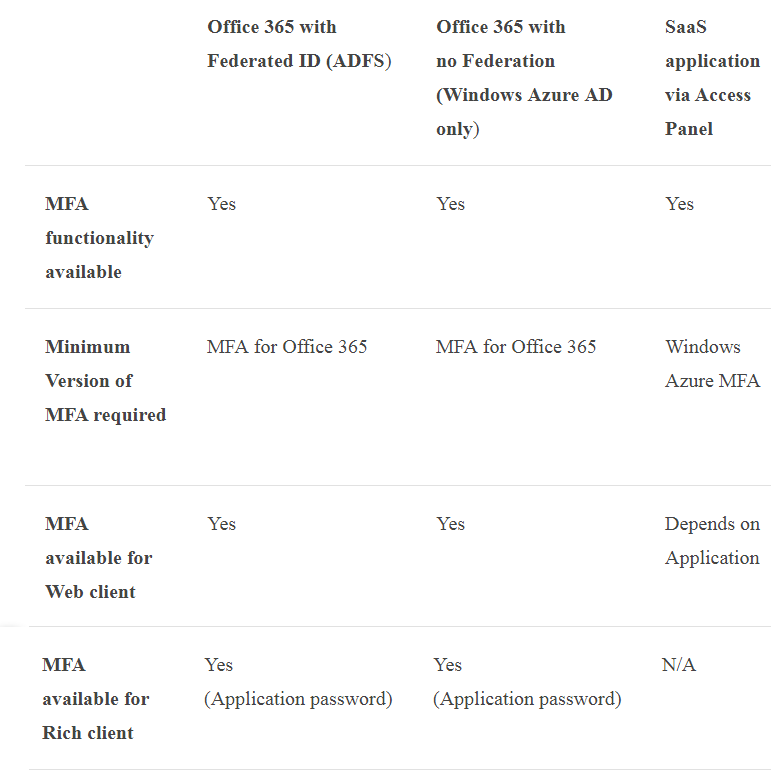
In general, MFA for Office 365 is a subset of Windows Azure MFA, but it comes at no additional cost and you can manage it right from Office 365 portal.
Here are some things you can do with Office 365’s MFA.
- Enable and enforce MFA for selected users.
- Allow a one-time password [OTP] to mobile phones or apps as a second authentication method.
- Allow phone calls as a second authentication factor.
- Allow verification through an SMS message.
- Enforce application passwords for nonbrowser clients like Outlook.
- Use the default Microsoft welcome greetings for authenticating phone calls.
Now that you have a good idea of MFAs, let’s see the setup process for Office 365 users.
How to set up multifactor authentication in Office 365
Before setting it up, understand the three distinct stages of MFA for all user accounts.
State |
Description |
Impact |
| Disabled | This is the default state for any user who is not enrolled in MFA | This means the user is not using MFA and the nonbrowser apps remain unaffected. |
| Enabled | The user is enrolled in MFA | In this state, the user is enrolled in MFA, but the changes have not taken effect. When users sign in the next time, they’ll be prompted to set up an additional verification method. Here too, nonbrowser apps remain unaffected until the setup is complete. |
| Enforced | User is enrolled in MFA and has completed the registration process. | In this state, every login requires a secondary authentication. Non-browser apps will not work until app passwords are created and entered at the time of login. |
When you set up MFA, by default, the state is disabled. You’ll have to first change it to enabled state and then move on to the enforced state.
Setting up multifactor authentication in Office 365 is fairly simple. Here are the steps.
- Go to the Microsoft user management page.
- Sign in with your username and password.
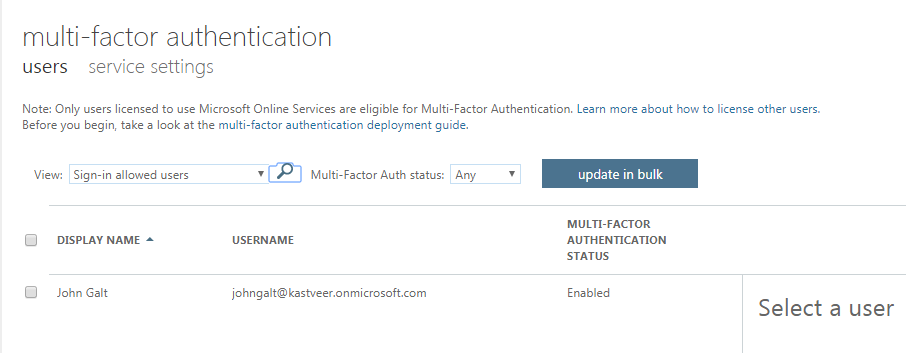
- Choose the accounts for which you want MFA.
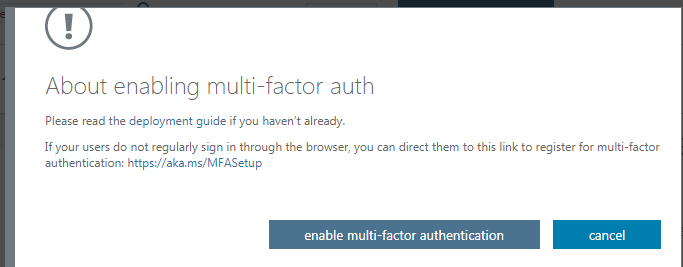
- Look for the “enable” link on the right-hand bottom. Click on this link and you’ll see a dialog box.
- In the next screen, you’ll see the MFA status enabled for your chosen accounts.
- At this state, it’s a good idea to send an email to the respective users to inform them of this change and also to ask them to provide their contact details when they log in the next time.
- You can also send this video to give them a heads-up on MFA and what they should do.
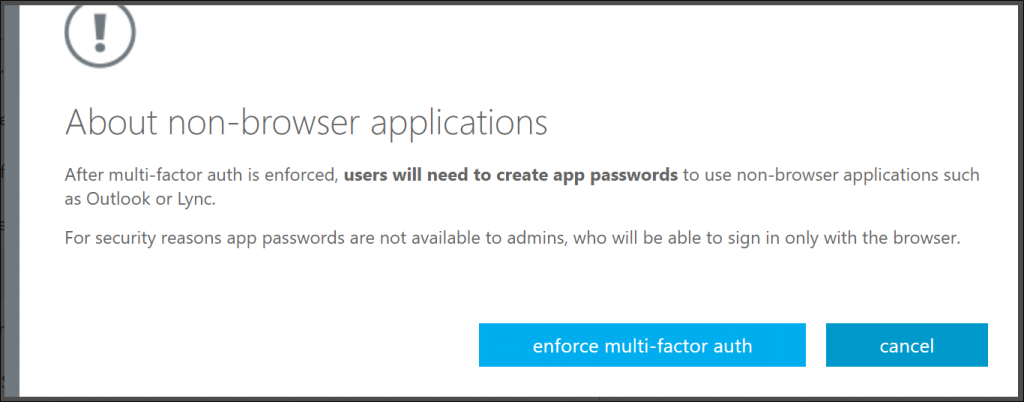
- Next, choose the account again and click on “enforce” link on the right-hand side.
- You’ll see a dialog box for confirmation
That’s it! You’ve set up MFA for your users. Next time, when these users attempt to login, they’ll get a message asking them to set up additional security verification.

They can choose to verify through a text message, email, phone call, or app notification.
Just a note here. Office 2016 applications use MFA through Active Directory Authentication Library, so you don’t need passwords for Office 2016 clients.
How can users set up secondary authentication
Here’s how you can set up secondary authentication for your account.
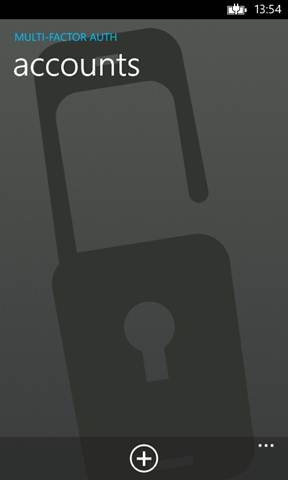
- As a first step, download and install the MFA app. It’s available for Windows Phone, Android, and iOS. All versions of MFA app will have a blue background with a lock image.
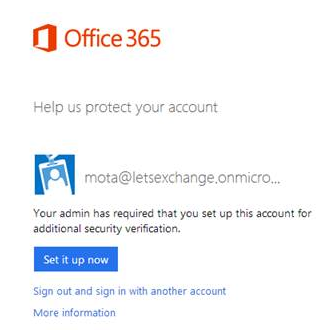
- Next, sign in to the Office portal. You’ll get a prompt to set up your authentication.
- Click the “set it up now” button.
- You’ll have to choose an authentication method from a drop-down box. Select mobile app and click the “configure” button
- In the next step, you’ll be redirected to the configure mobile app page that has detailed instructions on the process.
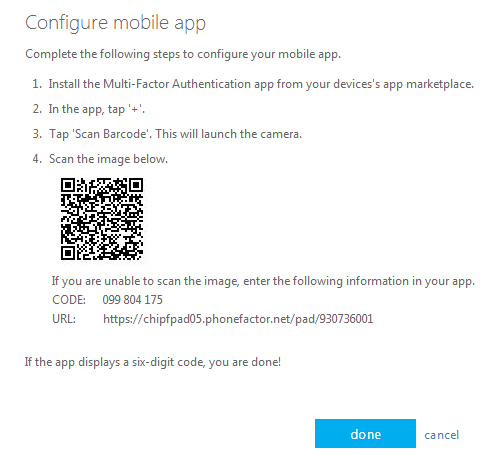
- Follow these instructions. Once done, launch the MFA app installed on your phone.
- Accept the terms and conditions.
- Turn on the push notifications, as it’s required for MFA.
- Next, click the “+” sign to add a new account.
- Click the barcode icon at the bottom. This will launch the phone’s camera for you. Scan the barcode.
- If you can’t scan the barcode for some reason, enter the code and URL manually. Get this information from the configure app screen of your MFA app.
- Next, you’ll get a six-digit code. This means your mobile app is configured. Click “done” on the screen and you’ll get a message saying that the app has been configured.
- Click the “next” button and this should take you to the “additional security verification” page. On this page, click the “verify now” button. This action will send a notification to your mobile.
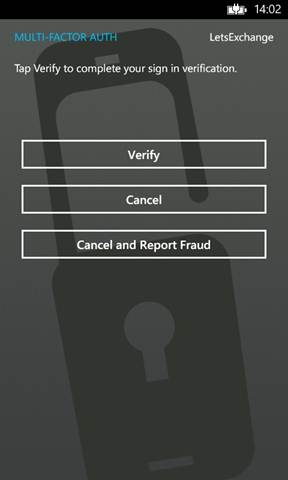
- Once you receive this notification, click the “verify” button.
Your verification is complete. Additionally, you’ll have to enter your mobile phone number just in case you lose access to the app. With this, you’ve set up your contact method.
Setting up app passwords
Next, you’ll have to set up app passwords for nonbrowser apps like Outlook.
Here are the steps for it.
- After you enter your phone number, click the “next” button. This should take you to “generate app password” screen.
- Click the “generate app password” button and the system will automatically generate a random password for you.
- If you need additional app passwords, click the “I’ll need more app passwords” button. Otherwise, click the “done” button.
Now, when you log into your Office 365 portal, a secondary authentication notification is automatically sent to your mobile device. And once you verify, you can sign in.
Setting up text messages
Once your contact method is set up, you can choose to verify through a text message or phone call as well.
On this screen, click the “next” button and this should text a six-digit code to your phone. Enter this code in the box displayed in your browser and press the “verify” button. This should authenticate you to use the Office 365 portal.
Changing MFA settings
You can always change your MFA settings at any time. To do that, log into your Office 365 portal and look for a small wheellike icon on the top right-hand corner. When you click on it, you’ll get a drop-down menu with different options.

Click “Office 365 settings” and on the left side, you’ll see an “additional security verification” link. When you click that, you’ll be taken to the verification page where you can change your verification preferences.
All this discussion is sure to bring a question to your mind — what happens when I lose my mobile phone?
Well, if you don’t have a backup such as a second mobile phone, you’ll have to call the helpdesk to disable your multifactor authentication temporarily.
Multifactor authentication offers an additional security layer, so hackers can’t access your information even if they manage to hack your username and password. In today’s digital world, MFA plays a critical role in securing different resources.
Going forward, as Microsoft continues to invest more money into security, we can hopefully see more advanced versions of multifactor authentication and other solutions in the future.
Photo credit: Pixabay


Nice how-to!
I have one question: The setup shows the link https://aka.ms/MFASetup which allows the users to start the setup when they want. I like that, this way I have not to force my users to make the switch. Instead, they can log in as usual, but when they feel they have the time, they can open this link and set up MFA.
But they will not be presented with the application password. And I do not find a way to set this later. So, what#s the purpose of the https://aka.ms/MFASetup link?
that show link in the blog its not working properly instead there is no way to get and login credential so what should to do
In my experience the Enabled state of O365 MFA is not so nice – within 30-60 minutes I had users complaining that their apps were no longer making connection, and were asking for passwords. Microsoft are not so clever I guess….
I find that if I disable O365 MFA and then re-enable it, the MFA method defaults back to text message. Is there any way to re-assign the method as an administrator instead of having to walk the user through the process?