Windows 10 is the most secure operating system ever from Microsoft, and its security is constantly being improved. There’s no denying that fact. Of course, it’s also the newest, which kind of gives it an edge, you know? And speaking of Edge, the Edge browser is also the fastest, most secure production browser. It is also the newest, which again gives it an edge over the competition. It’s getting to be a truism that the newest OS is the most secure one, and the newest browser is the fastest one. But there are always a few things left enabled to support legacy applications that might poke a hole in that veil. Here are a few things you can easily and quickly do to tidy up Windows 10 security.
Windows 10 security settings: Disable SMB1
SMB1 is an old technology, and recently the WannaCry ransomware took advantage of it on Windows 7 and older computers. But it’s still around in Windows 10, too. It is used to pass information between devices or applications. It arrived on the scene as part of the earliest desktop networking designs and was finally integrated by Microsoft around 1990. Wikipedia has an SMB history page Server Message Block if you’re interested. In summary, this is some very old technology. SMB1 has been replaced over the years with newer versions, and we’re currently at SMB4. However, some older applications (FoxPro, for example) or devices (old copiers, for example) are still in use in many businesses so SMB1 is still a requirement for them. Microsoft gets a lot of pressure to make their products backwards compatible, but if your business doesn’t have these limitations, then let’s tidy up and just close down SMB1 in Windows 10.
- Press the Windows key
- Start typing Turn Windows features on or off and select the Turn Windows features on or off Control Panel item.
- Scroll down the list (it’s alphabetical) and uncheck the box next to SMB 1.0/CIFS File Sharing Support
- Press OK
- You will be prompted to restart

Get warned if an application tries to install something not from the Microsoft Store
The mere mention of Microsoft Store may make this seem like it’s going to cause you a problem, but it really won’t because you’re going to implement this after you have all of your applications installed. Even if you need to install an application later it’ll be OK because you’ll just get a popup verifying that you meant to install the application. Once the computer is set up, the frequency of the popup will be very low for most people, but the opportunity to save yourself from a malware installation is worth the small amount of annoyance.
Here’s how you enable it.
- Press the Windows key
- Start typing Apps and features
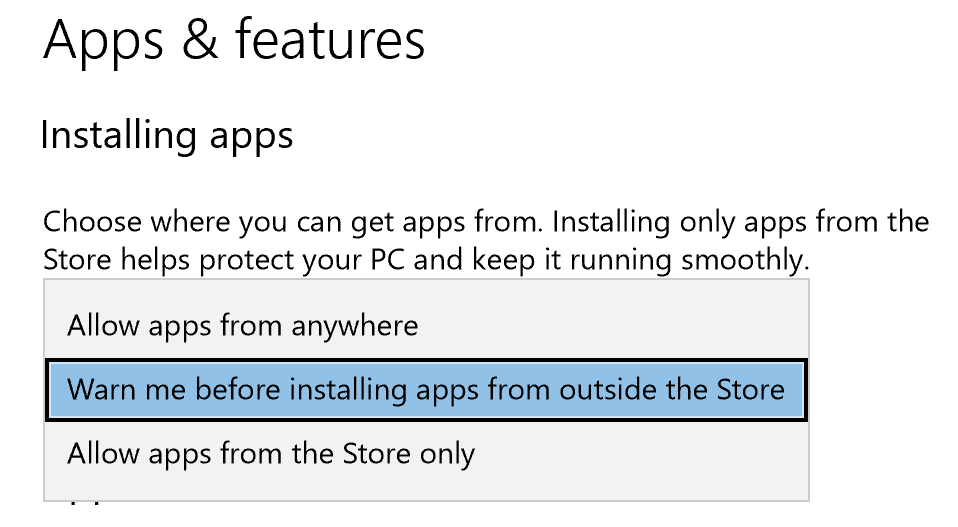
- Select Apps & Features
- At the top of the page, choose Warn me before installing apps from outside the Store from the drop-down box
Disable the saving of passwords in the browser
The last thing you want is for your passwords to get spread around. Well, with so many browsers on our computers these days that is exactly what ends up happening when you save your password in the browser. As your browsers age they become less secure too. This is a recipe for disaster. I recommend using a password-management application of which there are many to choose from. Pick one that supports the four major browsers (Edge, Chrome, IE, and Safari) and use the application on all of your devices. This way you’ll have the same password experience no matter which of your devices you are using at the moment. I prefer Roboform, but there are many good ones out there. Get the business version and you can centrally manage and recover all of the passwords in your company.
Here’s how to disable password saving in each browser:
Edge
Click on the three dots in the upper right-hand corner of the browser and choose Settings. Next, choose View Advanced Settings.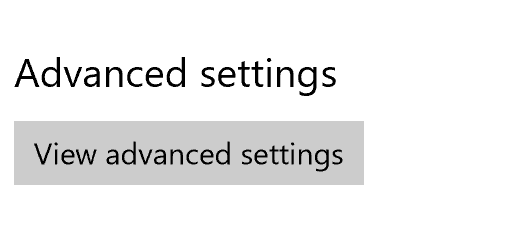
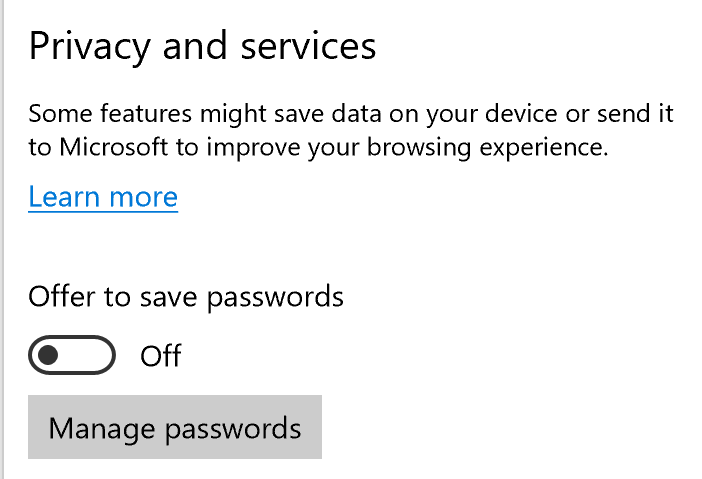
Scroll down to the Privacy and services section and move the toggle to the Off position for Offer to save passwords.
Internet Explorer
Click the gear icon from the top right bar. Scroll down to Internet options and select it.

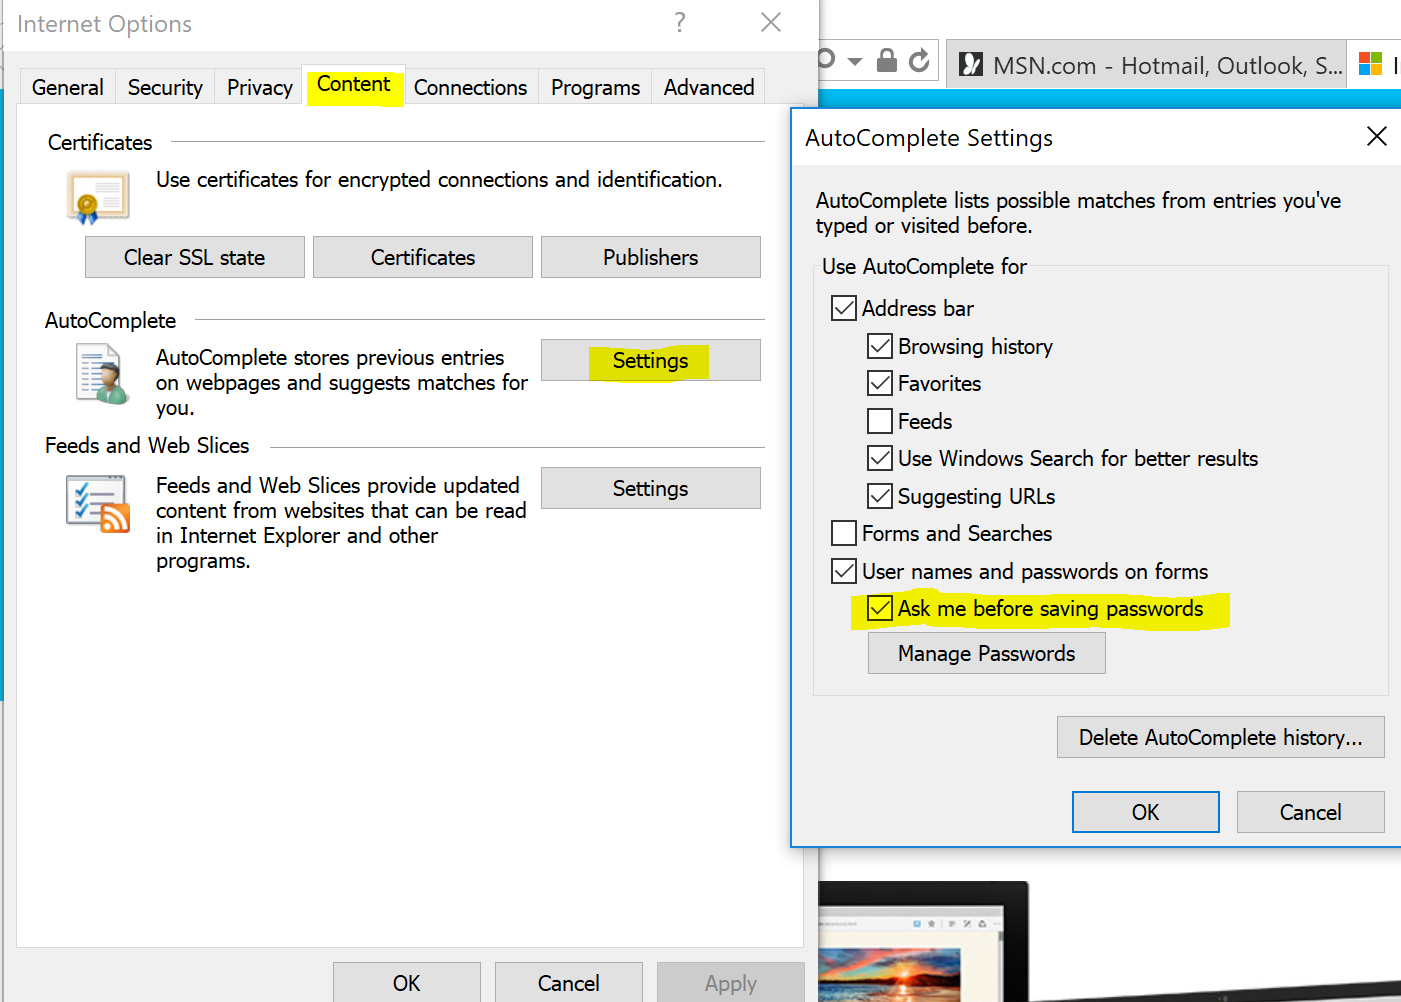
- Move to the Content tab.
- Press the Setting button in the AutoComplete section.
- Then uncheck the box for Ask me before saving passwords
Chrome
- Click the three dots in the upper right corner of the toolbar.
- Scroll down to the bottom on this list and click on the Show advanced settings…link.

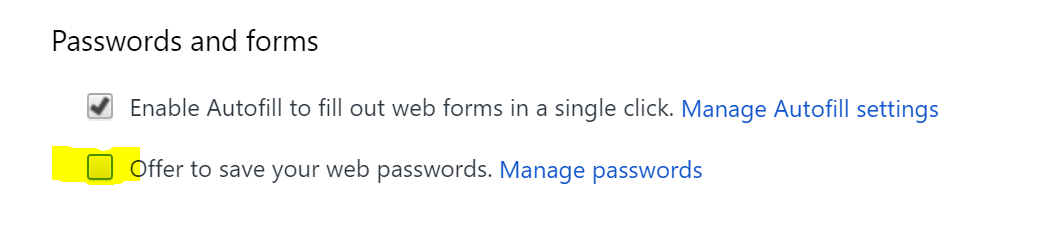
- Scroll down about three-quarters of the page to the Passwords and forms section and uncheck the box for Offer to save your web passwords. Optionally, if your selected password-management tool includes an autofill feature, you can uncheck that, too.
Safari
As a non-Apple user, I’m afraid I don’t have screenshots for you, but here are the instructions for disabling password remembering in Safari that came up in a Bing search.
To disable password saving in Safari on Macintosh: Open Safari. Go to Safari > Preferences. Click the Autofill icon and uncheck User names and passwords.
Disable VBScript in IE and start forcing users to use the Edge browser
VBScript is a depreciated technology, and Microsoft introduced the ability to turn it off with the April 2017 updates. They even recommend that you do so. Fortunately, Microsoft has an Easy Fix for this setting. An Easy Fix is an application from Microsoft that changes settings for you. Go here to download and run this Easy Fix to disable VBScript from running in Internet Explorer.
According to Microsoft’s KB article on this topic this is what the Easy Fix is doing for you. In that same article, they also offer a PowerShell option.
- Click Start > Run, type regedt32 or regedit, and then click OK.
- To disable VBScript execution in Internet Zone, locate the following registry subkey in Registry Editor:HKey_Local_Machine\Software\Microsoft\Windows\CurrentVersion\InternetSettings\Zones\3\140CTo disable VBScript execution in Restricted Sites Zone, locate the following registry subkey in Registry Editor:HKey_Local_Machine\Software\Microsoft\Windows\CurrentVersion\InternetSettings\Zones\4\140C
- Right-click the registry subkey, and then click Modify.
- In the Edit DWORD (32-bit) Value dialog box, type 3.
- Click OK and restart Internet Explorer.
The Edge browser should be encouraged as more and more features of Internet Explorer are being depreciated since it is no longer possible to secure the code in this application. At some point, even the best-written software gets old and just can’t be tweaked anymore. This is why Microsoft created Edge from the ground up for the new era. For IT admins, it is time to get your users migrated over.
Enable Dynamic Lock
Dynamic Lock is a new Windows feature. It automatically locks your computer when your phone moves away from it a certain distance. Dynamic Lock measures the strength of the Bluetooth signal, and when it dips below -10db, your computer will screen will safely lock. When you return you’ll need to log in again. Paired with Windows Hello’s facial recognition, it makes for a very nice secure and not too annoying experience. You’ll no longer have to worry that someone could sit down at your computer and start snooping around when you step away from it.
To enable Dynamic Lock you need to pair your phone with your computer. To do this press the Windows key and type Bluetooth then select Bluetooth and other devices settings from the selections.

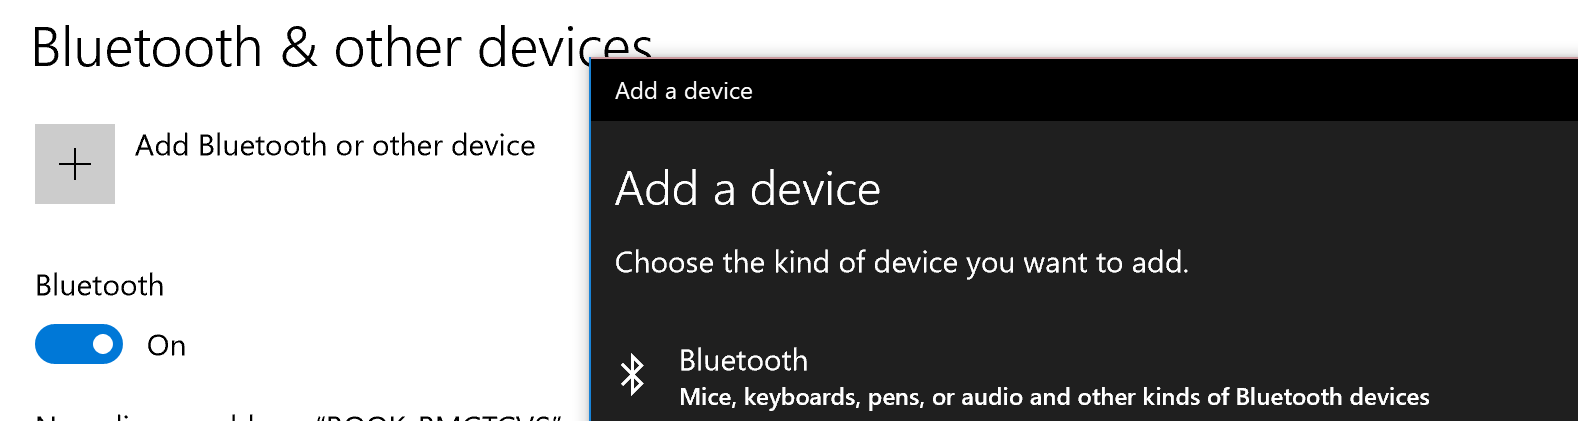
Make sure that your phone’s Bluetooth is turned on then press the + sign next to Add Bluetooth or other devices and then select Bluetooth from the popup box as shown below.
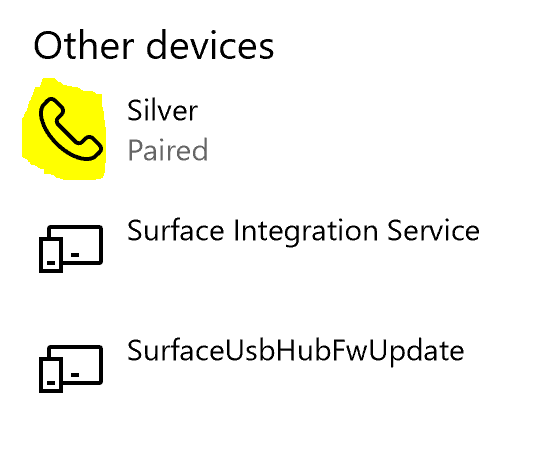
Your computer will start searching for new Bluetooth devices. When you see your phone in the list, select it to pair it with your computer. You should now see your phone in the list under Other devices.
Now that we have the phone and computer talking to one another, it’s time to enable Dynamic Lock. To do this, press the Windows key and type login, then select Sign-In Options.
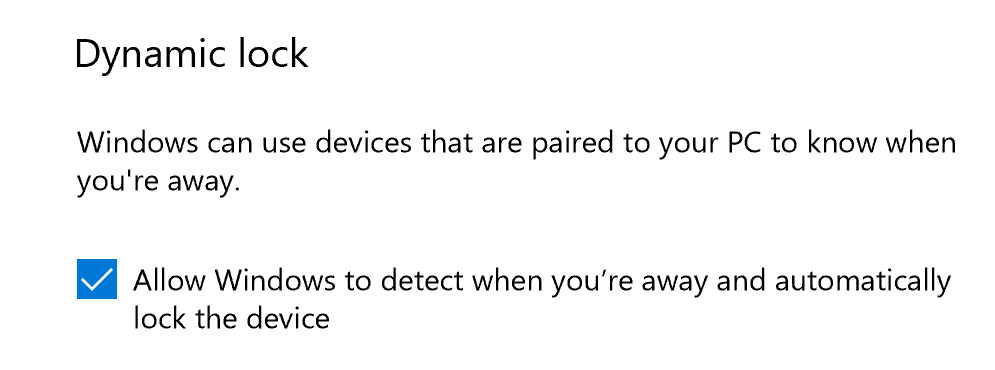
Scroll down the page until you see the Dynamic Lock section. Check the box to Allow Windows to detect when you’re away and automatically lock the device.
If you want to adjust the distance at which you have to be from your computer before it locks, then I recommend this article from CIO Magazine, which walks you through making those adjustments in your registry.
With these simple five procedures, we have tidied up Windows 10 security settings in a way that won’t cause much discomfort for the user of the computer. But we have gained quite a bit of security. We have closed up the known vulnerabilities that Microsoft is warning could be attacked. You may have noticed that some of these are very innovative technology. We’ll be seeing more of this from Microsoft as Windows 10 progresses.
Photo credit: Shutterstock


I think that the security exploits for the SMB ports have already been patched. Chances are that there is no need to disable them. Unless another zero day attack is right around the corner.