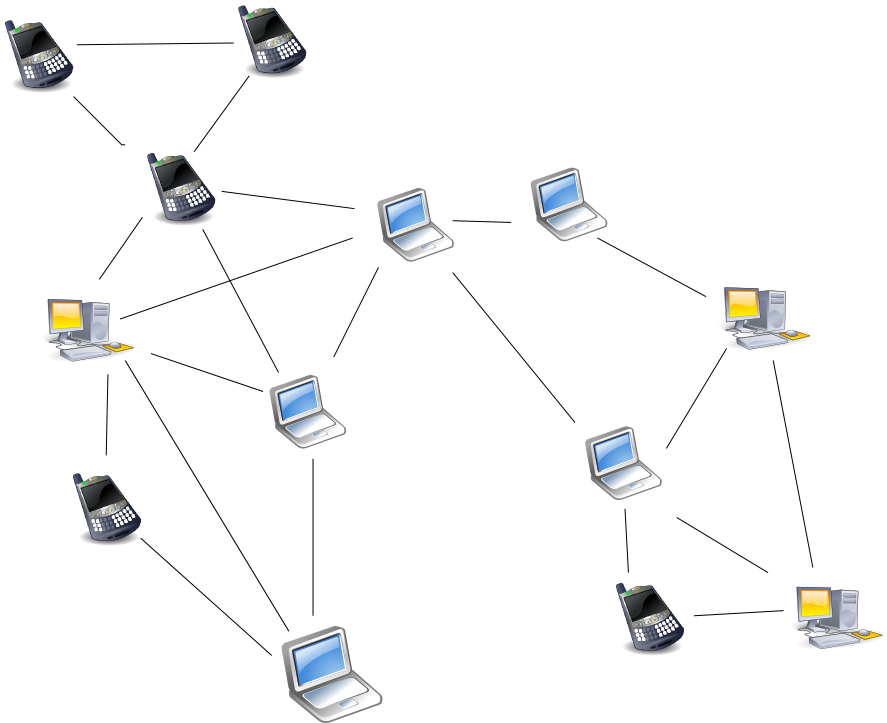
Almost every home today has more than one device that connects with the WiFi network in the house. Some desktops and laptops you want to connect to your WiFi network may be running different versions of Windows. Many other devices are running a completely different operating system, typically Android or iOS. Getting disparate devices and operating systems to work together on the same network can be a challenging task.
Let’s troubleshoot some of the most common networking problems in Windows.
Connecting to the network

You will most probably have issues with network connections when you try connecting a new computer or upgrade your OS. There could be multiple reasons for this. Here is a look at a few of the common ones:
- Upgrading OS: When you install a new version of an OS, it can wreak havoc on the network connections. You might face various issues based on whether you upgraded or installed from scratch. If you have upgraded, you may have to reinstall the network drivers to get the WiFi working properly. The simplest way of doing this is by downloading the latest drivers from the manufacturer’s website.
- IPv6 or IPv4: This is a bizarre problem. IPv4 is the most commonly used IP addressing system around today. But there is a shortage of IPv4 addresses. That is where the new IPv6 system comes into the picture. It is not quite common yet. So while it would be nice to have the option of IPv6 addresses, you should stick to IPv4 if you are still running any OS other than Windows 10.
File sharing
File sharing is something that can end up being a major problem with Windows at some point in time. Even for something as simple as copying files between systems and devices, you may face some issues. Here are a few methodologies you could consider. This is a common network problem when you upgrade your version of Windows in general.
The easiest way around this is to enable Simple File Sharing. The only problem with this is that the network will be less secure.
Be sure to enable file and printer sharing. Go to the Network & Sharing Center. Go to change advanced settings and make sure network discovery, file, and printer sharing are turned on. No, you do not turn on the microwave to cook some popcorn. That you do later when your network is working.
Now, if you are using Windows Home Server, it is not as easy for you to take advantage of file sharing. You will need to have an account and the login info, of course. There will also be the added annoyance of needing to log in each time you connect. This is especially irritating if you have to log in frequently. It may not be as annoying as your loud neighbor who listens to unnerving music all the time, but it is bothersome.
To get around this problem, what you can do is go to your user account, and uncheck the option that says users need to enter a username and password for using this computer. This is not a wise thing to do, though. It is better for you to maintain separate accounts with separate passwords while using a regular Windows 10 computer to create the HomeGroup. Also, if you choose to do this, remember that you will not be able to create more than 10 connections.
Networking
Sharing files on Windows 10 with computers running an older Windows OS can be confusing. Windows 10 comes with a couple of features that may frustrate those who are attempting to connect to Windows 10 systems from older libraries and HomeGroups.
On Windows 10, you get the opportunity of creating a HomeGroup. A password will be generated, which you will also enter on any other Windows 10 computer that you put on the same HomeGroup. This makes it very easy to connect Windows 10 computers with each other.
But old operating systems Vista or XP don’t have a HomeGroup. There are two options for connecting with older computers:
- First, you could consider creating a special account for sharing. After doing this, give the sharing account info to anyone who you would want to join your HomeGroup. Remember to make it a standard account and not an admin account so that you don’t give full control of your computer to someone else.
- Another option is available from the control panel, under the advanced networking setting. Here, select “use user accounts & passwords to connect to other computers.”
Other tips and tricks
- If you are having problems with sharing, consider changing your network from “Home” to “Public.” This may help.
- When you start Windows 10, you will have to choose between Home, Work, or Public networks. If you are using a laptop, you might want to go with Public because you will be using it in coffee shops or other areas and would want to keep it safe. You should not do this when connected to your home network since it will make it hard for you to share files.
- Mapping network drives will help prevent any networking problems when using applications that need drive letters. You should always use mapped drives instead of network locations. Creating network locations is rather simple, but you will not be able to use it with applications that ask for drive letters instead of network locations.
- It may be tempting to skip the whole HomeGroup creation step, but you should not. This is critical, especially if you are running multiple Windows 10 PCs. Once a HomeGroup is created, it becomes easy to connect with other machines. Also, there is no limit to the number of systems that can be a part of your HomeGroup.
- The networking troubleshooter can prove to be useful if you are having trouble. Yes, you could search online but the networking troubleshooter will also give you some answers and suggestions. It is nothing like the earlier versions of Windows. It will find a solution in most cases.
Photo credit: Pixabay.com


