If you would like to read the other parts of this article series please go to:
- Configuring an Exchange Hybrid Deployment & Migrating to Office 365 (Exchange Online) (Part 9)
- Configuring an Exchange Hybrid Deployment & Migrating to Office 365 (Exchange Online) (Part 10)
- Configuring an Exchange Hybrid Deployment & Migrating to Office 365 (Exchange Online) (Part 11)
Introduction
In part 4 of this multi-part article series revolving around Exchange hybrid deployment based migrations to Office 365 or more precisely Exchange Online, we installed and configured Active Directory Federation Service (ADFS) 2.0 on the two ADFS servers on the internal network. After we configured the servers, we verified they worked as expected.
In this part 5, we will continue where we left off in part 4. That is we will install and configure Active Directory Federation Service (ADFS) 2.0 on the two ADFS Proxy servers in the perimeter network. After we have configured the servers, we will verify they work as expected.
Let’s get going…
Importing the Server Authentication Certificate into IIS
Since all client authentications against ADFS occurs via SSL, we need to import a server authentication certificate on each ADFS Proxy server. Because all clients should trust this certificate, it’s recommended to import a certificate from a 3rd party certificate provider. Although we use a wildcard certificate in this article series, a single name SSL certificate is sufficient. If you use a single name certificate, the FQDN included should match the FQDN we configured in the previous article (in this example sts.office365labs.dk).
To import the certificate, open the IIS Manager and select the web server object and then open “Server Certificates” in the middle pane.

Figure 1: Selecting Server Certificates in IIS Manager
Under Server Certificates, click ”Import” in the action pane as shown in Figure 2.

Figure 2: clicking “Import” under Server certificates in the IIS Manager
Point to the certificate you wish to import and then specify the password, then click ”OK”.

Figure 3: Pointing to the certificate we wish to import
As can be seen in Figure 4, the certificate has now been imported to IIS.

Figure 4: Certificate has been imported
Next step is to bind the certificate to the “Default Web Site”. To do so, expand ”Sites” then select the ”Default Web Site” and click on the ”Bindings” link in the ”Action Pane”.
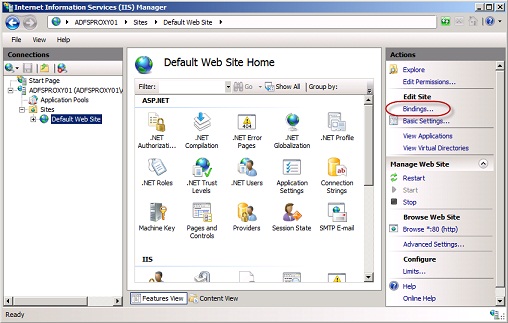
Figure 5: Clicking “Bindings” under Sites in IIS Manager
Under ”Site Bindings” click ”Add”. In ”Add Site Bindings”, select ”HTTPS” in the ”Type” drop-down box and then point at the imported certificate under ”SSL certificate”.
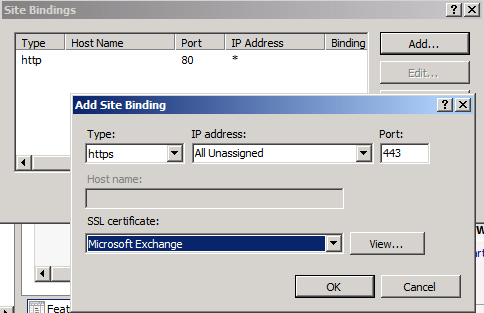
Figure 6: Adding a new site binding for HTTPS
Click ”OK” twice.
Repeat the above steps on the second ADFS Proxy server.
Installing & Configuring the ADFS Proxy Server Settings
With the two ADFS Proxy servers configured in a WNLB cluster and the required certificate imported, it’s time to get the ADFS 2.0 RTW component installed and configured on both servers.
Important:
It’s not the ADFS component included with Windows Server 2008 R2 that we need to install. We need to download a separate package from the Internet. ADFS 2.0 RTW can be downloaded here. And while we’re at it, we also need to download the latest update for ADFS 2.0 RTW, which currently is Update 2.
Ok, launch “AdfsSetup.exe” and then accept the license agreement.
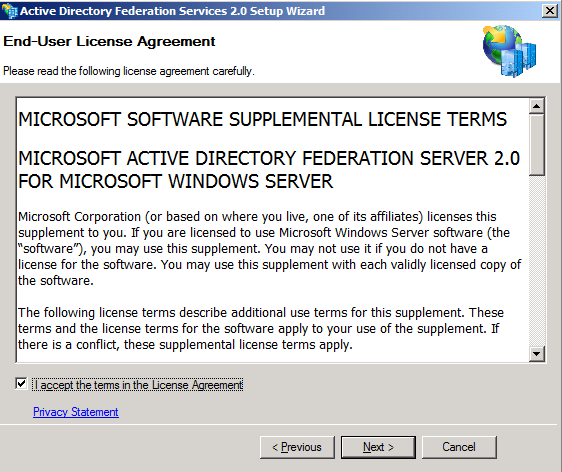
Figure 7: ADFS 2.0 License Agreement
On the “Server Role” page, we need to specify what type of federation servers we wish to configure. Since these are the two external ADFS Proxy servers, we wish to configure a “Federation server proxy” so select that and click “Next”.

Figure 8: Selecting “Federation Server” in the ADFS Setup wizard
On the “Welcome to the AD FS 2.0 Setup Wizard” page, click “Next”.

Figure 9: ADFS 2.0 Setup Wizard Welcome page
As you can see on the next page, the wizard will now install a couple of prerequisites on the server. Click “Next”.

Figure 10: AD FS 2.0 Prequisites that will be installed
After a minute or so the wizard will complete with success and we can now click “Finish”. Make sure to untick “Start AD FS 2.0 Management snap-in when this wizard closes” as we want to install Update 2 for AD FS 2.0 before we continue.
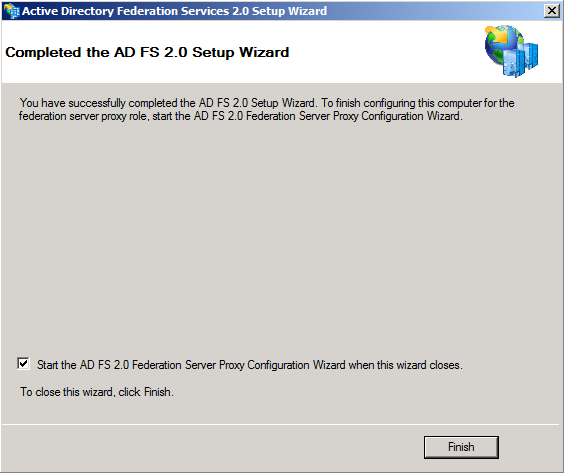
Figure 11: Finishing the AD FS 2.0 setup wizard.
When the update has been applied, launch the “AD FS 2.0 Federation Server Proxy Configuration Wizard”.

Figure 12: Launching the AD FS 2.0 Federation Server Proxy Configuration Wizard
Enter the name of the federation service to which the ADFS Proxy server will redirect client requests (in this case it’s “sts.office365lab.dk”) and then click “Test Connection”.

Figure 13: Specifying the name of the federation service to which the ADFS Proxy server will redirect client requests
If things are configured properly and you have access to the federation service via port 443, then you will see the dialog box in Figure 14.

Figure 14: The Federation Service was contacted successfully
Click “OK” and then “Next”. You will be prompted for credentials that have the permissions to establish a trust between the ADFS Proxy server and the ADFS servers on the internal network.
Do so and click “OK”.
Note:
You can use the ADFS service accountthat is used for the ADFS servers on the internal network. Bear in mind that you have to specify these one time only and that they aren’t configured for a service on the ADFS Proxy servers.

Figure 15: Entering credentials that have permissions to establish trust with ADFS Servers
Click “Next”.
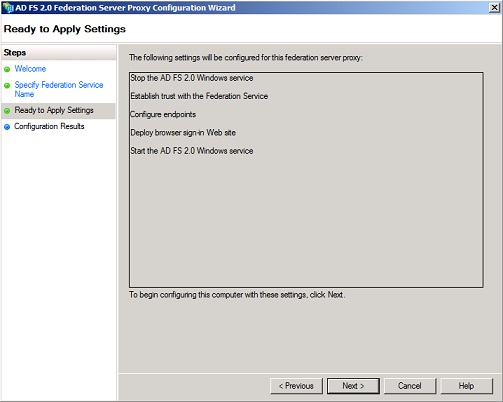
Figure 16: Settings that will be configured for ADFS 2.0
When the wizard has configured each component with success, click “Close” to exit the wizard.

Figure 17: Each component has been configured with success
Repeat the above steps on the other ADFS Proxy server.
The ADFS Proxy servers have now finished the required configuration steps for the ADFS Proxy servers.
Verifying the ADFS Proxy Servers has been configured properly
In order to verify the ADFS Proxy servers are operating as expected, we can open the AD FS 2.0 log and look for event id 198. IF you see this event id, the ADFS Proxy server has been configured properly.
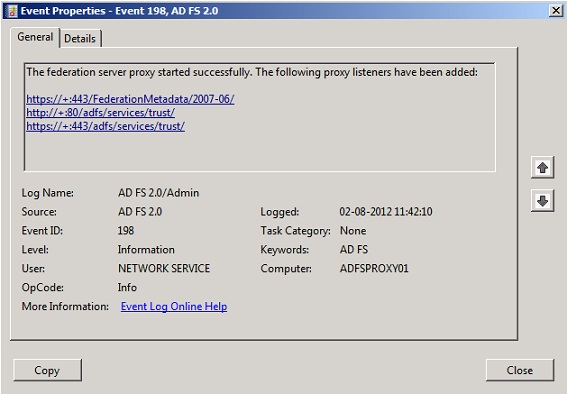
Figure 18: Event id in the AD FS 2.0 Admin log
This concludes part 5 of this multi-part article in which I explain how you configure Exchange hybrid deployment followed by migrating to Office 365 (Exchange Online).
If you would like to read the other parts of this article series please go to:


