If you would like to read the other parts in this article series please go to:
- Installing Data Protection Manager (DPM) 2010 – Part 2: Configuration
- Installing Data Protection Manager (DPM) 2010 – Part 3: Protecting A Hyper-V Server
Introduction
When you deploy Hyper-V in your data center and lab environments you need a solution to backup and restore the virtual machines and Hyper-V servers. Microsoft has released their latest version of their enterprise backup and disaster recovery solution Data Protection Manager 2010. This is the first in a series of articles that explains how to install, configure, and utilize DPM 2010 to backup and restore virtual machines and Hyper-V servers.
Are you preparing to deploy Hyper-V R2 for a server consolidation or lab environment? Maybe you already have Hyper-V R2 deployed in your data center. In either case, having a solution that can backup or restore the Hyper-V R2 servers and virtual machines is a key aspect of your disaster recovery planning.
This is the first article in a series on DPM 2010. In this article, I will cover the installation of DPM 2010 to protect Hyper-V R2 servers and virtual machines. This will include the installation requirements and an actual walk through of the installation. Future articles will cover configuring DPM to backup Hyper-V R2 servers and virtual machines, backup and restore of virtual machines, and backup and restore of Hyper-V R2 servers.
Installation Requirements
Before you can install DPM 2010 you must start with a server that meets the installation requirements. In this article, the assumption is that you are installing DPM 2010 on a server with Windows Server 2008 R2 Standard or Enterprise Edition (Datacenter Edition is also supported). This allows you to easily meet the first installation requirement, a 64-bit version of the Windows operating system.
System Requirements
To install DPM 2010 you will need to meet the following requirements:
- 64-bit version of Windows Server 2008 or 2008 R2
- 4GB RAM (recommended)
- 2.3 GHz quad core CPU
- System drive installation space of 3GB for installing
1. DPM installation files
2. Database files
3. SQL 2008 - PowerShell 2.0
- .Net Framework 3.5.1
- Single Instance Store (SIS)
- Windows Installer 4.5
The minimum server specification at most corporations will be enough for the installation of DPM 2010. Be aware that DPM 2010 has potential requirements for high quantities of disk space and disk I/O performance. More on that in the next article regarding configuring DPM 2010 for backup and recovery.
DPM 2010 requires a dedicated SQL server for storing backup information. The SQL installation can be a remote install of SQL 2008 (Standard or Enterprise) or a local installation of SQL 2008. Most corporations usually have SQL installed and maintained by database administrators on dedicated servers. To cover all bases, this article will cover the installation of DPM 2010 with a remote or local instance of SQL 2008. It is recommended to run SQL 2008 64-bit on a remote instance for a heavily utilized DPM 210 server.
Active Directory Requirements
DPM 2010 requires a Windows 2008 Active Directory environment for installation. The server that DPM will be installed on must be a member of an Active Directory domain, and the account that you use to install DPM must be a domain user account that has local administrator privileges. Once installed you must be a domain user with local administrative access to run the DPM 2010 console.
It is possible to backup or restore to servers that are in the same forest or across forests. In order to backup or restore across forests that have forest level trusts, the forest level must be in Windows 2008 forest mode.
Installation Restrictions
DPM does have some installation restrictions in addition to the installation requirements. DPM 2010 is designed to run on a dedicated server. DPM 2010 cannot be installed on the following types of servers or servers with the following restrictions:
- Domain Controller
- Cluster Services cannot be installed
- System Center Operations Manager
- Exchange Server
Installing Remote Instance of SQL 2008
If you require a remote instance of SQL 2008, you must meet the following requirements during installation.
- New installation of SQL 2008
- Required Features
1. Database services (and all subsections)
2. Reporting Services
3. Management tools – complete
4. SQL Client Connectivity SDK - Windows Authentication
Installing Single Instance Store
DPM 2010 requires the Single Instance Store (SIS) service to reduce the storage overhead of storing duplicate files. It is better to reinstall the Singles Instance Store prior to the installation of DPM 2010. If you do not preinstall the SIS, DPM will install it for you during the prerequisite installation step, but it will require a reboot at that point and you will have to restart the DPM installation.
To install the SIS service, us the following command line:
OCSetup.exe SIS-Limited /quiet
This will install SIS and restart the machine. If you desire control over the restart, then add the /Norestart command line option at the end and you will be required to restart the machine manually.
Installing DPM 2010 with Local SQL 2008
Follow these steps to install DPM 2010 with a local instance of SQL 2008. Note that you do not need to re-install SQL 2008 because the DPM 2010 installation will install it for you.
- Logon to the server to install DPM 2010 with a domain account that has local administrative privileges
- Insert the DPM 2010 DVD
- On the DPM 2010 Splash screen, click Install Data Protection Manager
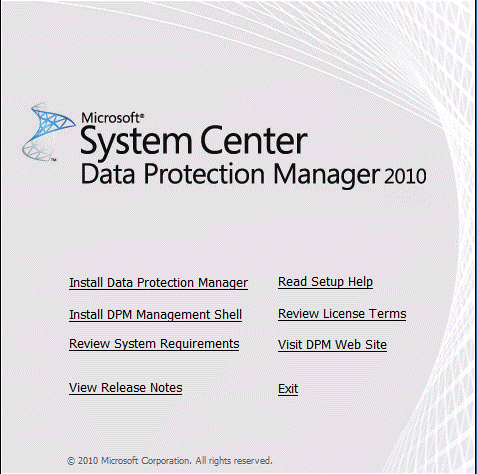
Figure 1
- On the Microsoft License Terms page, review the agreement and select I accept the license terms and conditions, and then click OK.
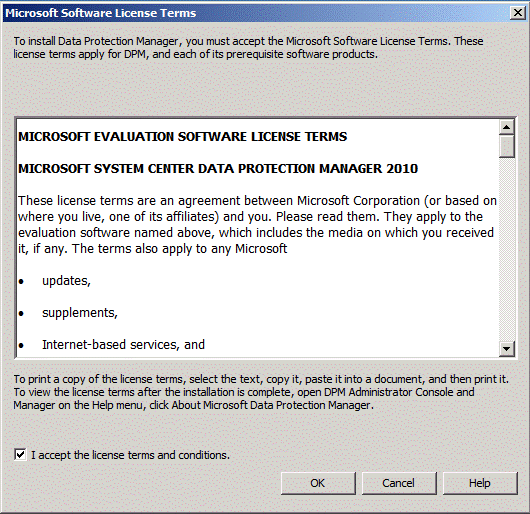
Figure 2
Some prerequisites will be installed and the installation will begin.
- On the Welcome page, click Next

Figure 3
- On the Prerequisites Check page, DPM installation will install the basic components and validate the required hardware. In addition, it will validate that .Net Framework 3.5.1, PowerShell 2.0 and Single Instance Store (SIS) are installed. If it does not find the components, it will install them as part of the DPM 2010 installation. If SIS is not installed, the installation of DPM will require a reboot to complete the SIS installation.
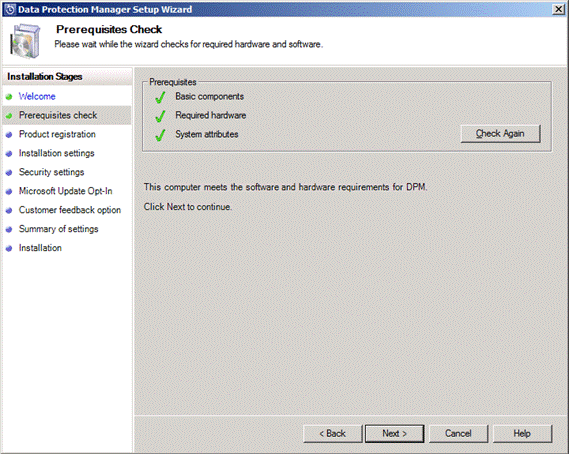
Figure 4
- Press Next to continue the installation
- Under the Product Registration, enter the Username and Company you desire and click Next

Figure 5
- On the Installation Settings page, select the SQL installation approach (dedicated or existing) and click Next

Figure 6
For this installation, I will be using a dedicated SQL installation. Refer to the DPM 2010 documentation for the options for an existing SQL installation.
- On the Security Settings page, enter the password for the local SQL server service acct that DPM will create, and then press Next
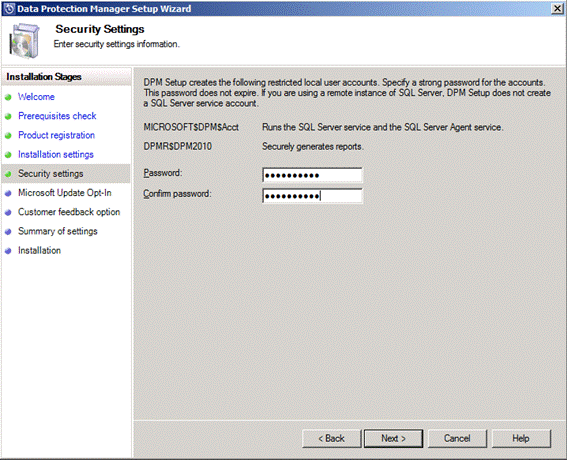
Figure 7
- On the Microsoft Update Opt-In page, select if you would like to check for security updates for DPM when you do security update checking, and press Next

Figure 8
- On the Customer Experience page, select if you want to participate in the Microsoft Customer Experience program, and click Next
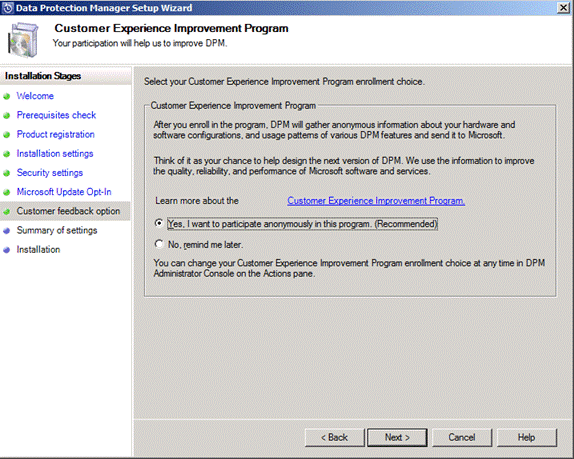
Figure 9
- On the Summary of settings page, review the settings for the DPM installation and then click Install to begin the installation.
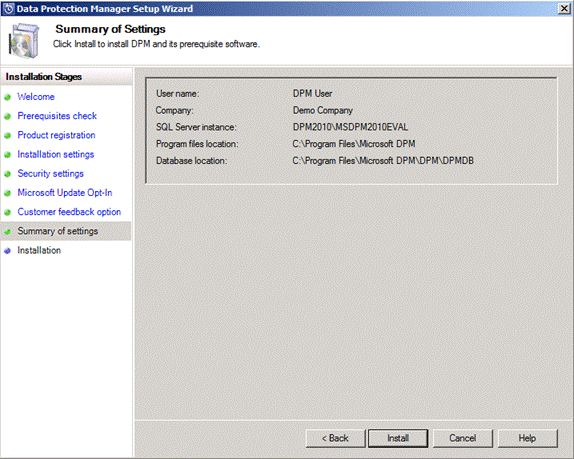
Figure 10
- The installation will begin
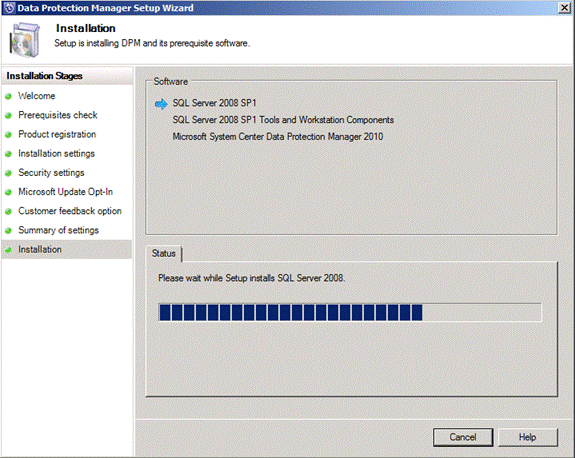
Figure 11
- You now have DPM 2010 installed

Figure 12
Conclusion
This article has shown that installing DPM 2010 to protect Hyper-V R2 servers and virtual machines is a simple process. The next article in the DPM 2010 series will cover configuring the DPM installation to prepare for backup and recovery of Hyper-V R2 servers and virtual machines.
If you would like to read the other parts in this article series please go to:


