If you are one of the many still running Exchange 2010 who is looking longingly at Exchange 2019, it is time to upgrade to and install Exchange 2016. Why 2016? You cannot install Exchange 2019 while Exchange 2010 exists in the environment.
In this article, we assume you already have an Active Directory environment with Exchange 2010. We will be building and installing Exchange 2016 servers and introducing them into the environment.
Let’s install Exchange 2016
In this article we will be performing the following:
- Installing Exchange 2016 prerequisites (PowerShell).
- Installing .NET 4.8.
- Installing UCMA 4.0 Runtime.
- Installing Visual C++ 2013.
- Run setup with the PrepareAD and PrepareSchema parameters.
- Installing Exchange 2016 unattended.
The following options need to be performed before the above installations, which we will not go into too much detail:
- Build your Exchange 2016 VM (either Hyper-V, VMM, or VMware).
- Install Windows Server 2016.
- Configure your 2x network cards, 1 for management and 1 for replication.
- Configure your page file.
- Join your server to the domain.
- Install all windows updates for Server 2016.
- Reboot your server.
- Download Exchange 2016 CUXX, UCMA 4.0, Visual C++ 2013, Prerequisites (PowerShell).
Nothing but .NET 4.8
With the newer cumulative updates for Exchange 2016, you are required to install .NET 4.8. Now if you are on .NET 4.7.2 as an example, you can install .NET 4.8 then reboot and after that perform the other installations and then install Exchange 2016.
Starting with .NET 4.8, you can download the offline installer, which is about 100MB, and then run the install. It will look similar to the images below:
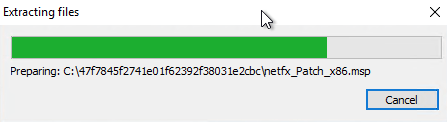
The install starts with the file extraction.

You need to accept the license terms and then you can click install.
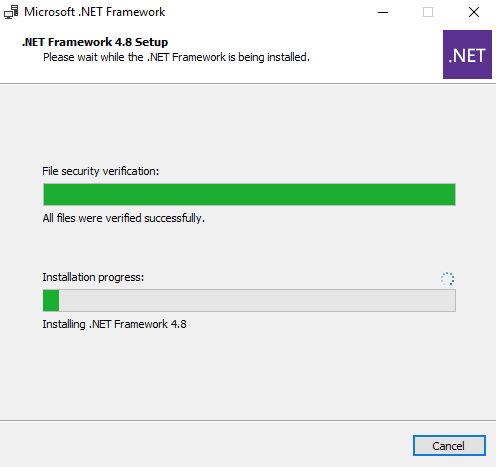
You can monitor the progress. It will install Visual C++ 2012 and then .NET 4.8

After it finishes, you can click Finish and you will be required to reboot your server. Once you have rebooted, you can install UCMA 4.0 Runtime
Install UCMA 4.0 Runtime
Here are the steps for this. It is straightforward:
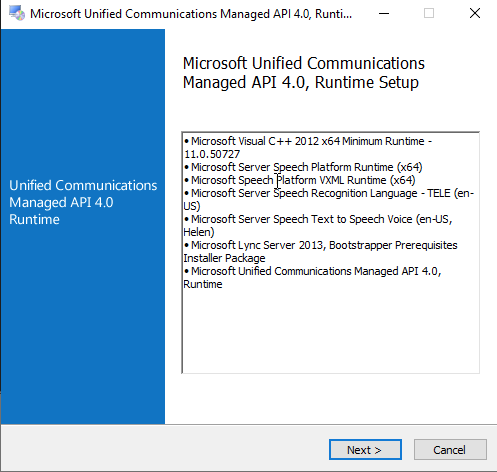
Start the installation of UCMA, you will see the screen above, click Next.

Accept the license agreement and you can opt-in for the additional information. Click Install to proceed.

The window above shows you the progress of this install. It takes a couple of minutes. Wait for it to finish.

Once it has finished, you can click the Finish button and then reboot your server.
Install Visual C++ 2013
After the reboot, you can install Visual C++ 2013 that you downloaded. You will have a window similar to below:

You need to accept the license agreement and then once you check the box, the Install button will highlight. Click install and wait for it to finish.
Next, we can install the prerequisites for Exchange. This installs the roles and features required for Exchange 2016. Below is the script:
Install-WindowsFeature NET-Framework-45-Features, RPC-over-HTTP-proxy, RSAT-Clustering, RSAT-Clustering-CmdInterface, RSAT-Clustering-Mgmt, RSAT-Clustering-PowerShell, Web-Mgmt-Console, WAS-Process-Model, Web-Asp-Net45, Web-Basic-Auth, Web-Client-Auth, Web-Digest-Auth, Web-Dir-Browsing, Web-Dyn-Compression, Web-Http-Errors, Web-Http-Logging, Web-Http-Redirect, Web-Http-Tracing, Web-ISAPI-Ext, Web-ISAPI-Filter, Web-Lgcy-Mgmt-Console, Web-Metabase, Web-Mgmt-Console, Web-Mgmt-Service, Web-Net-Ext45, Web-Request-Monitor, Web-Server, Web-Stat-Compression, Web-Static-Content, Web-Windows-Auth, Web-WMI, Windows-Identity-Foundation, RSAT-ADDS
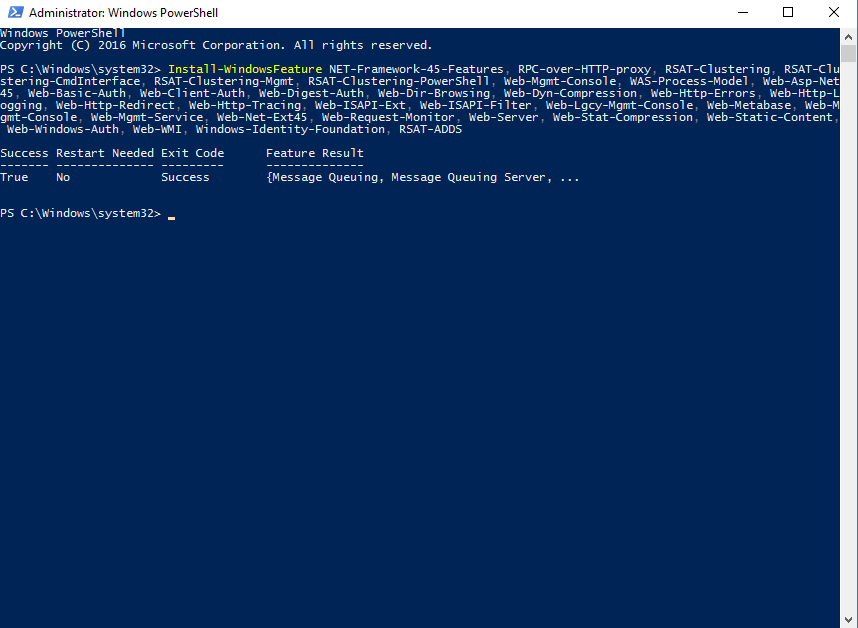
You can see above the prerequisites installed without a problem. It says no restart needed, but I advise you to reboot.
After the reboot, we can now run the commands to prepare the schema and Active Directory.
If you want to run this on an Exchange Server, you need to install the RSAT-Tools or you can copy the media to a domain controller and run it.
The first command we will run from an elevated command prompt is listed below:
Setup /PrepareSchema /IAcceptExchangeServerLicenseTerms
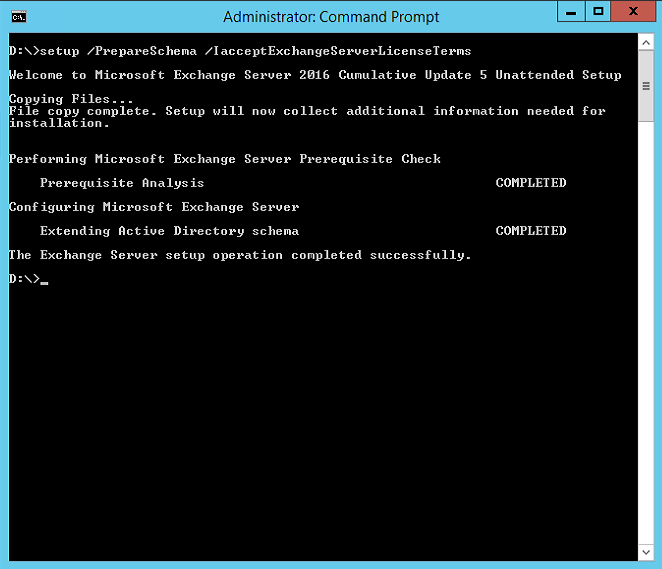
As can you see above, the command ran and it extended the schema. If you are CU12 for example and are installing CU15, no schema change is required.
Next, we need to run PrepareAD from an elevated prompt:
Setup /PrepareAD /IAcceptExchangeServerLicenseTerms

As you can see above, we have successfully run the PrepareAD command. The final piece before installing Exchange 2016 is to wait for Active Directory replication to complete. This can take five minutes or longer depending on how large your environment is.
Now we can proceed with the Exchange 2016 CU installation. We will be running the following command to perform the unattended installation:
.\Setup.exe /IAcceptExchangeServerLicenseTerms /m:Install /R:MB
Note: In this example, we are running CU13 unattended installation. It does not matter what CU it is, the command stays the same.
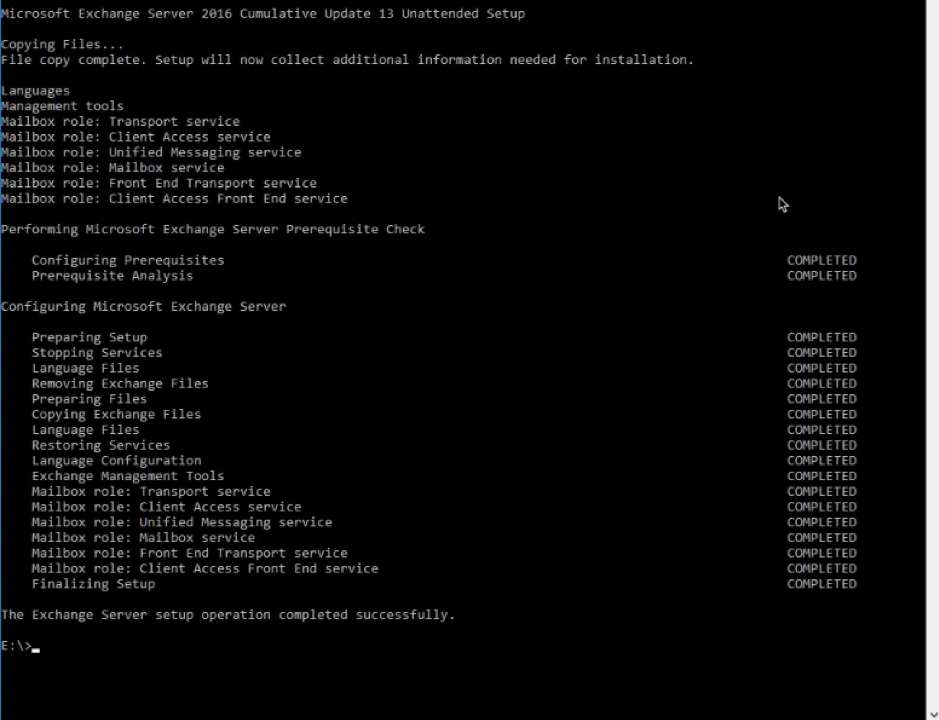
Depending on how your server is spec’d, the install can take 15-20 minutes, I have seen some take 2-3 hours as the server does not have enough CPU/Memory so it uses page file on disk and this causes latency.
You’ve installed Exchange 2016!
Now you have your brand-new Exchange 2016 Server. In the next article in this series, we will perform post-install configurations such as accessing the Exchange Admin Center and importing certificates.
Featured image: Shutterstock


Does we need to run command in Domain Server or Exchange Server?
I already know how to run that.