If you would like to read the other parts in this article series please go to:
- Introduction to Exchange Online – Uncovering BPOS (Part 1)
- Introduction to Exchange Online – Uncovering BPOS (Part 3)
- Introduction to Exchange Online – Uncovering BPOS (Part 4)
- Introduction to Exchange Online – Uncovering BPOS (Part 5) – Migrating on-premise mailboxes to Microsoft Online
- Introduction to Exchange Online – Uncovering BPOS (Part 6) – Cleaning up and decommissioning on-premise Exchange servers
Introduction
In part 1 of this article series in which we take a deep dive into Exchange Online, we went through what this article series will cover. In addition, we took a first look at what Exchange Online is as well as what this service can offer your business. Then, I explained how the infrastructure behind Exchange Online (and BPOS) has been designed. Finally, I gave you an estimate of the expected cost per Exchange Online user.
In this part 2 we will sign up for a trial so that we can set up coexistence and migrate our on-premise Exchange users, groups and contacts to Exchange Online.
Requirements
Although this specific article only goes through the steps necessary in order to sign up for a BPOS trial, now would be a good time to start thinking about setting up a lab environment so you can follow along with the steps provided in upcoming articles. You must have the following prepared and ready for use for part 3:
- At least one virtual or physical machine that has been promoted to a Domain Controller for a Windows 2000, 2003 or 2008 Active Directory forest.
- At least one virtual or physical machine that has the Exchange 2007 Client Access, Hub Transport and Mailbox server roles installed.
- Have a valid SMTP domain configured in the Exchange 2007 organization. Bear in mind that the users, groups and contacts you plan on migrating to Exchange Online need to be able to send and receive e-mail messages locally as well as to and from the Internet via this SMTP domain. This means that the domain must be registered at your DNS provider and that you have to create an MX record for this domain.
Note:
At the time of this writing, the Exchange Online Directory Synchronization tool which we will install later on in this article series, only exists in a 32-bit version. Since it is not supported to install this tool on a Domain Controller, you need to install it on a domain-member server. If you only have two servers (one DC and one Exchange 2007 server) available in your lab environment, you should install the 32-bit version of Window Server and Exchange 2007 on the machine dedicated to run Exchange 2007.
Warning!
I cannot stress enough that you should use a lab environment and NOT a production environment for the purpose of trying out the steps and procedures in this article series. Although the included steps are rather harmless, MSExchange.org takes no responsibility of any damage you do in a production environment.
Signing Up for an Exchange Online Trial
To begin the signing up process for a trial, we must go to this site. Here you need to select your country in the drop-down list and then click Continue as shown in Figure 1.
Note:
At the time of this writing, the Exchange Online service is only available to US residents. But when that is said you can actually just create a Windows Live ID in which you specify you live in the United States. In addition, you must enter a US postal address (can be fictional since it is not used in regards to BPO).
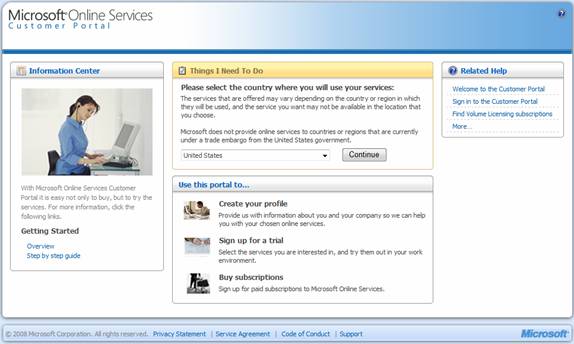
Figure 1: Selecting your country in the drop-down list on the MPOS Customer Portal
Then you need to sign in using your Windows Live ID as shown in Figure 2 below. Do so by clicking Sign in now.
Note:
If you do not have a Windows Live ID or if you do not want to use your existing Windows Live ID to sign up for Exchange Online, you can create a new one by clicking on Create One here.
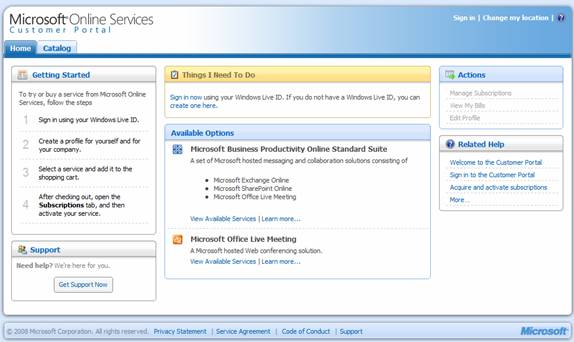
Figure 2: Signing in using your Windows Live ID
After clicking on the Sign in now link, you must sign in to the Microsoft Online Services Customer Portal (Figure 3).
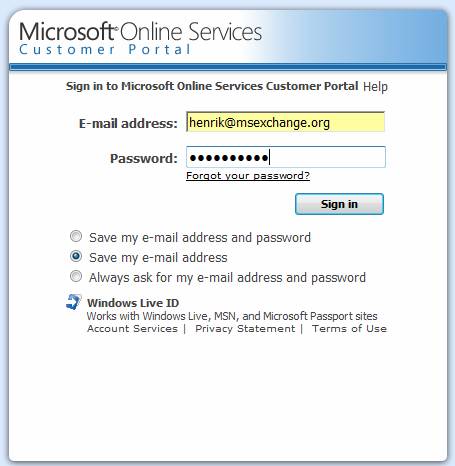
Figure 3: Entering Windows Live ID and password
When you logon to the Customer Portal for the first time, you must enter your contact information as shown in Figure 4. Then click Next.

Figure 4: Enter Contact information
You are now asked to enter your company information (Figure 5). Do so and click Next.

Figure 5: Entering Company Information
It’s time to enter your shipping address information (Figure 6). Then click Finish.
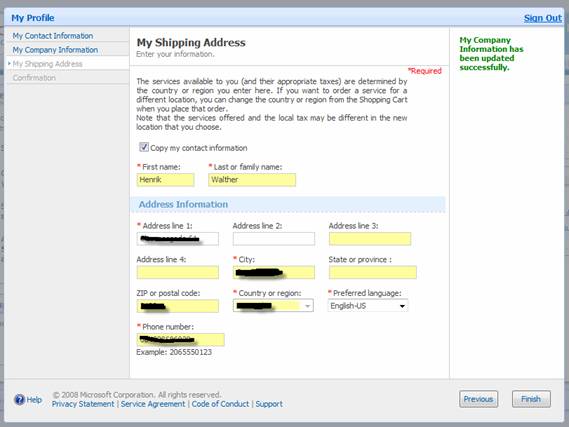
Figure 6: Entering your Shipping Address
You are taken to the confirmation page (Figure 7) and can now click Finish.
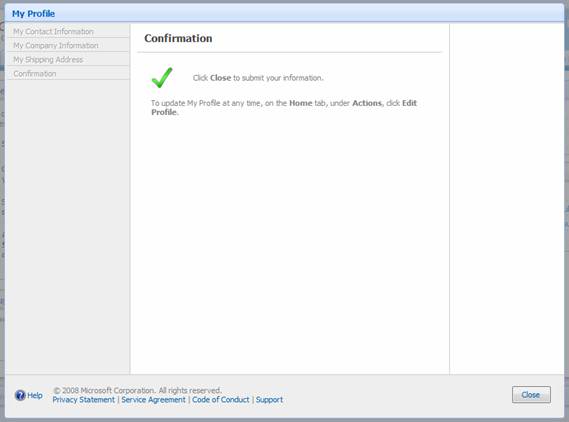
Figure 7: Confirmation page
Back on the main page of the Customer Portal, you now have an additional tab called Subscriptions. This means you now can sign up for a trial by clicking View available Services as shown in Figure 8.
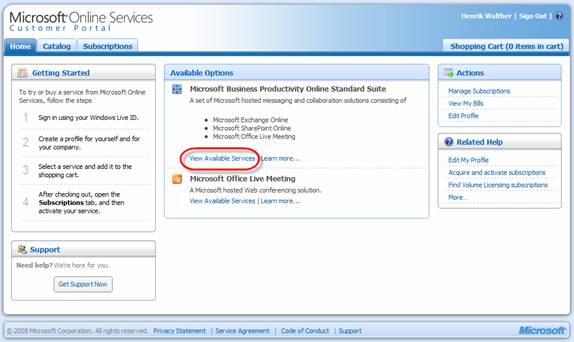
Figure 8: Additional services available
Under the Catalog tab, select Business Productivity Online Standard Suite (Figure 9), and then click on Add to Cart.
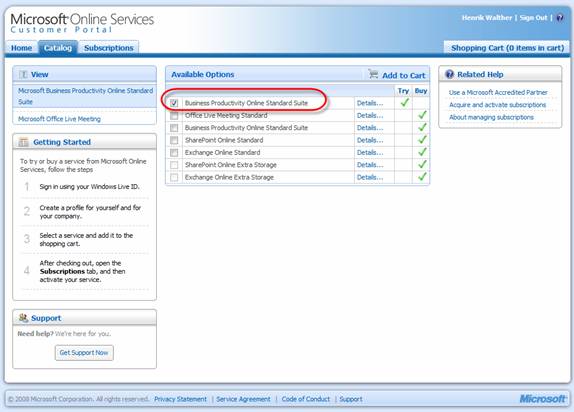
Figure 9: Selecting the Business Productivity Online Standard Suite
On the shopping cart page, click Proceed to Checkout (Figure 10).
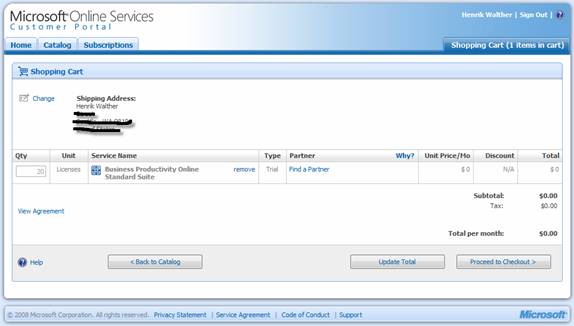
Figure 10: Shopping Cart
Read the subscription agreement, then set a checkmark and enter your name followed by clicking the I accept button (Figure 11).
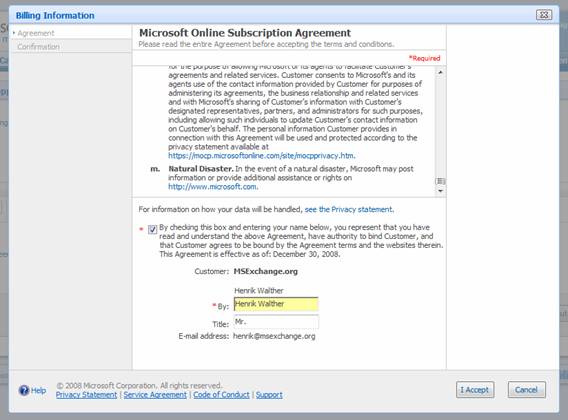
Figure 11: Microsoft Online Subscription Agreement
You are then taken to another confirmation page. Do as it says; make sure to allow e-mails sent from [email protected] through any spam filters you have deployed. Then click Close (Figure 12).
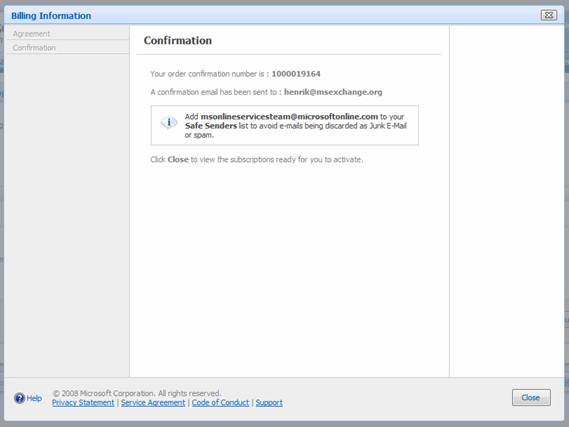
Figure 12: Confirmation page
You’re now taken back to the Subscriptions tab in the Customer Portal. Here you need to activate your subscription by selecting Activate now in the drop-down menu as shown in Figure 13.

Figure 13: Activating Subscription
In order to provision the service, you now have to enter the domain name you wish to migrate to Exchange Online (Figure 14). In this articles series I use the domain name exchangelabs.dk. When you have done so, click Next.
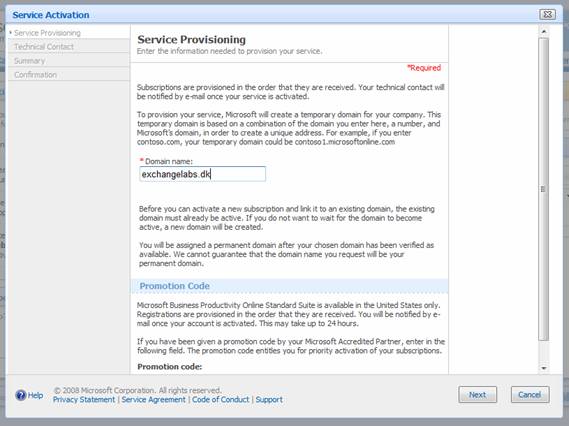
Figure 14: Service Provisioning
After having clicked Next, you now need to enter the technical contact details (Figure 15).
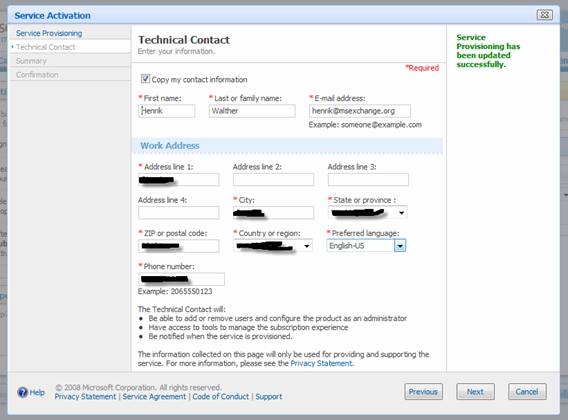
Figure 15: Entering Technical Contact Details
On the Summary page, click Finish (Figure 16).
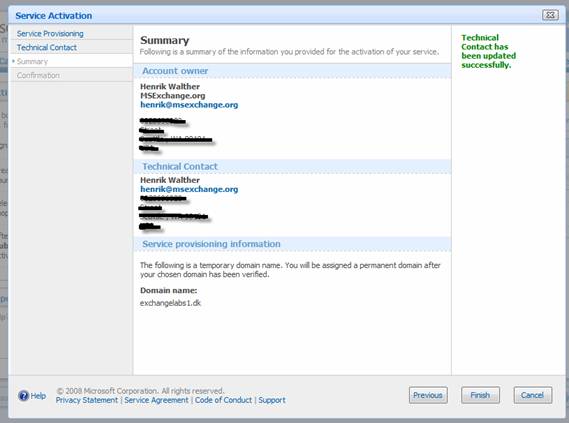
Figure 16: Summary Page
On the Confirmation page, click Close (Figure 17).

Figure 17: Confirmation Page
Back under the Subscriptions tab, you can see that the status for your subscription is In Queue as shown in Figure 18.
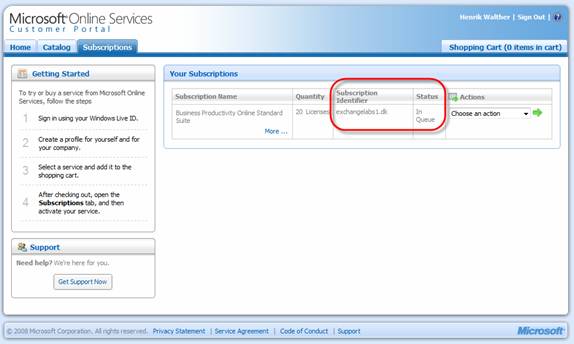
Figure 18: Subscription Status – In Queue
If you refresh your browser, the status should change to Activation in Progress (Figure 19). If this is not the case, please wait a while and refresh it again.
Note:
Activation can take up to 24 hours, but I have managed to get a domain created in less than 5 minutes, so it really depends on how busy the technical staff at Microsoft Online Services is.
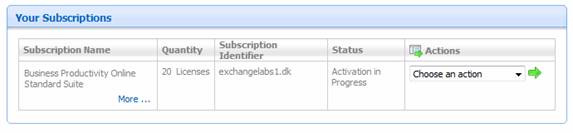
Figure 19: Subscription Status – Activation in Progress
When the status has changed to Service Active, the provisioning of your service subscription has been completed. This means that it is ready for use. When this is the case select Get credentials in the drop-down menu (Figure 20).
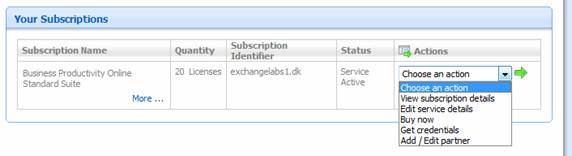
Figure 20: Selecting Get Credentials in the Drop-Down menu
You will now be provided with the username and password of the administrator account (Figure 21). This information will also be emailed to you.
Note:
The administrator account is use for all management in the Microsoft Online Service portal.
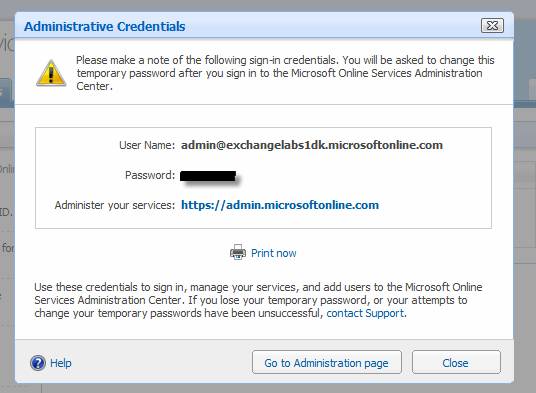
Figure 21: Administrative Credentials
Now click on Go to Administration page in order to open the Microsoft Online Services portal. You’ll be prompted for the administrator credentials (Figure 22), and be told to change the password after clicking Sign in (Figure 23).
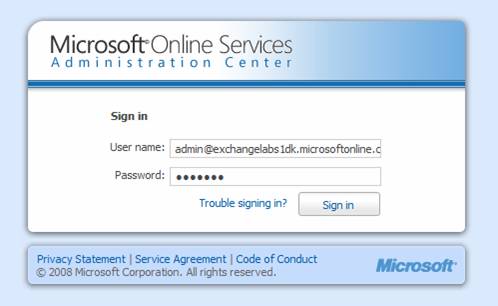
Figure 22: Logging into the Microsoft Online Services Administration Center
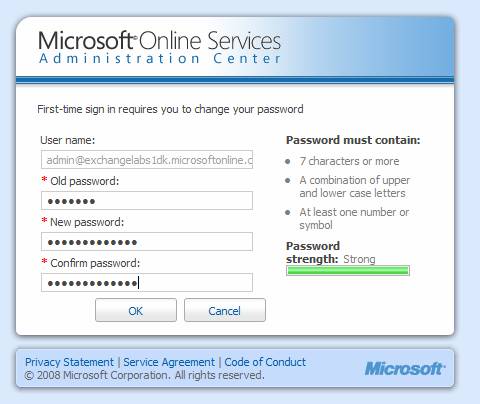
Figure 23: Changing the Administrator account password
When you have changed the password, click Continue on the screen shown in Figure 24.
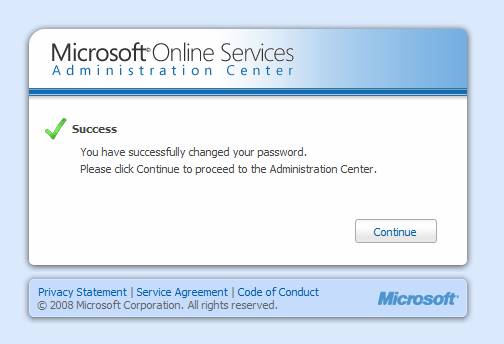
Figure 24: Password successfully changed
You are now taken to the Microsoft Online Services Administration Center as can be seen in Figure 25.
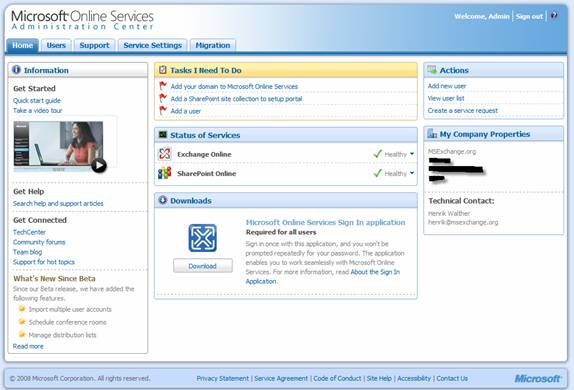
Figure 25: Main page in the Microsoft Online Services Administration Center
We should now be ready for the fun part of this article series, which is the coexistence and migration stuff.
Summary
In this part 2 of this article series which takes a deep dive into Exchange Online, we went through the steps necessary in order to sign up for a BPOS trial, so that we can test Exchange Online during the next articles.
In the next part, I will take you on tour through the web-based Microsoft Online Services Administration Center as well as show you how to configure coexistence between Exchange Online and your on-premise Exchange messaging infrastructure. Until then, enjoy!
If you would like to read the other parts in this article series please go to:
- Introduction to Exchange Online – Uncovering BPOS (Part 1)
- Introduction to Exchange Online – Uncovering BPOS (Part 3)
- Introduction to Exchange Online – Uncovering BPOS (Part 4)
- Introduction to Exchange Online – Uncovering BPOS (Part 5) – Migrating on-premise mailboxes to Microsoft Online
- Introduction to Exchange Online – Uncovering BPOS (Part 6) – Cleaning up and decommissioning on-premise Exchange servers


