If you would like to read the other parts in this article series please go to:
- Introduction to Exchange Online – Uncovering BPOS (Part 1)
- Introduction to Exchange Online – Uncovering BPOS (Part 2)
- Introduction to Exchange Online – Uncovering BPOS (Part 3)
- Introduction to Exchange Online – Uncovering BPOS (Part 5) – Migrating on-premise mailboxes to Microsoft Online
- Introduction to Exchange Online- Uncovering BPOS (Part 6) – Cleaning up and decommissioning on-premise Exchange servers
Introduction
In part 3 of this article series, we went through the steps necessary in order to configure e-mail coexistence between our on-premise environment and Exchange Online. More specifically we added our SMTP domain to MSOL and made sure messages in transit between the environments were sent over a TLS secured connection.
In this part 4, we will install the Microsoft Directory Synchronization tool and replicate AD users, groups and contacts from our on-premise Active Directory to MSOL as disabled user accounts. We will also take a geeky, behind the scenes look at the Directory Synchronization engine which is based on the Identity Lifecycle Manager (formerly known as MIIS).
Let us get going!
Enable Microsoft Online Services for Directory Synchronization
Now that e-mail messages in transit between our on-premise Exchange messaging environment and MSOL have been properly secured using TLS, we can move on and enable one-way synchronization from our on-premise environment to MSOL. This is done underneath the Directory Synchronization subtab under the Migration tab in the MSOL Administration Center as shown in Figure 1. Here you should checkmark Read Plan for Directory Synchronization under step 1, and then click the Enable button under step 2.
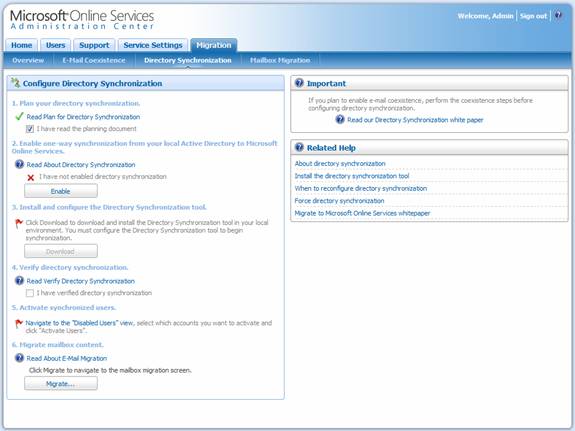
Figure 1: Preparing MSOL for Directory Synchronization
This will bring up the window shown in Figure 2. Read it and click Enable.
Note:
As you can also see, in the window shown in Figure 2, enabling directory synchronization simply prepares MSOL for one-way directory synchronization. Nothing is replicated from your on-premise environment, when you click the Enable button. Also notice that after directory synchronization has been enabled, properties of mailbox-enabled users and e-mail-enabled groups and contacts must be managed from the Active Directory Users and Computers MMC snap-in or the Exchange Management Console/Shell in your on-premise environment.
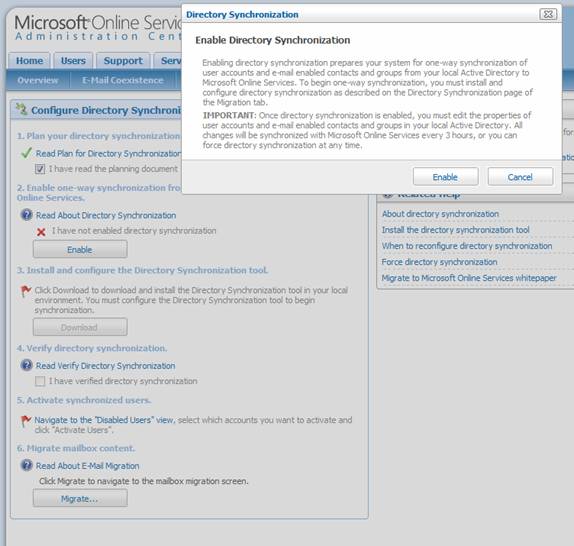
Figure 2: Preparing MSOL for Directory Synchronization by clicking the enable button
Installing and configuring Directory Synchronization tool
The next step is to download the Microsoft Online Services Directory Synchronization Tool via the download link in step 3 shown back in Figure 2.
The Microsoft Online Services Directory Synchronization Tool is used to perform a one-way replication of user, group and contact objects from Active Directory in your on-premise environment to MSOL. This means the tool must be installed on a member server in your Active Directory. However, bear in mind that you cannot install it on a domain controller. In addition, only an x86 version of the tool is available for download at the time of this writing. Finally, the tool can only be installed on a Windows 2000 or 2003 server. Currently the tool cannot be installed on Windows Server 2008.
When you have downloaded the tool and copied it to the domain member server you wish to install in on, you should launch the MSOL DirSync Tool Setup wizard by double-clicking on dirsync.exe (Figure 3).
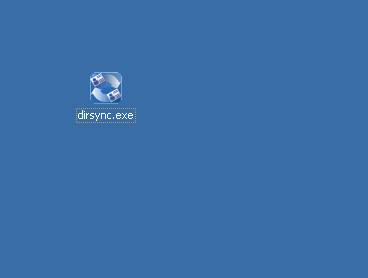
Figure 3: Launching DirSync.exe
This will bring on the setup wizard Welcome page as shown in Figure 4. Click Next.

Figure 4: Setup Wizard – Welcome page
You are taken to the license agreement page (Figure 5). Read it and click Next.
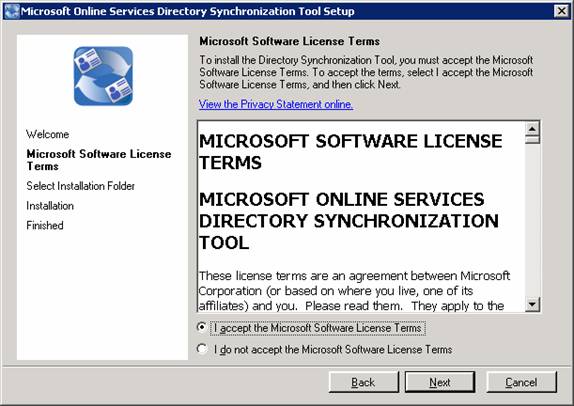
Figure 5: Setup Wizard – License Agreement page
Next page is where the installation folder is specified (Figure 6). Typically there would be no reason to change it, so click Next.
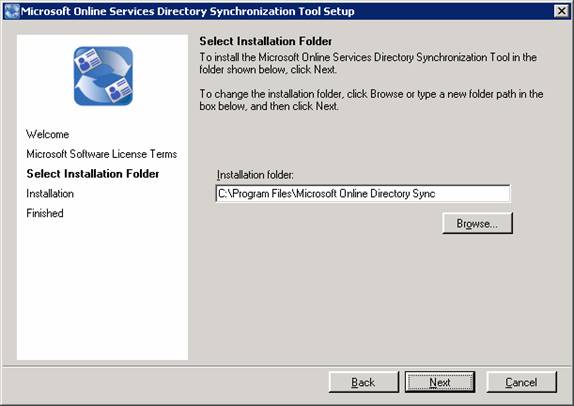
Figure 6: Setup Wizard – Installation folder page
The Setup wizard will now begin to install the Microsoft Online Services Directory Synchronization Tool (Figure 7).
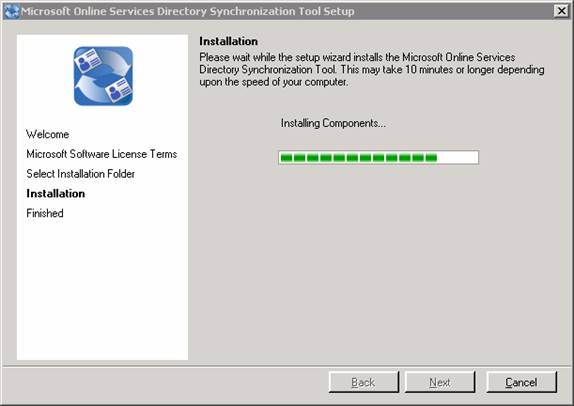
Figure 7: Installaing the Directory Synchronization Tool Components
When the installation has completed, click Next (Figure 8).

Figure 8: Instalaltion Complete
On the next screen, we can choose to have the Configuration Wizard launched after clicking Finish (Figure 9). If you wish to set up the replication now, check this option.
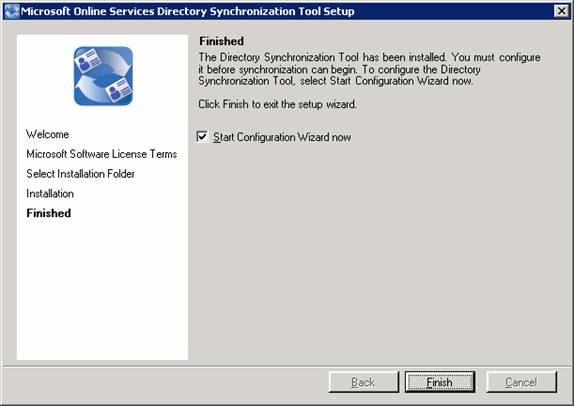
Figure 9: Finishing Installation and launching Configuration wizard
On the Configuration Wizard welcome page, click Next (Figure 10).

Figure 10: Configuration Wizard – Welcome page
Now we need to enter the credentials of an account with service administrator permissions in our MSOL environment. Typically this is the [email protected] account. Do so and click Next (Figure 11).
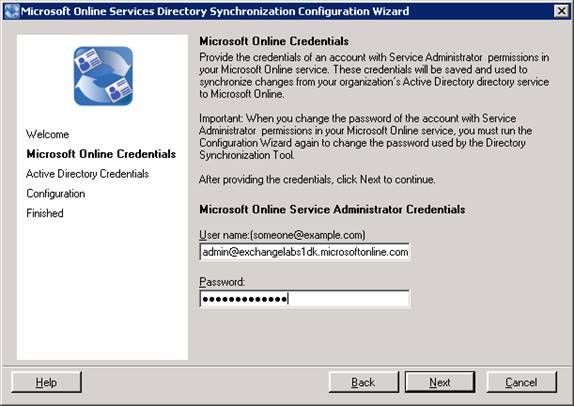
Figure 11: Entering Microsoft Online Service Administrator credentials
And then we need to enter the credentials of an account with Enterprise Admin permissions in our on-premise Active Directory. Do so and click Next (Figure 12).
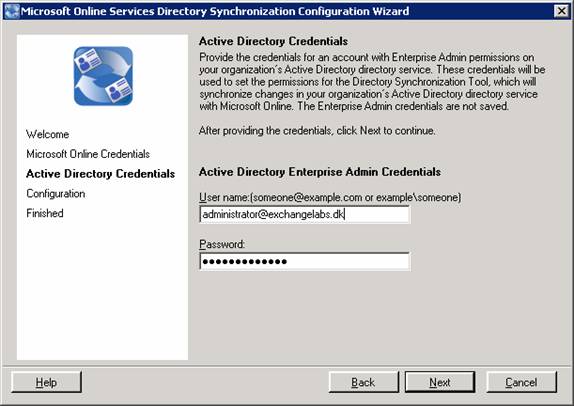
Figure 12: Entering Active Directory Enterprise Admin credentials
When the configuration has completed, we can click Next (Figure 13).
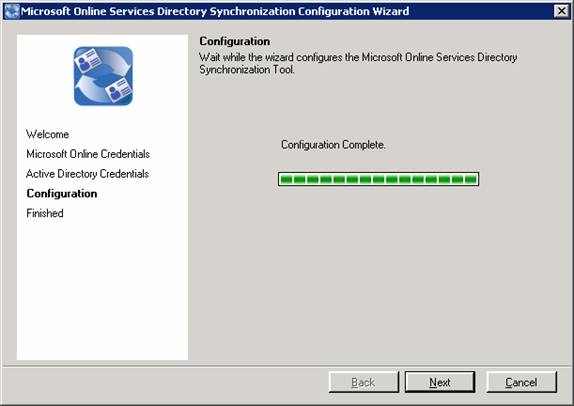
Figure 13: Configuration complete
On the Finished page, we can choose to force one-way directory synchronization immediately by checking Synchronize directories now (Figure 14). If we do not choose this option, it will be done in three hours, and from there, once every three hours. Let us choose to do it immediately and then click Finish.
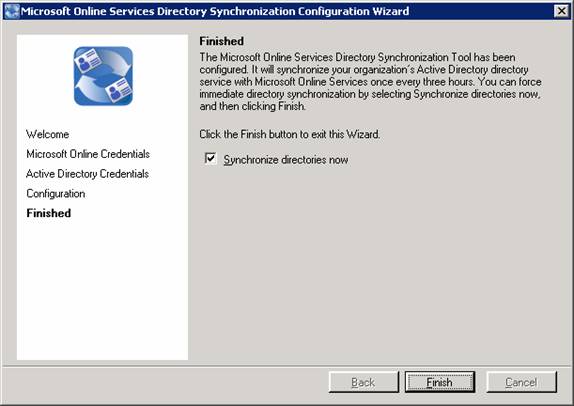
Figure 14: Finsihing configuration wizard and beginning one-way synchronization
We are now presented by this dialog box shown in Figure 15. Click OK and then let us verify replication has completed successfully.

Figure 15: Dialog box providing information about directory synchronization verification
There are several ways you can verify the replication to Exchange Online completed successfully. First, I recommend you open the Application log on the server running the Directory Synchronization tool and look for an Event ID 4 (Figure 16). When Event ID 4 is logged, it means that an export of the Active Directory objects has been completed.

Figure 16: Event ID 4 in the Application log
When this is the case there is a good chance you can see the AD objects represented as disabled users in the MSOL environment. So let us switch over to the MSOL Administration Center. Here you should click on the User List subtab underneath the Users tab. Then click Disabled user accounts in the left pane. This will bring up a list of all the AD user objects replicated from your on-premise Active Directory (should look similar to Figure 17).
Note:
You can also verify replication using a much better method. You can read more about this in the last section of the article.
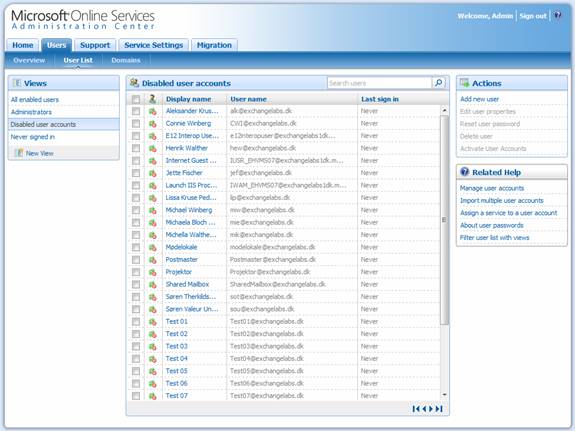
Figure 17: Disabled User accounts in the MSOL Administration Center
Now click on the Exchange Online subtab underneath the Service Settings tab (Figure 18). Here you should verify that you can see any AD contacts and groups that exist in your on-premise AD.
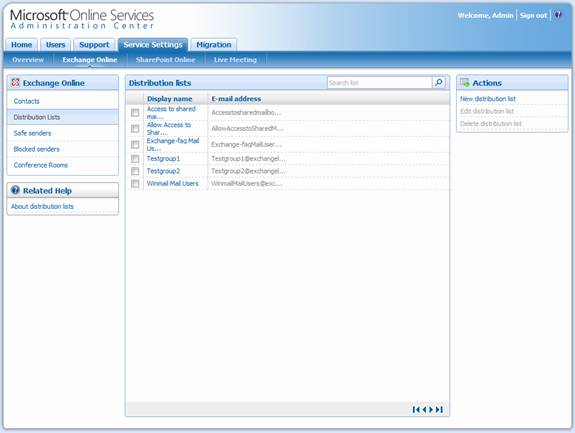
Figure 18: Replicated Distributions Lists
With our on-premise users, groups and contacts replicated to MSOL, we now have a unified global address list in the MSOL environment meaning that MSOL users can now send mail to on-premise users, groups and contacts by looking them up in the default GAL (Figure 19).
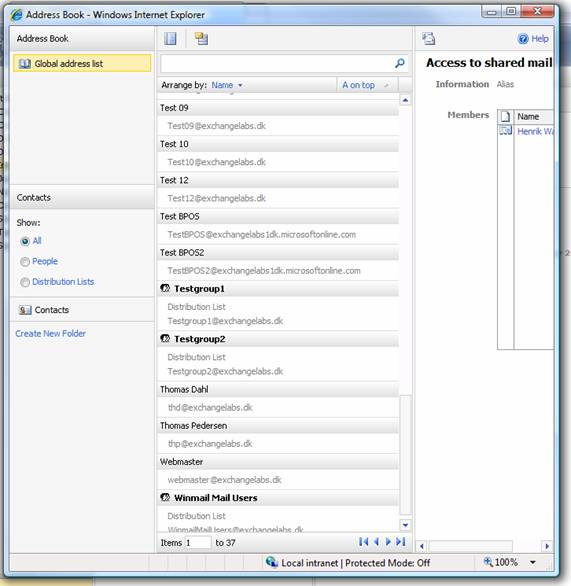
Figure 19: Unified GAL in MSOL environment
All users, groups and contacts replicated to MSOL have been configured with their default on-premise e-mail address as the target address. This means that all e-mail sent to these replicated AD objects will be forwarded to the respective users, groups and contacts in the on-premise environment. Alright we have reached the end of part 4, but you can look forward to part 5 being published in a very near future. I hope you enjoyed the journey so far.
Summary
In this part 4 of this article series which takes a deep dive into Exchange Online, we went through the steps necessary in order to set up directory synchronization between our on-premise environment and MSOL. More specifically, we installed the Directory Synchronization tool and replicated AD users, groups and contacts from our on-premise Active Directory to Exchange Online as disabled user accounts. Then we took a geeky, behind the scenes, look at the Directory Synchronization engine which is based on the Identity Lifecycle Manager (formerly known as MIIS).
In the next part, we will enable the disabled user accounts that were created in the MSOL environment by the Directory Synchronization tool. Then, we will install the Exchange online Migration Tool and start migrating mailbox content from on-premise mailboxes to MSOL.
If you would like to read the other parts in this article series please go to:
- Introduction to Exchange Online – Uncovering BPOS (Part 1)
- Introduction to Exchange Online – Uncovering BPOS (Part 2)
- Introduction to Exchange Online – Uncovering BPOS (Part 3)
- Introduction to Exchange Online – Uncovering BPOS (Part 5) – Migrating on-premise mailboxes to Microsoft Online
- Introduction to Exchange Online- Uncovering BPOS (Part 6) – Cleaning up and decommissioning on-premise Exchange servers


