Sponsored by Stellar Data Recovery
Microsoft Exchange Server database consists of three main components — database file (.edb), log files (.log), and checkpoint file (.chk). Exchange Server uses log files to record all transactions made on the Exchange Server before committing them to the database. The Exchange Information Store (IS) and Directory uses a write-ahead logging method where the transactions are written to transaction logs and checkpoint files to maintain high availability, data integrity, and avoid data loss when having a lot of access, read/write on the database.
Thus, Exchange servers with substantial traffic can generate several hundred transaction logs each day that can take up a lot of space on the server storage. As the server starts reaching the storage threshold, its performance goes down, apart from having all the clients complaining that they cannot receive or send emails. If there is no more storage left, it possibly damages the database and the files.
Though you may delete the log files from the server to recover server storage, it can lead to database corruption if the deleted logs were not committed or played to the database before deletion. Thus, it’s important to keep an eye on the transaction logs and manage them to ensure server performance and avoid database corruption.
Below we have illustrated some methods that you can use to protect and manage log files in your Exchange Server. These methods will also help you recover storage space on the server drive without causing database corruption or data loss while maintaining a healthy system.
Importance of log files in Exchange
Before committing any data to the database, Exchange records transactions or changes to the database in log files until the transaction is complete. Once the transaction completes, logs are committed to an in-memory copy of the database. Furthermore, details of logged transactions that are written or committed to the database files are stored in a checkpoint file (.chk).
Once the transaction logs are committed to the database, the changes in the database can be rolled back as transaction logs record at the beginning and end of the transaction. However, if the transaction logs are removed or missing, you cannot undo the changes.
If an uncommitted log file is removed or the server restarts/stops unexpectedly while or before committing the transaction logs, it can cause a database inconsistency issue. This can lead to data corruption, with the state of the database showing as Dirty Shutdown and you will not be able to mount the database. This also disrupts the email and Exchange services.
Apart from this, transaction log files play a significant role in the Exchange backup and recovery operations. They are required by the Windows Server Backup to create Volume Shadow Copy Service or VSS-based Exchange data backups and help when you need to fix or recover damaged Exchange database.
Methods to manage log files in Exchange Server
Below we will be discussing three different methods to manage the transaction logs of any Exchange Server from 2007 onwards.
Store log files and database in a separate disk
When log files are generated, they not only eat up a lot of server storage space but may also put a heavy load on the server due to increased I/O activity. To ensure server performance and reduce disk I/O activity on the server drive, it is suggested to store your database logs in a dedicated hard disk separate from the database drive. Apart from solving the storage issue, it also reduces the load from the Exchange Server.
Use Windows Server Backup (WSB)
In the Exchange Server, you can back up and remove the transaction logs from the server by performing a custom backup via Windows Server Backup or any other application-aware backup software. This Exchange plug-in enables Exchange users and admins to create application-aware VSS or Volume Shadow Copy Service-based backup of your Exchange Server. Based on the backup option you select, the WSB issues a command to VSS on the server to keep or truncate the transaction logs automatically after the backup completes.
If you wish to remove the log files after a successful backup, you must choose the Custom backup option and select specific volumes or folders and files, instead of the entire Exchange for the backup. The steps are as follows:
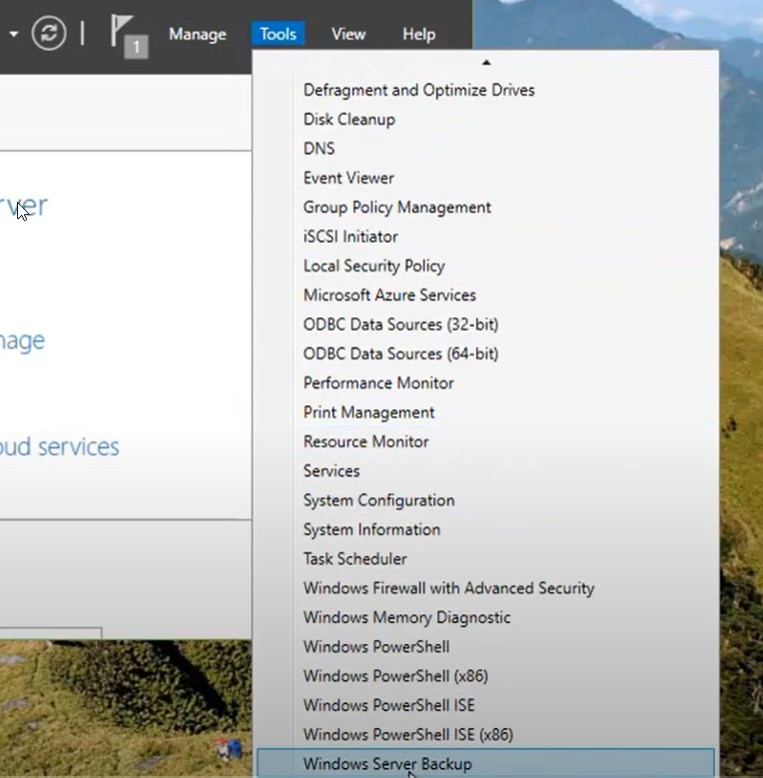
- In the server’s Server Manager dashboard, click on Tools and select Windows Server Backup.
2. Click on Backup Schedule… or Backup Once… based on your preference to open the backup wizard.
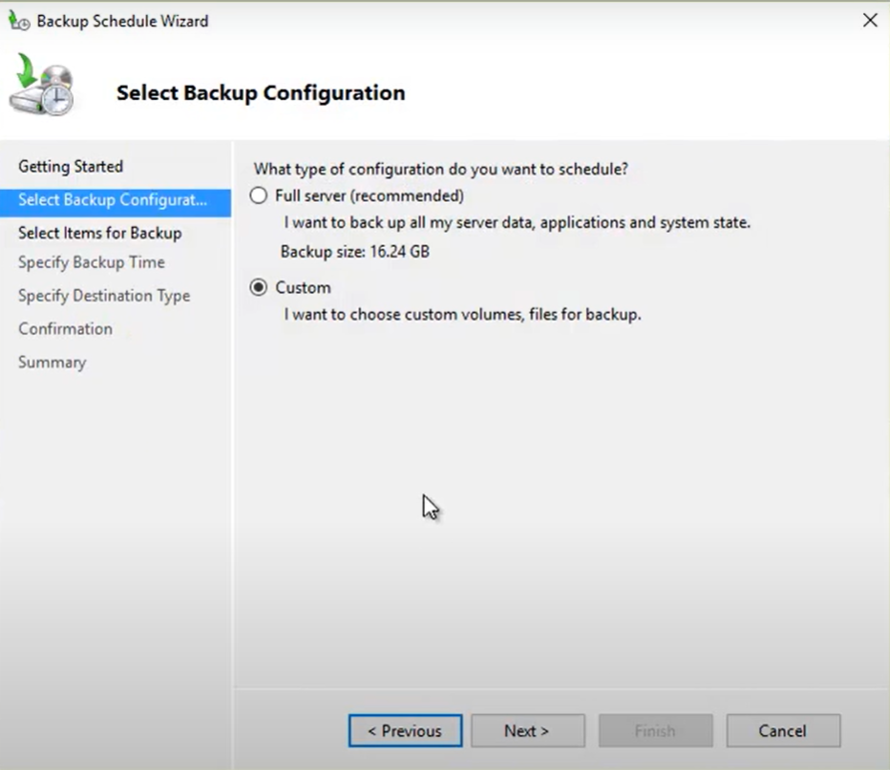
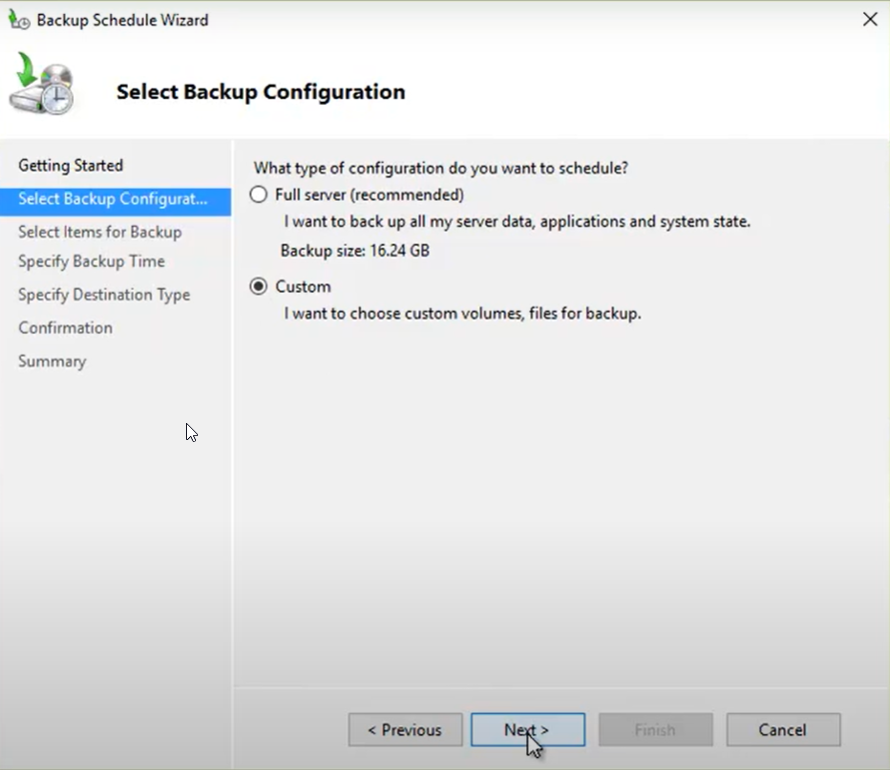
3. Select the Custom option and click Next.
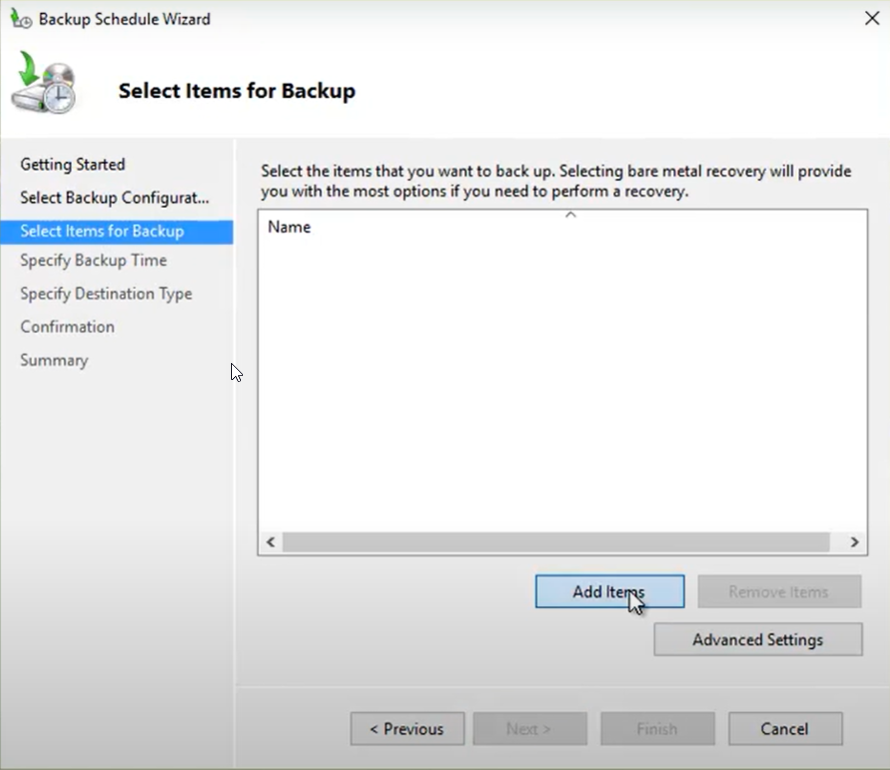
4. Click on Add Items and then choose the drive volume or database folder that contains the database and transaction logs for backup. Click Next.
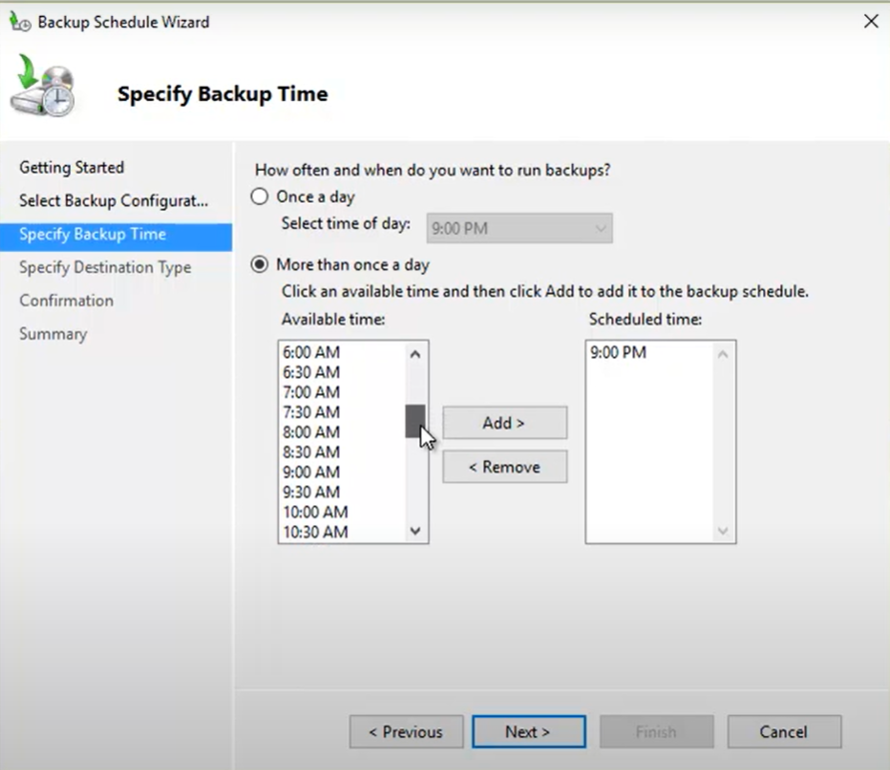
5. If you are scheduling the backup, choose the time and frequency of the backup. Click Next.
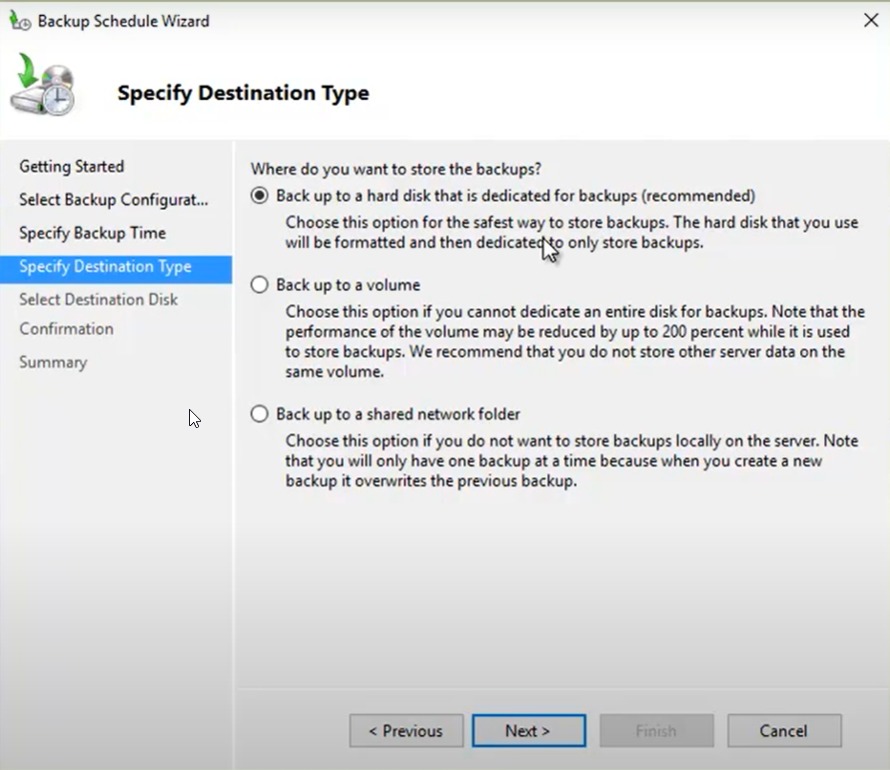
6. Choose where you want to store the backup — a dedicated drive, volume, or network location. Then click Next.
8. Confirm your selection by clicking Yes when prompted and then click Finish.
This not only helps you safeguard your Exchange database but also recovers storage space used by the log files.
NOTE: This will format the selected destination disk. Make sure the disk content is backed up to avoid data loss.
Circular logging
Circular logging in Exchange Server is a process of conserving storage space on the server by removing the log files. Unlike the earlier method, where log files are truncated after backup is complete or graceful shutdown, circular logging (if turned on) enables Exchange to truncate the transaction log files after the logs are played or committed to the database.
Although this may appear to be the perfect solution for managing the log files in Exchange and recovering the storage space, you will not be able to recover or restore a database when it gets corrupt. Even if you restore it, you may lose data. In such cases, you will require an Exchange recovery tool to restore the database.
To enable circular logging in Exchange, follow these steps:
- Open Exchange Admin Center (EAC) and navigate to Servers > Databases.
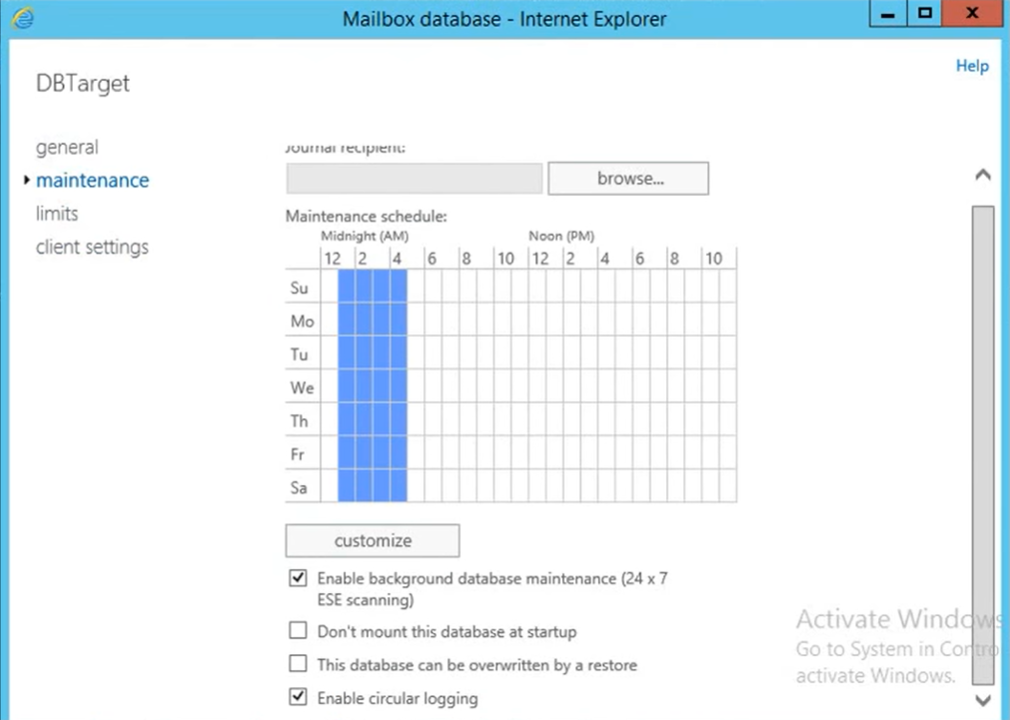
- Double-click on the mailbox database that you want to configure.
- Click the Enable circular logging checkbox under Maintenance and then click Save.
- To apply changes, you must dismount and then mount the database. Click OK to close this warning message.

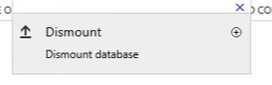
- To dismount the database, right-click on the database and choose Dismount database. Click yes to confirm.
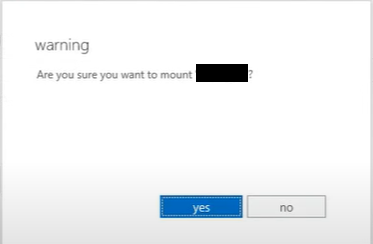
- To mount the database, right-click on the database and choose Mount the database. Click yes to confirm.
This enables and applies circular logging to the Exchange Server.
Alternatively, you can use the following Exchange PowerShell command to enable circular logging:
Set-MailboxDatabase MBXDB01 -CircularLoggingEnabled $True
To disable circular logging via EMS, replace True with False in the above command.
Wrapping it all up
As discussed in this article, Exchange Server provides various options and plug-ins to manage transaction log files on the server. You may follow any method discussed in the article based on your convenience, requirements, or preferences. However, if log files are lost, accidentally deleted, or the database enters an inconsistent state (Dirty Shutdown) after logs are deleted by circular logging, you can use the EseUtil utility in Exchange to recover the database. Further, you can use a third-party tool, such as Stellar Repair for Exchange, if EseUtil fails to restore the database.
Featured image: Shutterstock / TechGenix photo illustration


Great post Bharat thanks for writing this up, perfect timing too as currently looking into an issue with Exchange VSS Writers and logs not being truncated after a backup.
Hi Mark, Did you find a solution? If not, you need to check the event viewer for the problem. It could be due to several reasons, such as unmounted database or incomplete backup. Check and share the Event details.
Good post! We will be linking to this particularly great article on our site.
Keep up the good writing.
Stop by my website; Escorts Service Near Gijhore Sector 53 Riya Call Whatsapp Gijhore Sector 53 Call Girl