If you would like to read the next part in this article series please go to Managing Exchange 2007 using PowerGUI (Part 2)
Introduction
In Exchange Server 2007, management of single recipients, databases, servers and other objects can typically be performed from within the Exchange Management Console, but when you are required to perform bulk changes of one or more of these objects, you need to turn to the new Exchange Management Shell (EMS). Although the Exchange Product group did everything in their power to make managing tasks via the EMS as easy, simple, and painless as possible, Exchange administrators with no scripting experience at all can find it extremely difficult to manage objects using this new command shell. Because a lot of work went into creating consistent verb-noun pairs (aka cmdlet’s), most Exchange administrators don’t have a problem issuing single cmdlet’s such as Move-Mailbox or Get-MailboxDatabase, but as soon as it comes to using piping (meaning one cmdlet makes use of the output of another cmdlet) or simply modifying objects in bulk, most Exchange administrators get stuck.
In addition to the above, the frustrated Exchange administrators have to use the EMS to manage public folders, POP3/IMAP4 access and many other Exchange 2007 features until Exchange Server 2007 Service Pack 1 RTWs.
So what can you do to begin mastering the Exchange 2007 cmdlets? Well this is where PowerGUI comes into the picture. PowerGUI is a freeware tool developed by Dmitry Sotnikov who’s a CTO in the Windows Management group at Quest Software. PowerGUI is an extensible graphical administrative console, which you can use to manage systems based on Windows PowerShell technology. At the time of this writing this includes Windows XP/Vista, Windows Server 2003/2008, Operations Manager 2007 and other new systems from Microsoft. As I’ll show you throughout this articles series, PowerGUI allows you to use the rich capabilities of Windows PowerShell in a familiar and intuitive GUI console.
Alrighty, we have covered enough background information now let’s get started…
Installing PowerGUI
First thing we want to do is to download the latest version of PowerGUI (which at the time of this writing is version 1.0.6 beta) from the PowerGUI.org site. Then we simply launch the PowerGUI.msi package in order to begin the installation process. On the first page, click Next as shown in Figure 1.1.
In this article series, we’ll install PowerGUI directly on an Exchange 2007 server, but you could also install the tool on another server or Windows XP client with the Windows 2003 AdminPak and Exchange 2007 System Management tools installed.
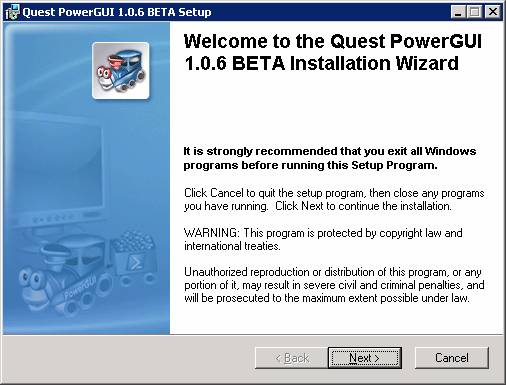
Figure 1.1: PowerGUI Installation Wizard – Welcome Page
Now accept the license agreement and click Next once again. This brings us to the User Information page, which you should fill out and then click Next.
On the Select Features page, we can select which PowerPacks we want to install. As you can see in Figure 1.2, the PowerPack for Exchange 2007 is selected by default, so we can just click Next.
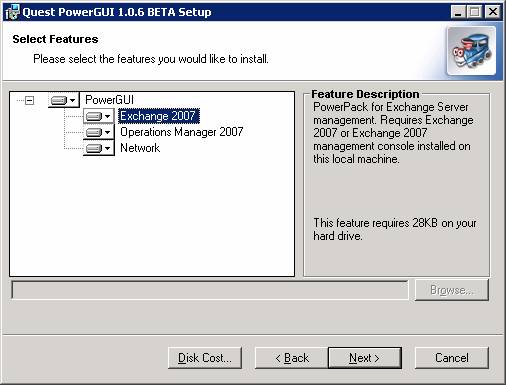
Figure 1.2: PowerGUI – Selecting Features to be installed
All necessary information has now been collected by the Installation Wizard, and we can click Next in order to let the actual installation to begin. When the installation has completed, click Finish as shown in Figure 1.3.

Figure 1.3: Completing the PowerGUI Installation
Using PowerGUI to Manage Exchange Server 2007
With PowerGUI installed, we can launch the application by clicking Start > All Programs > PowerGUI (Figure 1.4).

Figure 1.4: Launching PowerGUI
When PowerGUI has been launched you’ll see a screen similar to the one in Figure 1.5. This is the main console from where we, in this case, can manage Exchange Server 2007 objects.

Figure 1.5: PowerGUI Main Console
As you can see, the PowerGUI console looks very similar to a traditional MMC, it has a navigation tree, a work pane and an action pane as you’ll see in a moment.
Managing Mailbox Users
The first thing I wanted to show you is how you can manage mailbox users in bulk. To see a list of all mailbox users, click the Mailboxes object under the Recipients container. This will give us a list of all mailbox user objects (Figure 1.6), where the Name of the user, Alias, ServerName, and ProhibitSendQuota are the mailbox properties that are listed by default.

Figure 1.6: Listing Mailbox User Objects
If you want to have additional mailbox properties listed, you can right click on one of the columns, then choose the respective mailbox properties on the context menu as shown in Figure 1.7 below.
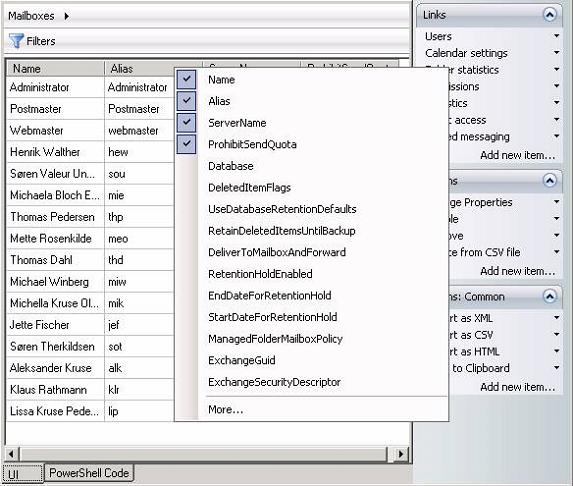
Figure 1.7: Selecting Mailbox Properties
Clicking More will reveal a complete list with all properties that are available for a mailbox-enabled user object (Figure 1.8).

Figure 1.8: List of additional Mailbox Properties
Let’s switch back to the main PowerGUI console again. As you could see back in Figure 1.6, the Prohibit Send Quota for my mailbox is set to 5GB (5000000KB). Let’s try to set this same quota for the rest of the mailbox recipients (which are all currently set to unlimited). To do so, we first need to select each of the users by holding down CTRL while clicking on each of them, or by clicking CRTL+A to select all, then de-select the mailbox already configured with this limit. When the respective mailbox recipients have been selected, click Change Properties in the Action Pane. This will bring up the Change Properties Parameters window shown in Figure 1.9. Here we need to scroll down to the ProhibitSendQuota property, and then specify the new value followed by clicking OK.
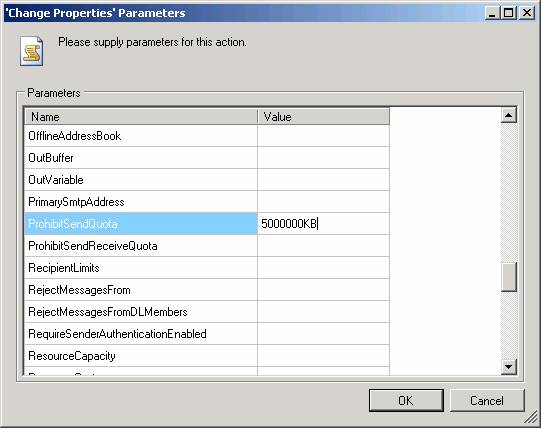
Figure 1.9: Changing ProhibitSendQuota for selected Mailbox Users
That was pretty easy right?
Exposed Cmdlet Code
Just like is the case with the wizards in the Exchange Management Console, you have the option of seeing the exact PowerShell commands used to perform specific tasks. This is done by clicking the PowerShell Code tab in bottom of the work pane (Figure 1.10). This gives you the option of reusing the code in a custom PowerShell script etc.

Figure 1.10: Exposed PowerShell Code
Search Filters
PowerGUI also gives you the option of filtering objects in a similar way as to how filtering works within the Exchange Management Console (you can even create multiple filters) by clicking the Filters in the top of the work pane as shown in Figure 1.11.

Figure 1.11: Using Search Filters
That was it for part 1 of this article series covering the PowerGUI tool, but you can look forward to part 2 which will be published in a near future. Until then have a nice one!
If you would like to read the next part in this article series please go to Managing Exchange 2007 using PowerGUI (Part 2)


