Power Automate has long been a part of the Microsoft 365 suite. If you are not familiar with Power Automate, it’s a tool that allows you to automate workflows within the Microsoft 365 ecosystem. More recently, however, Microsoft has created a desktop version that is aptly named Power Automate Desktop. This app can be used to automate tasks on your Windows desktop.
Install Microsoft Flow
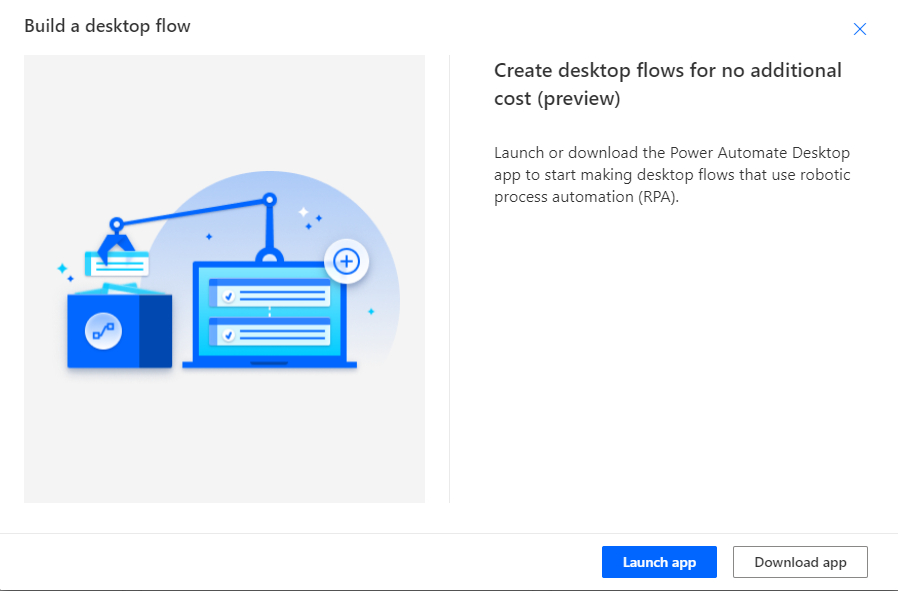
The first step in creating a desktop flow is to install the Microsoft Flow app. To do so, open Power Automate, select the Create tab and then click on the Desktop Flow option. When you do, Power Automate will open the Build a Desktop Flow window. As you can see in the screenshot below, you will need to download the app before you are able to use it.
Install Power Automate Desktop
The process of installing Power Automate Desktop is relatively straightforward. Even so, there is one thing that you need to pay attention to. If you look at the screenshot below, you can see that the installer asks for permission to do a number of things that could potentially compromise your security. For example, the installer asks for permission to allow remote connections to the computer. Incidentally, you can install Power Automate Desktop without allowing remote connections, but if you do, you will only be able to run automations in attended mode.

When the installation process finishes, you can open the newly installed Power Automate Desktop app. The first time that you open the app, it will create a database. Depending upon the speed of your system, this process can take a little while to complete. Once the database is ready, you will be taken to the screen shown in the screenshot below.

Because the app was only just installed, no flows currently exist. To create a flow, click the New Flow button shown in the screenshot above. This will cause the app to open the Build a Flow screen which requires you to provide a name for the flow you create and then click the Create button. Upon doing so, you will be taken to a screen to begin creating your first flow.

Two options
As you can see in the figure, there are two main options for creating a flow. The first option is to use either the Web recorder or the Desktop recorder. These tools record your activity and then turn the steps you have performed into a flow that can be repeated on an as-needed basis. The other option is to drag and drop the various elements in sequential order, thereby creating a flow.
To show you how the flow development process works, I will use the Desktop recorder to create a very simple flow. In this flow, I will open the Windows run prompt and then enter the “CMD” command to launch the Windows command prompt window. In the real world, flows tend to be a bit more complex, but I am hoping to make it easier to understand how a flow works by keeping things simple.
When you launch the Desktop recorder, the app will open the window shown in the next figure. Ideally, you will want to move this window to an out-of-the-way location before creating the flow. To get started, click on the Record button in the upper left corner of the window.

When the flow begins recording, perform the steps that you wish to record. When you are done, go back to the dialog box shown in the previous screenshot and click the Finish button. This will cause the app to display the steps that it has recorded.
Before I show you what this looks like, I need to point out that the Desktop recorder is not perfect. Although it does a reasonably good job, there’s a good chance that you may have to edit some of the recorded steps.
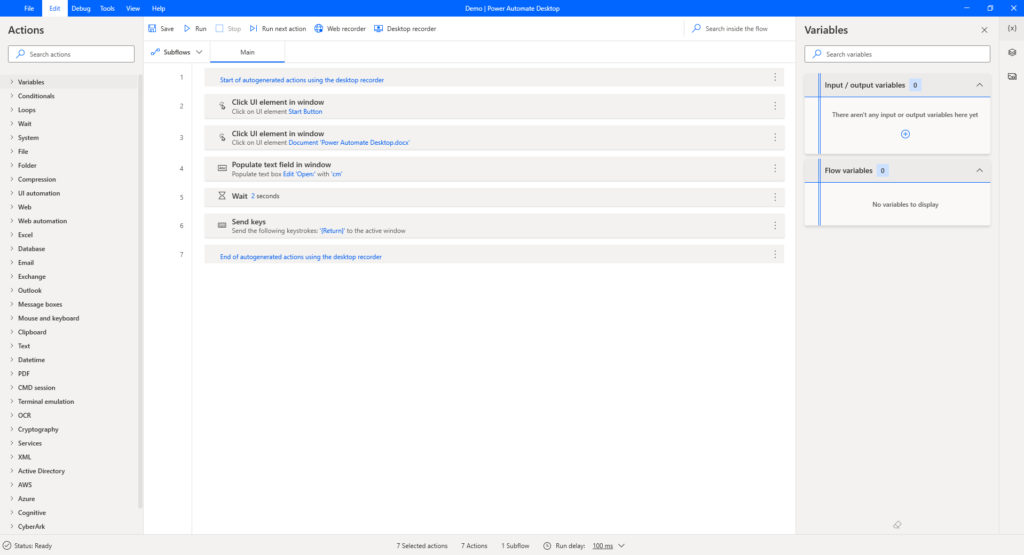
To see what I mean, check out the screen capture below. The flow begins with the action of clicking on the Start button. The next step was to click on a Microsoft Word document called Power Automate Desktop.docx. That’s the filename that I used for the article that you are reading right now. Interestingly, I did not click on Microsoft Word while recording the flow, so this step is erroneous. Thankfully, unwanted steps are easy to get rid of. All you have to do is click on the icon with the three dots on the far right side of the currently selected step. When you do, a menu will appear, and this menu gives you the option of deleting the step.
The next step in the flow was also recorded incorrectly. This step indicates that I typed the word CM. in reality, I typed CMD, but the app missed the last letter that I typed. Again, there is a way to fix this. Just click on the menu icon for the step and then choose the edit option. As you can see in the next figure, the app opened a dialogue box that gives you the option of fixing the problem.

When you are done making any edits to the flow, you can test the flow by clicking the Run icon found at the top of the screen. This will allow you to verify that the flow works as intended. If you find problems with the flow, you can re-create it or make any required modifications using techniques similar to those I showed you a moment ago. When you’re done, just click the Save button. I have found that I often have to use a lot of trial and error to make a flow behave as I want it to.
Go with the Flow
When you are done, your flow will appear on the app’s My Flows screen shown below. You can run the flow at any time by selecting it and clicking the Play icon.
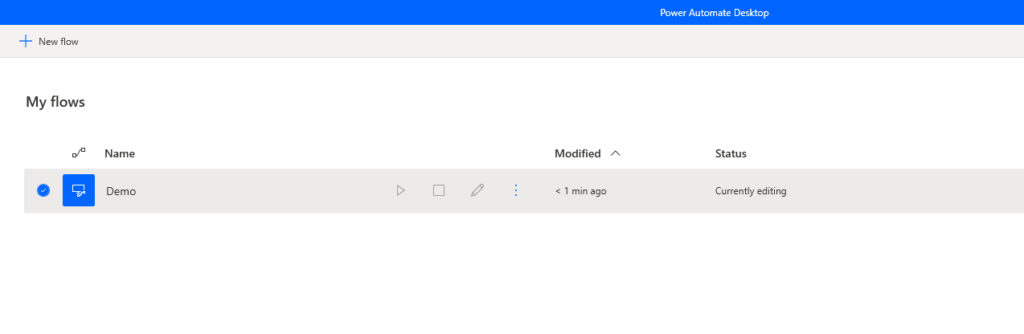
As you can see, your new flow appears on the My Flows screen.
Featured image: Shutterstock


Is there NO way to actually run a flow from outside the PAD ‘gui’ for simple home use? Without having to pay for a license for some other way to do this, which would negate the ‘free’ claim. PAD seems useless to me if it can simply be run like a .bat file, vbs script etc., called by some simple mechanism (like from a desktop shortcut, bat file, script, etc..) . I was excited about PAD until I found it seems useless as you have to start the PAD environment and then run a flow from there.