Sensitivity labels have been gaining increased traction lately within Microsoft 365. For those who might not be familiar with sensitivity labels, they are a mechanism that determines how certain content is to be treated. For example, a sensitivity label might be used to encrypt a document or to apply a watermark.
Early on, sensitivity labels applied only to Office documents such as Word and Excel and to email messages. More recently, Microsoft has begun allowing their use in other areas of the Microsoft 365 platform. For instance, labels can be applied to content in Microsoft Teams and SharePoint. There is also sensitivity label support in Power BI, and you can even apply sensitivity to certain Microsoft 365 groups. Being that sensitivity labels are becoming such a major part of the Microsoft 365 platform, I wanted to take the opportunity to talk about how to create them.
Creating Microsoft 365 sensitivity labels
Begin the process by opening the Microsoft 365 Compliance Center, and then click on Information Protection, as shown in the figure below. When the Information Protection screen appears, make sure that the Labels tab is selected as it is in the figure.

Next, click the Create a Label icon. When you do, the admin center will open a wizard that you can use to create a new sensitivity label.
The wizard’s first screen prompts you to enter a name for the label that you are creating. You will also need to enter a description for users and a description for administrators.
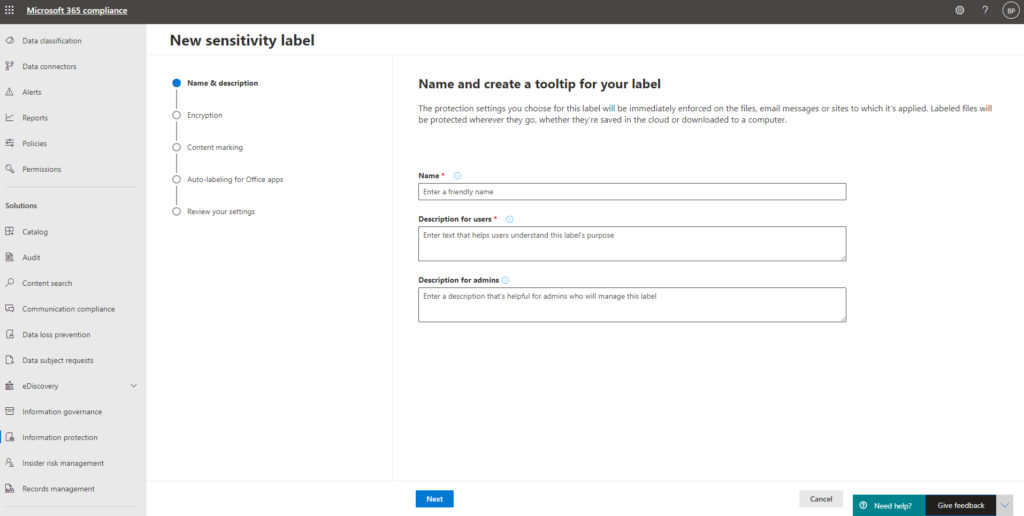
Description for users not optional
If you have spent much time working with Microsoft products, then you have probably noticed that when you create an object (of almost any type), Microsoft typically requires you to provide an object name but usually makes the description optional. In this case, however, the description for users is required, but the description for admins is optional. The reason for this is that the user description will be used as a tooltip. It will be displayed to the user when they apply the label that you are creating. As such, it’s important to write a description that reflects what the label does and when it should be used. In contrast, the admin label is more of a description that is meant for the admins who manage your Microsoft 365 environment.
Click Next, and you will be taken to the Encryption screen. This screen, which you can see in the next figure, includes three settings – Apply, Remove, and None.
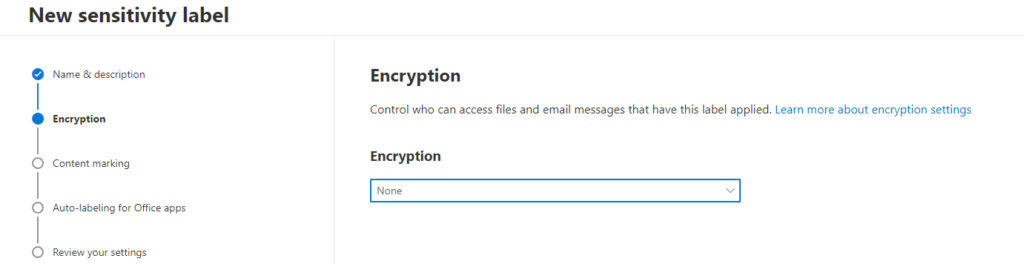
The default setting for this sensitivity is None, which means that no encryption is applied to files or messages in response to the sensitivity label being applied. If on the other hand, you pick the Apply option, then anything that the sensitivity label is applied to will be encrypted. Likewise, the Remove option turns off encryption.
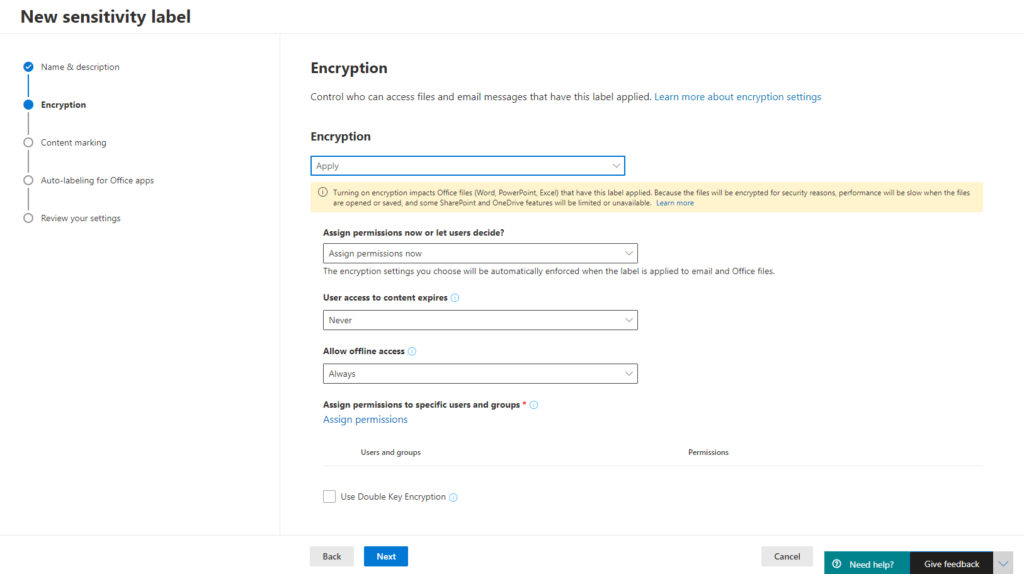
If you choose to apply encryption, then there are several additional settings that you will have to configure. These settings pertain to permissions, encryption type, offline access, and how permissions are assigned. You can see these options in the next figure.
Click Next, and you will be taken to the Content Making screen. The idea behind this screen is that you can apply markings directly to the document, conveying its sensitivity. This could be helpful if someone were to print a sensitive document. You obviously don’t have to use content marking, but if you decide to enable markings, you can use any combination of watermarks, headers, and footers, as shown below.

As you can see in the image above, you can optionally apply watermarks, headers, and footers to documents.
Not supported by all Microsoft products
One thing that is important to keep in mind about sensitivity labels is that they work with a number of different Microsoft 365 applications and services, and not every application supports all of these items. Watermarks, for instance, work great for Word documents, but they can’t be applied to an email message.
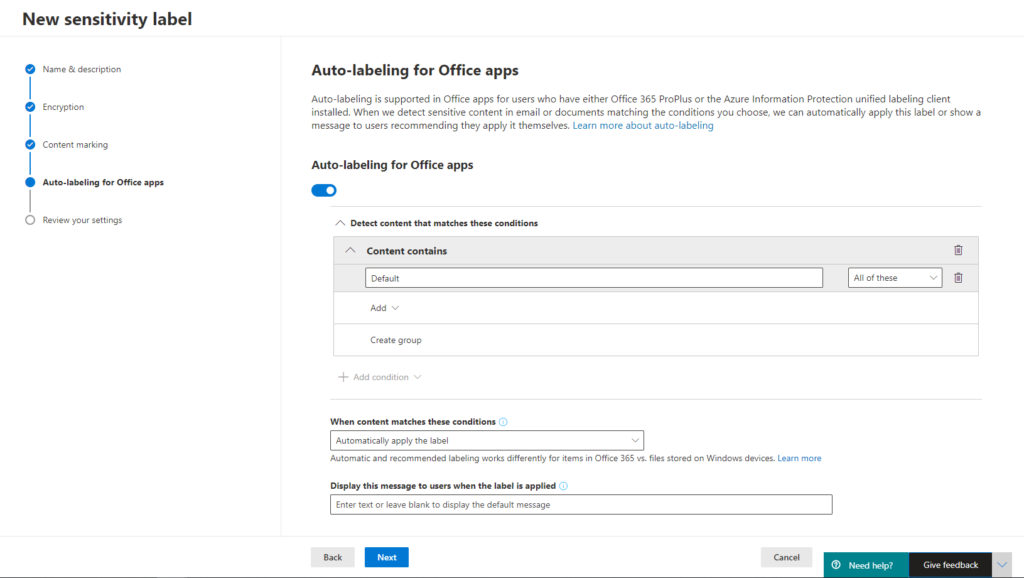
Click Next, and you will be taken to the auto-labeling for Office Apps screen. Historically, an organization’s security has only been as good as its users’ willingness to adhere to the organization’s security policies. As we all know, this can be problematic. A user who becomes lazy or complacent can undermine an organization’s security by not taking the steps that would have been necessary to keep the organization secure. Similarly, a disgruntled employee can willfully disregard an organization’s security policy.
The idea behind the auto-labeling for Office Apps screen is that you can take the end-user out of the loop and automatically apply a sensitivity label to a document based on the document’s contents. If for instance, a document was found to include a social security number, then a sensitivity label could be automatically applied, and the document might then be encrypted (depending on the label’s settings). This can go a long way toward helping you to avoid compliance violations.
Click Next, and you will be taken to a screen that asks you to review your chosen settings. If everything looks good, then click the Create Label button.
Microsoft 365 sensitivity labels: Simple and straightforward process
Unless you are automatically applying the label to Office documents, you will need to publish the sensitivity label before your users can use it. If you look back at the first screen capture in this article, you will notice that the Information Protection section contains two tabs – Labels and Label Policies. The Labels tab is used in the creation of sensitivity labels. The Label Policies tab is where you go to publish sensitivity labels.
Publishing a sensitivity label is a simple and straightforward process. It requires you to select the label, choose who it is to be published to, and establish some policy settings. These policy settings determine things like whether the user must provide justification to remove the label, or whether users should be provided a link to a help page. Once published, the label is ready to use.
Featured image: Microsoft


Why does my label indicate that it can’t be applied for Word in the web?
Word on the Web is a light weight version of Word that doesn’t include all of the features that the normal Word application does.
Any ideas on how to control the position of a sensitivity label in powerpoint?