In Microsoft Azure, there are always several ways to accomplish a task. Some of them are better than others, depending on the scenario. In this blog post, I would like to go over a simple but efficient way to move Azure resources. In the example below, we are looking from the Resource Group perspective, and we are trying to move an Automation Account.
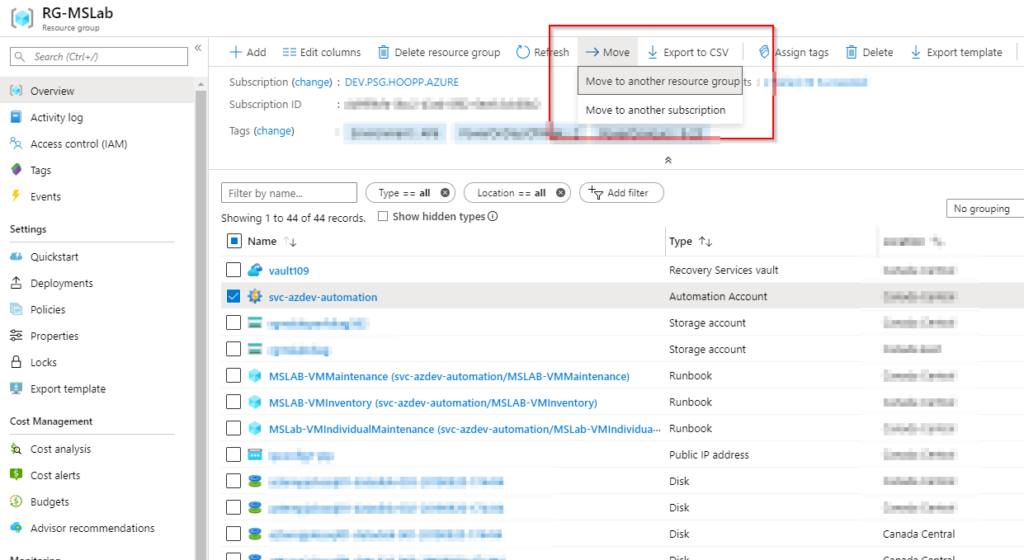
The results on the Move Resources wizard, by default, is all the resources being selected, which is not good. Let’s say I have tons of resources within the resource group. I guarantee you that we will have to spend some time finding only the resources that we want to migrate.
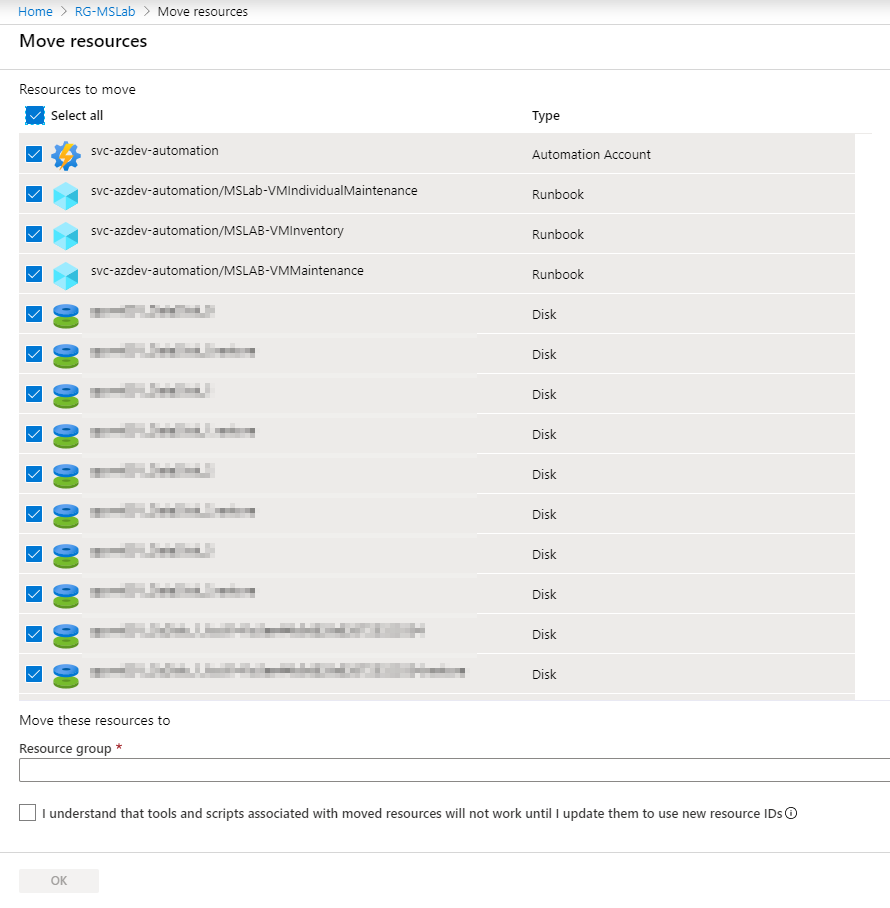
There is a simple way to save time. In this specific case, go to the Automation Accounts blade, and click on the particular Automation Account (in our example svc-azdev-automation). In the Automation Account blade properties. Click on Move and then Move to another resource group, as depicted in the image below.

You may be wondering, it is the same thing from the first attempt, right? Well, it is not! In the image below, you will notice that all required resources that are part of the Automation Account are selected and ready to be moved.

Using the same feature but from a different location, we were able to save time choosing which Azure resources should be moved.
Featured image: Shutterstock


