If you would like to read the other parts in this article series please go to:
Introduction
In part 1 of this multi-part articles series revolving around staged Exchange migrations to Office 365 or more precisely Exchange Online, I explained to you in simple terms what migration approaches we have at our disposal when it comes to migrating from an Exchange based on-premise environment to Exchange Online. In addition, I briefly described what a stage Exchange Migration is and what it offers in terms of coexistence. Moreover, we created an Office 365 trial tenant and added our domain which in this case is “onpremise.dk” to this tenant.
In this part 2, we will continue where we left off in part 1. That is we will activate directory synchronization (DirSync) for our Office 365 tenant followed by installing and configuring the DirSync tool on the domain member server in our on-premise environment.
Installing and Configuring the Directory Synchronization Tool
The very first preparation step we want to complete before we concentrate on installing and configuring the DirSync tool on the domain member server in our on-premise environment is to activate DirSync for our Office 365 tenant. This can be done by logging on to the Office 365 portal followed by clicking on the “Users” and from here on “Set up” under “Directory Synchronization” in the top of the page.

Figure 1: Activating Directory Synchronization for an Office 365 tenant
The reason why I want you to get that done as the very first step is because once you click that ”Activate” button, it can take up to 24 hours before the activation itself occurs! As you can see in Figure 2, the synchronization is in an ”being activated” state. In the past this step didn’t take more that around 15 minutes, but the aggressiveness of the scripts that activates DirSync for Office 365 tenants has been lowered signicantly, which makes sense in a multi-tenant environment like Office 365 hosting millions of users.

Figure 2: Directory Synchronization is being activated
By the way you can ignore the warning message that is received when clicking on the ”Activate” button (Figure 3) since this is a brand new Office 365 trial tenant that hasn’t had objects synchronized using DirSync yet.

Figure 3: Warning message when activating directory synchronization
When DirSync has been activated, you can see the status message is changed as shown in Figure 4.

Figure 4: Directory Synchronization has been activated for the Office 365 tenant
While we wait for DirSync to be activated for our Office 365 tenant, let’s log on to the domain member server on which we want to install the DirSync tool. From the server open the Office 365 portal and then click ”Users” followed by clicking ”Set up” under Active Directory Synchronization. In ”Step 4” download the relevant version of the DirSync tool.
If you launch setup for the DirSync tool immediately, you will see an error message stating that the tool requires .Net Framework 3.5 SP1 installed on the respective server.

Figure 5: .NET Framework 3.5 SP1 is required by the DirSync tool
We can install the framework using the ”Add Features Wizard” in the “Server Manager” or by downloading the full .NET Framework 3.5.1 SP1 package here.

Figure 6: Installing .NET Framework 3.5.1 using the Server Manager.
Important:
If you installed the .NET Framework 3.5.1 component using the Server Manager also make sure you update the .NET Framework component with the cumulative .NET Framework 3.5.1 Service Pack 1 update, which can be downloaded here. In addition no matter which method you use to install it, it’s important you also install an SP1 specific update that fixes issues contained in SP1. You can grab that update here.
When you have installed .NET Framework 3.5.1 SP1 plus the important update, you can launch the DirSync installer and you will be taken to the Setup Welcome page as shown in Figure 7.

Figure 7: DirSync tool Installer – Welcome Page
Click ”Next” then accept the EULA and click ”Next” again. On the ”Select Installation Folder” leave the defaults and click ”Next”.

Figure 8: Installation folder for the Dirsync tool
Now wait a few minutes while the tool components are being installed.

Figure 9: DirSync components are being installed
When the installation has complete, click ”Next”.

Figure 10: DirSync tool installation completed
Now before continuing go back to the Office 365 portal and verify DirSync has been activated. If/when it has, click ”Finish” to start the configuration wizard.

Figure 11: Starting the DirSync tool configuration wizard
When clicking ”Finish” you’re taken to the DirSync Configuration Wizard welcome page. Click ”Next”.

Figure 12: DirSync tool configuration wizard – welcome page
On the Microsoft Online Services page, enter the credentials for an account with administrative permissions to your Office 365 tenant and click “Next”.

Figure 13: Entering credentials for an administrative account in the Office 365 tenant
Similar to the previous page, now enter the credentials for an account with administrative permissions to the on-premise Active Directory forest and click “Next”.

Figure 14: Entering the credentials for an account with administrative permissions to the on-premise Active Directory
We’re now taken to the Exchange hybrid deployment page which is where you can check ”Enable Exchange hybrid deployment” in order to leverage features such as off-boarding mailboxes from Exchange Online to the on-premise Exchange environment as well as storing online archive mailboxes in Exchange Online. This requires at least one Exchange 2010 server in the source environment, which is why the page is greyed out. For staged Exchange migrations, we do not wish to enable Exchange hybrid deployment, so this is just fine. Click ”Next”.

Figure 15: Exchange hybrid deployment page
The DirSync installer will now configure the DirSync management agents that imports Active Directory user, contact and group objects to the Dirsync metaverse on the DirSync Server and from here exports them to the Office 365 tenant.
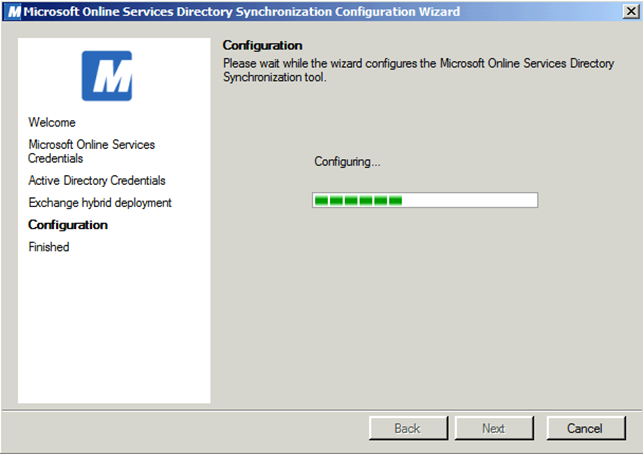
Figure 16: DirSync tool installer configures respective management agents etc.
When the Dirsync tool configuration has completed, click “Next”.

Figure 17: The DirSync tool configuration is complete
Make sure “Synchronize directories now” is selected and then click “Finish”.
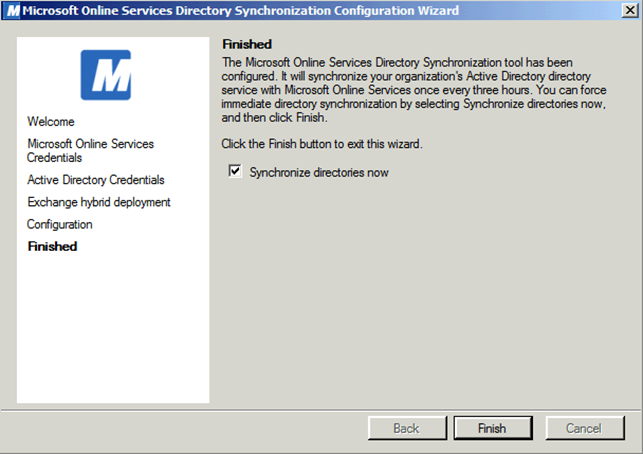
Figure 18: Selecting to synchronize objects from Active Directory to Office 365
You will receive the warning shown in Figure 19 which includes a link to a TechNet page that explains how you can verify synchronization works properly. Click “OK”.

Figure 19: Warning message explaining how to verify synchronization is occurring properly
What I usually do is start by launching the Dirsync UI shell by navigating to “C:\Program Files\Microsoft Online Directory Sync\SYNCBUS\Synchronization Service\UIShell” and double-click on “miisclient” as shown in Figure 20.

Figure 20: Launching the MIIS client
In the “Synchronization Service Manager on DIRSYNC” console, you can see the status for the last run of each management agent. You can also see the number of added, updated and deleted objects etc
If you have a bit of MIIS/ILM/FIM experience this is the place you want to verify synchronization is running as expected.

Figure 21: Synchronization Service Manager on DIRSYNC console
Besides the Synchronization Service Manager on DIRSYNC console, you can also look in the Application log. Here you can see event IDs that can give you a quick indication of the health state for the directory synchronization.

Figure 22: Directory Synchronization related event IDs in the Application log
Finally, we can check the Office 365 portal for when the last directory synchronization occurred (Figure 23).

Figure 23: Checking the time for the last synchronization in the Office 365 portal
You can also try to update a few attributes for a couple of users and see if the change is reflected on the Office 365 user. To force a synchronization, see the next section.
Forcing a Directory Synchronization
Since delta synchronizations from your on-premise Active Directory forest to Office 365 are scheduled to run every 3 hours, there may be situations where you want to force a synchronization. This can be done using the “Start-OnlineCoexistenceSync” cmdlet. But in order to run this cmdlet, you must first launch a Windows Powershell 2.0 console on the server and then navigate to “C:\Program Files\Microsoft Online Directory Sync” folder and from here run the “DirSyncConfigshell.psc1” script.

Figure 24: Windows Powershell 2.0 console
This will open another Windows Powershell console where you can enter the “Start-OnlineCoexistenceSync” cmdlet. Doing so will immediately force a synchronization.

Figure 25: Running the Start-OnlineCoexistenceSync cmdlet
Alright we have now reached the end of part 2 of this multi-part articles series. You deserve a break!
If you would like to read the other parts in this article series please go to:


