Earlier this year, my wife and I took a massive cross-country road trip covering more than 7,000 miles. Although I didn’t do any writing during the time we were gone, I did bring a laptop to check my security cameras, send a few photos to friends, and that sort of thing. Even though I wasn’t subjecting my laptop to a heavy workload or long-duration use, it seemed as though the battery was draining more quickly than it should. When this sort of thing happens, most of us probably chalk it up to an aging laptop or maybe the failure to get a complete charge. Even so, it may not be necessary to guess whether your battery is performing as well as it once did. There is a wealth of laptop battery data that is readily accessible through PowerShell. You can even use PowerShell to create a detailed report from all of the raw data. Let’s take a look at how this works.
Laptop battery check with PowerShell: Step 1
To get started with our battery check, boot up your laptop and then open an administrative PowerShell session. Next, enter the following commands:
C:
CD\
MD Reports
Powercfg /batteryreport /output c:\reports\Battery.html
You can see these commands in action in the image below.
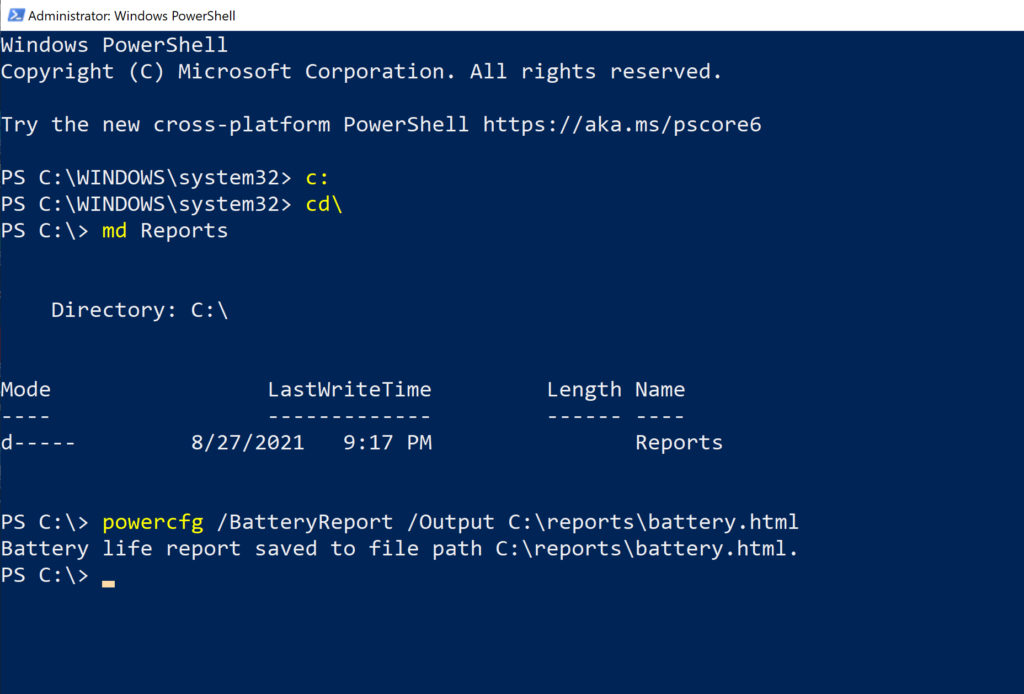
The first command in this sequence (C:) causes PowerShell to switch to the C: drive. This command is usually unnecessary, but I included it just in case anyone tries to use this technique on a PC with multiple drives.
The second command switches to the C: drive’s root folder, and then the third command creates a folder named Reports. The fourth command is the one that generates the report. The PowerShell report is going to be created as an HTML file with the name Battery.html. The report will be saved in the C:\Reports folder that was created by the previous command.
Open the report
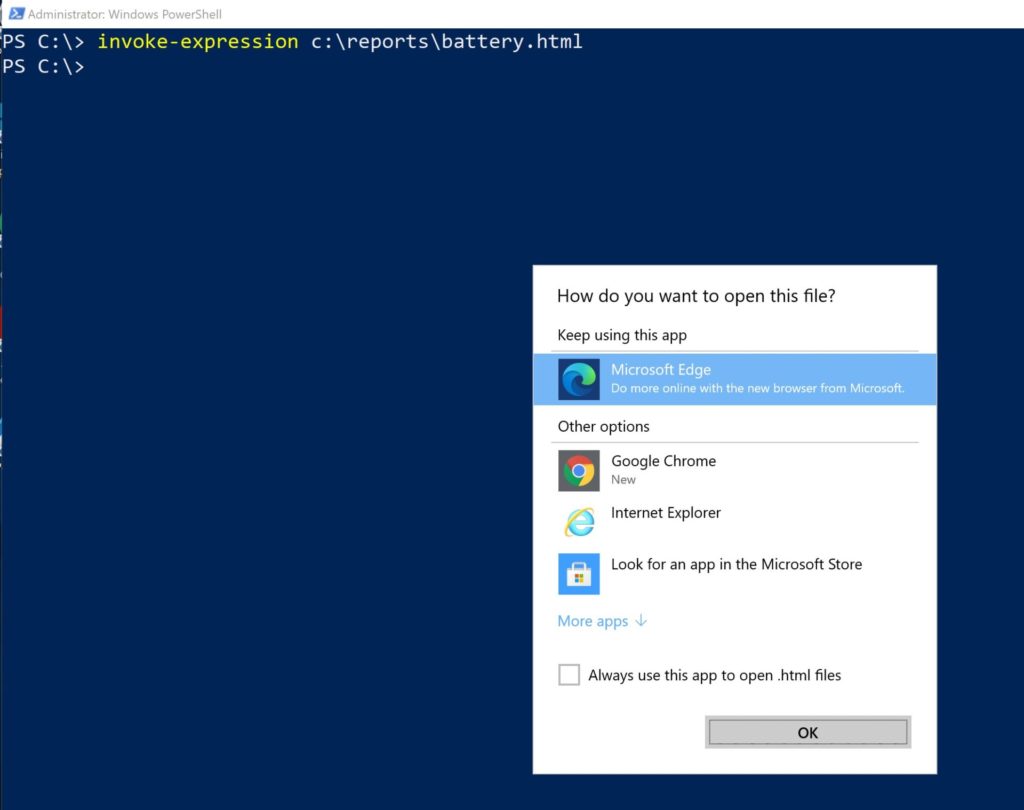
It typically only takes a few seconds for the PowerShell laptop battery report to be created. However, the actual duration will vary based on your laptop’s hardware and its usage history. Once the report has been created, you can open the report by entering the following command:
Invoke-Expression C:\Reports\Battery.html
This command causes the battery report to be opened in your default Web browser. You can see what this looks like in the next image.
The report itself is rather lengthy and is made up of several different sections. You can see the first part of the report in the image below.

The first thing you will see when you open the report is a summary of the PC itself and a summary of the computer’s battery. Although the system summary and the battery summary are standard parts of the report, the information shown in the previous screen capture is somewhat abnormal because it lists two different batteries.
In case you are wondering, the reason why there are two batteries listed is because this machine is a Microsoft Surface Book 2. The Surface Book 2 has a detachable monitor that can be used as a tablet. The tablet portion has a battery, but there is also a battery incorporated into the keyboard that is designed to provide longer life when the device is used in laptop mode.
As you scroll down, the next thing that you will see is a recent usage report, followed by a chart that tracks battery drains over the last three days.

As you can see in the image above, Windows tracks the power states over the last three days. This section of the report allows you to see every time that the laptop has changed states and whether the laptop was running on A/C or battery and its remaining capacity.
A wealth of information
If you scroll down some more, you will see the system’s usage history. The interesting thing about the usage history is that it covers the laptop’s entire lifespan (or the operating system’s lifespan). You can see that the first entry on the chart was from January 2018, when I purchased that laptop. For each entry, you can see the active time and connected standby time for when the system was running off the battery and when it is plugged in.

If you scroll down some more, you can see the battery capacity history over the life of the laptop. For each usage period, you can see the full charge capacity and the battery design capacity. As such, you can determine if the system is failing to get a good charge.

The report’s next section, shown below, provides battery life estimates at full charge compared to the design capacity. In other words, this section lets you see how long the battery should have lasted as compared with how long it lasted.

At the very bottom of the report, you will see a current estimate of the system’s battery life since the operating system was installed. As you look at the image below, remember that this laptop has two batteries, so there are two different numbers. Regardless, the numbers indicate that this particular laptop is only getting about 12% to 13% percent of its anticipated battery life, so it may be time for a new battery.

Although much of the data presented within the report is based on estimates, the data that is provided can help you to get a good feel for the level of performance that you are getting from your laptop’s battery.
Featured image: Shutterstock


Why user PowerShell? This command is not a native PowerShell command…
Simply use CMD for this purpose…