As someone who writes numerous articles about PowerShell, I have gotten in the habit of creating all of my PowerShell scripts from scratch. It doesn’t have to be that way, though. There are numerous pre-built PowerShell scripts and other resources such as modules available for download. What is even better is that you don’t have to resort to downloading these resources from a sketchy website where the scripts may or may not be safe. Microsoft provides a PowerShell Gallery containing numerous resources that are freely available for you to use. In this article, I want to show you how to acquire resources from the PowerShell Gallery.
PowerShellGet module
Before you can use any of the content found in the PowerShell Gallery, you will need to download and install the PowerShellGet module. This module adds several cmdlets to PowerShell. These cmdlets can be used to locate, install, and update the packages found in the PowerShell Gallery. The Gallery’s packages can consist of modules, scripts, or even resources that can be used with the Desired State Configuration tool.
Technically, the PowerShellGet module will work with PowerShell version 3.0 or higher. However, the deployment technique that I am about to show you assumes that you are using PowerShell version 5.0 or higher. PowerShell version 5 is included in Windows 10 and Windows Server 2016.
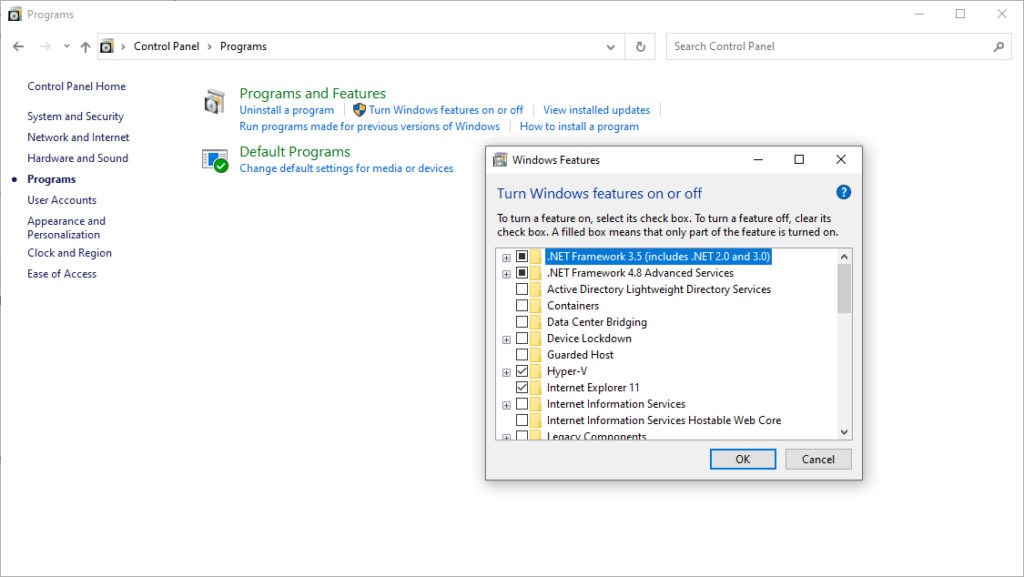
The module also requires you to install version 4.5 or higher of the .NET Framework. In Windows 10, access the Control Panel. From there, click on Programs, followed by Turn Windows Features On or Off. The resulting dialog box will show you which versions of the .NET Framework are currently installed and will allow you to install the correct version if necessary. You can see what this looks like in the screenshot below.
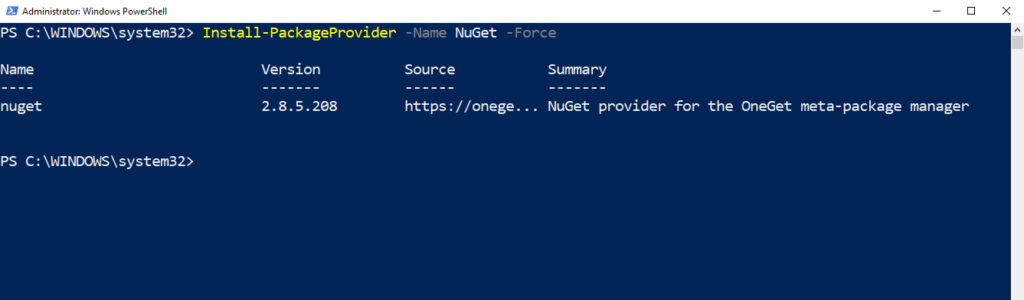
Another component that PowerShellGet requires is a package called NuGet. The NuGet package is installed by default, but it is a good idea to make sure that you have the most recent version before you try to install the PowerShellGet module. You can update the NuGet package by entering this command:
Install-PackageProvider -Name NuGet -Force
Once you have verified that you have the correct version of the .NET Framework and the latest version of the NuGet package installed, you can install PowerShellGet by opening an elevated PowerShell session and entering the following command:
Install-Module -Name PowerShellGet -Force
If you have an older version of the PowerShellGet module installed, you can update to the latest version by entering this command:
Update-Module -Name PowerShellGet
You can see both of these commands in the next screenshot.

Finding useful items in the PowerShell Gallery
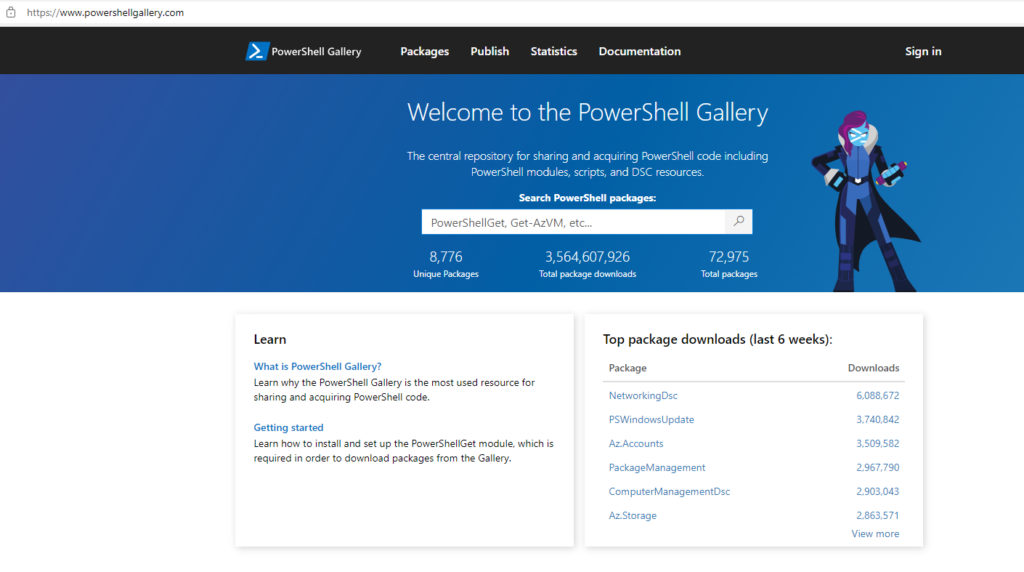
Now that your computer has been properly prepared, you can begin searching for and downloading items from the PowerShell Gallery. There are two different methods that you can use to find items within the gallery. The first option is to visit the PowerShell Gallery website and browse the items within the gallery.
Although browsing the gallery can help you to get a feel for its contents if you are just starting out, it helps to have some idea of what it is that you are looking for so that you can search for it rather than casually browsing. The reason I say this is because the PowerShell Gallery contains nearly 9,000 unique packages and roughly 73,000 total packages.
The other option for finding packages within the PowerShell Gallery is to use PowerShell to search for a package. The cmdlet that you will use to search the PowerShell Gallery contents will depend on the type of package that you are looking for. The available cmdlets include:
- Find-Module
- Find-DscResource
- Find-Script
To show you how this works, let’s take a look at a PowerShell script called Get-WindowsUpTime. Just to make things interesting, let’s also assume that I don’t know the exact name of the script. I could type Find-Script Uptime, but that command would only return an exact match (the script would have to be called Uptime). If I wasn’t sure of the exact name, it would be better to embed some wildcard characters (Find-Script *Uptime*). You can see how this works in the next screenshot.

If you want to know a little bit more about the PowerShell script before you install it, enter the Find-Script cmdlet again, but this time append the Get-Member cmdlet after the script’s name. This will cause PowerShell to show you the script’s metadata. As you can see in the next screenshot, this metadata isn’t always all that useful, but it matches the information displayed on the PowerShell Gallery website.

If you decide that you want to download the PowerShell script from the PowerShell Gallery, then doing so is a two-step process. The first step is to actually download the package. To do so, you will need to use the Save-Script (or Save-Module) cmdlet, followed by the script’s name. This will cause the package to be downloaded and saved to your local hard disk. To use this cmdlet, you will need to use the -Repository switch and set PSGallery as the repository. You will also need to use the -Path switch and specify the path to which you want to save the script. Here is an example:
Save-Script -Name Get-WindowsUpTime -Repository PSGallery –Path C:\Scripts
After you download the script from the PowerShell Gallery, it is a good idea to check it out to make sure that the script is not malicious. If the script seems to be OK, then you can install it with the Install-Script cmdlet. Scripts are installed to the \ProgramFiles\WindowsPowerShell\Scripts folder.

Featured image: Shutterstock / TechGenix photo illustration


