The purpose of this article is to help the Windows Administrator and Engineer, better understand protocol exploitation and why using SSH for Windows should become something you look to use from now on as an alternative to using Telnet.
The History of SSH is simple… it’s an alternative to using the Telnet protocol. Telnet is a protocol (and utility program) used to create an in band connection to any device running the telnet Daemon. In Unix systems, you would configure inetd to get this functionality.
SSH works like this: You need the client (which we will learn in the article) and you need a device on the other end that support SSH. You can just use SSH on one end and not the other. In this article, we will look at installing and configuring SSH on a Windows XP client, and then using it to connect to a Linux Server running SSH on it end.
Both ends of this client/server (XP – Linux) connection are authenticated using a digital certificate, and being encrypted protects passwords. SSH uses RSA public key cryptography for both connection and authentication.
SSH: Using Secure Shell for Windows
First, download the SSH client from the above link. You can get it directly from here if you want the exact link: ftp://ftp.ssh.com/pub/ssh/
Download and install the following package: SSHSecureShellClient-3.2.0.exe
First step is to run the program and begin the SSH installation.

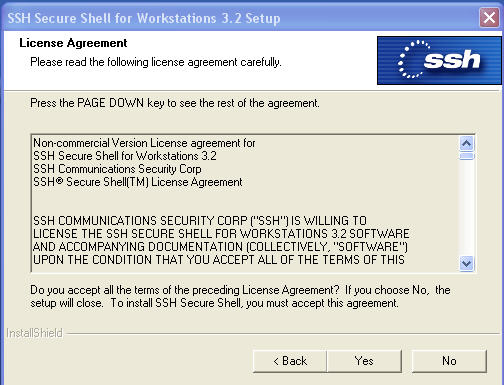
Before you click next, pay attention to the fact that you are responsible for knowing that this version (since it is free) does not support PKI or Public key Infrastructure components so if you were interested in doing so, there is a version for purchase. Next, you will read the license agreement. Its freeware so enjoy!
After clicking Next, you can pick a destination folder. The install is not very big and takes up around 8 or 9 MB’s of disk space.

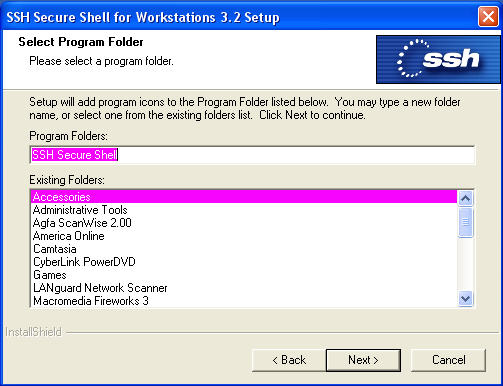
Click Next again and then select a program folder to install product into. It makes a couple of desktop shortcuts for you on installation so you don’t have to hunt and peck for it later, but if you need to find the shortcuts to the program folder, then this is where they will be.
After you click Next, you can select what you want to install. It’s a small program so I would install all off it. I would also configure the command line tools to the path statement so that you can use the command line tools as well.

After you click next, make a quick check of all the options you selected and then click on Next.

Installation begins and take about 1 or 2 minutes to install completely.

You setup is complete and you are ready to use SSH for Windows. You may or may not have to reboot based on which OS you are running.

That’s it, SSH is installed. Now, you also have to have a system with SSH installed and configured on the Server end. I have a Linux test server set up ready to accept my connect request from my Windows XP test workstation.
SSH: Using Secure Shell for Windows
Using SSH is simple. You should now have a desktop icon available but if you don’t, then follow the program shortcuts in the start menu that you defined during install. You will open the main profile for SSH. The SSH program as seen below, will utilize encryption to keep your in band remote access connections safe. Lets take a look.

Once you open the program, you will find a ‘quick connect’ button, which you can click on to begin the process for authenticated connection and login for a remote system. As seen in the figure below, you can select the following:
* Select a host name (or IP address) to connect to. I am going to connect to my Linux Test Server at 192.168.1.5.
* User name is ‘whom’ you are going to login as. Root, or another user can be used. I am going to use the rshimonski account I made
* Port number is 22 by default from the IANA. You will need to use port 22 unless you alter is on the target device.
* Authentication methods are password, SecurID (RSA makes a product called SecurID) or others. You can just leave it at profile settings and you will most likely be using a username/password authentication method.

Click on Connect and you will make a connection – if you can! If SSH is not on the target system, you will not be able to connect. Next, you will get a warning for Host Identification. You will get the following information:
* The host will provide you with a public key
* Once you receive it you can save it to a local database.
Select yes and continue. Since this is a test system I am working on, it really doesn’t matter, but I would make sure you kept any key information private.

Next, you can enter your password so you can connect to the target system. After this, you will not see the last image again.

When you connect in the future, you can save this whole session as a profile (as seen next) and then just select the profile to connect to the target machine with.

Now, you have the proper username/password credentials and have connected to the test server properly.
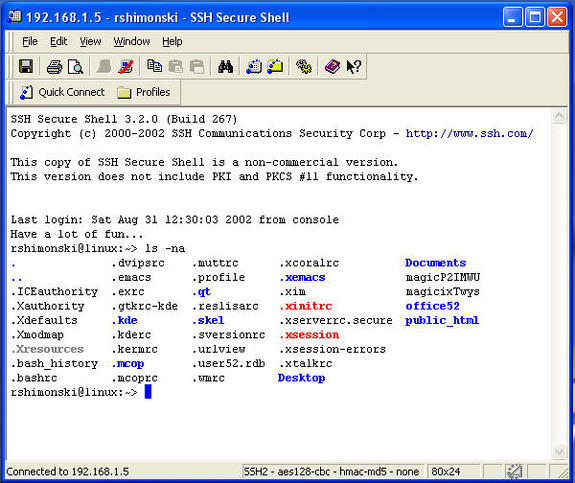
That’s it! You can now use SSH and have secure in band remote access connections that cannot be passively attacked with Sniffers and Eavesdropping tools or man in the middle attacks because the transmissions are secured! In future articles we will look at SSH in more detail and use its Secure FTP portion as well.


I cant find out my unix password I changed it and I try to login and it says access denied
Bob – try to get in as root, then reset your password. Otherwise, follow this: http://unix.stackexchange.com/questions/35929/how-can-we-change-root-password