We can automate Azure DevOps creation using Azure CLI (currently in preview). These following steps can be used to get you started with Azure DevOps using Azure Cloud Shell.
The first step if you want to automate Azure DevOps using Azure CLI is to download the extension, and we need to run it just once in Azure Cloud Shell, then configure the defaults to use your existing organization information, including name and project name. In the end, we will run a help command to understand what we can configure using the command line.
az extension add --name azure-devops
az devops configure --defaults organization=https://dev.azure.com/AP6Industries project=AP6Industries
az devops -h

Depending on your activity you may have to authenticate your session, and it can be quickly done using az login

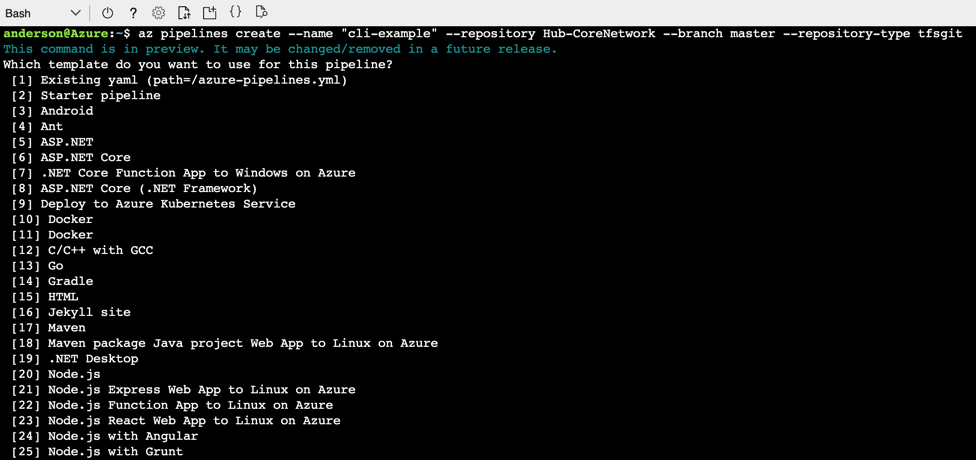
One nice feature is to create pipelines using the command line. Using the command below, we can have even a small wizard to help to create the pipeline in Azure DevOps.
az pipelines create --name "cli-example" --repository Hub-CoreNetwork --branch master --repository-type tfsgit