When using Automation Accounts, it is going to be almost inevitable to go over Service Principals in Microsoft Azure. They are created when we create an Azure Run As Accounts, and they are responsible for authentication and access to resources through the Runbooks.
There are two type of Run As Accounts: Azure Run As Account and Azure Classic Run As Account. Azure Resource Manager has been out there for a while, and it is most likely that we will not use the classic Azure Service Manager (ASM).
Evaluating the use of Run As Accounts during creation
The first step is to create an Automation Account. An Automation Account can be linked to OMS Workspace and have two Run As accounts associated (Azure Run As Account and Azure Classic Run As Account) to it. To create such resource, click on Create a Resource when logged in the Azure Portal, and type in Automation. In the list select Automation from Microsoft and Developer Tools in the category.
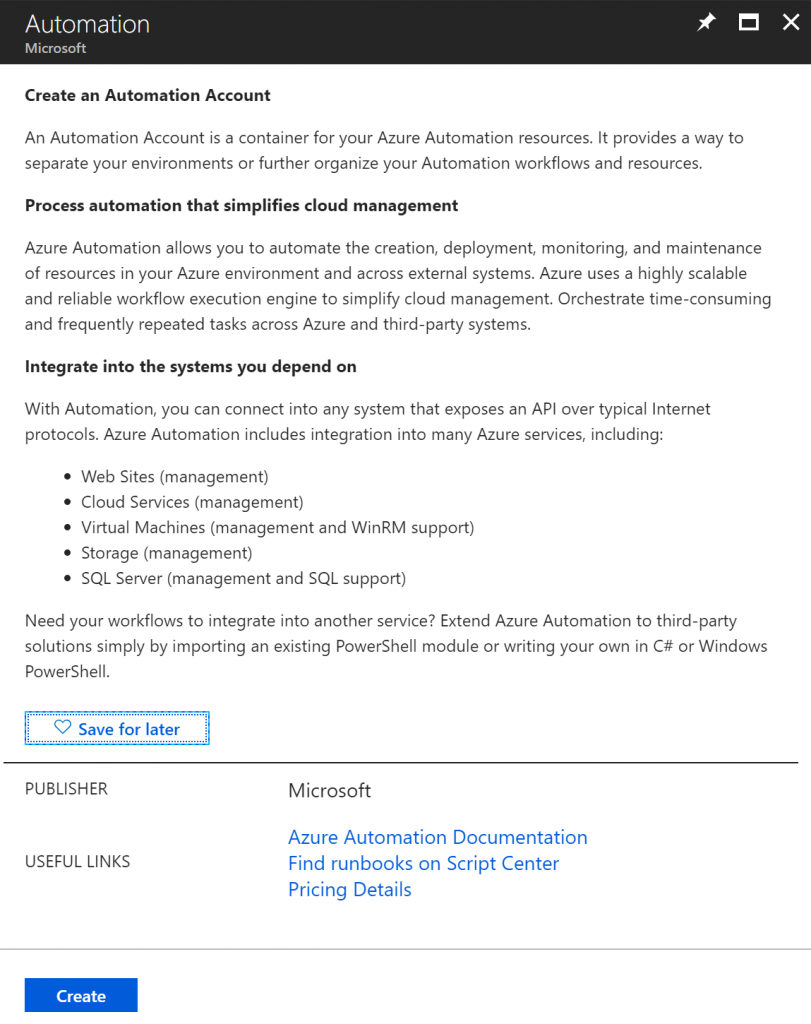
In the new blade, a brief summary of what an Automation Account is will be displayed, click on Create.
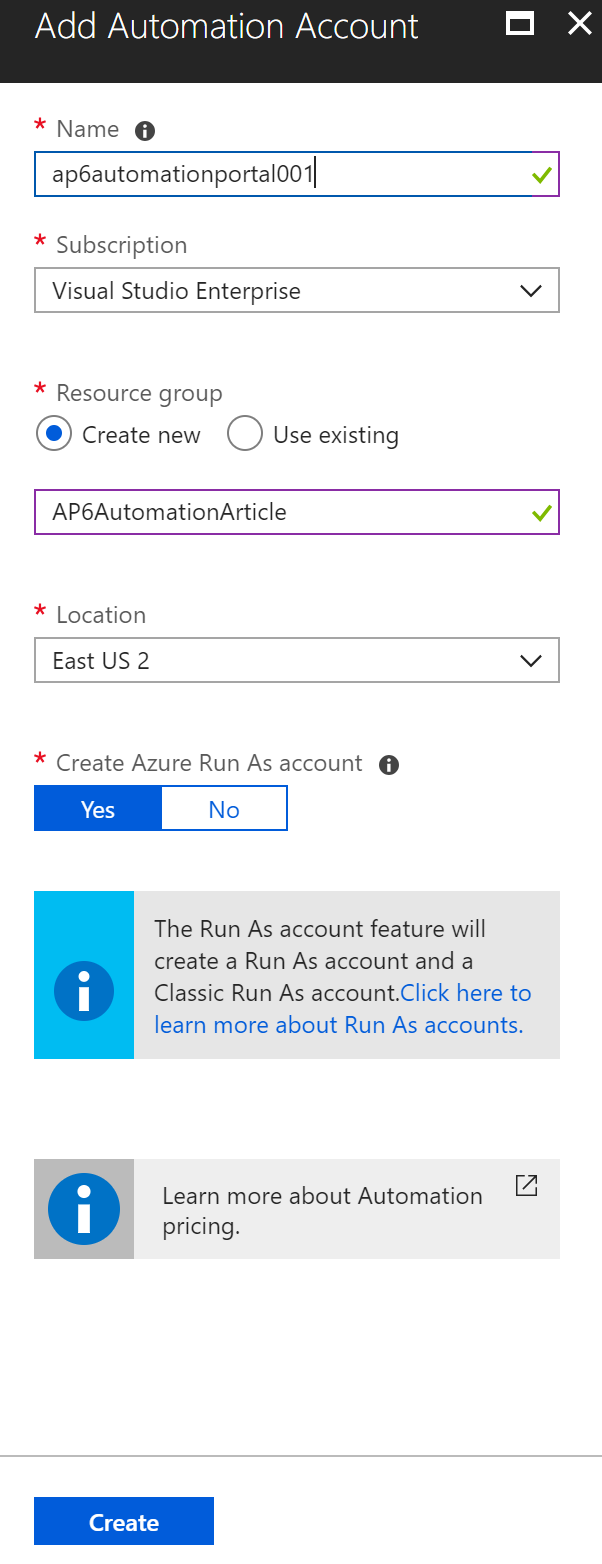
In the new blade, define a name for the Automation Account, a Resource Group where it is going to be created, and a location. The most important thing for this tutorial is the Create Azure Run As account, where we can say Yes or No.
What happens when I say ‘yes’ to Create Azure Run As Accounts?
In this section, we will focus on some of the differences between creating or not creating the Azure Run As Accounts when creating our Automation Account. Keep in mind that we can always create a Service Principal and associate it to an Automation Account later on. As a matter of fact, we will have an entire article showing that process and we will create a script to speed up that process as well.
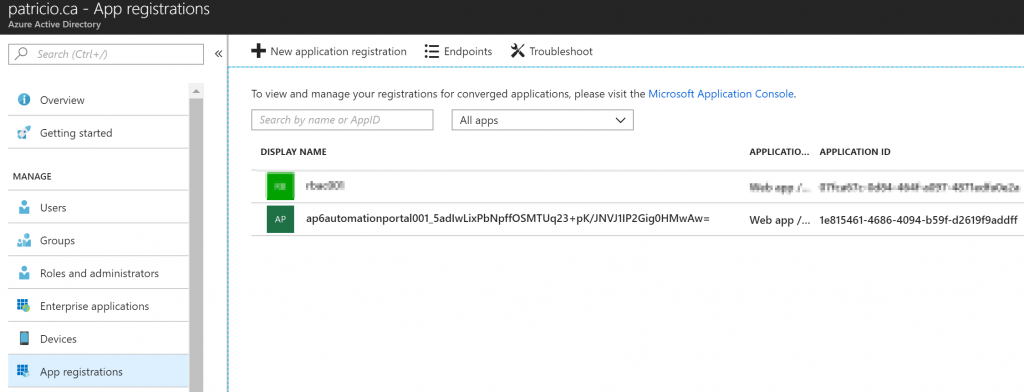
The first thing that we could explore is the creation of a new Azure Active Directory Application. We can find that by clicking on Azure Active Directory, App Registration and then click on View All applications. A new application will be created, and in fact, that is the Service Principal account. The name will be the Automation Account added by a random number.
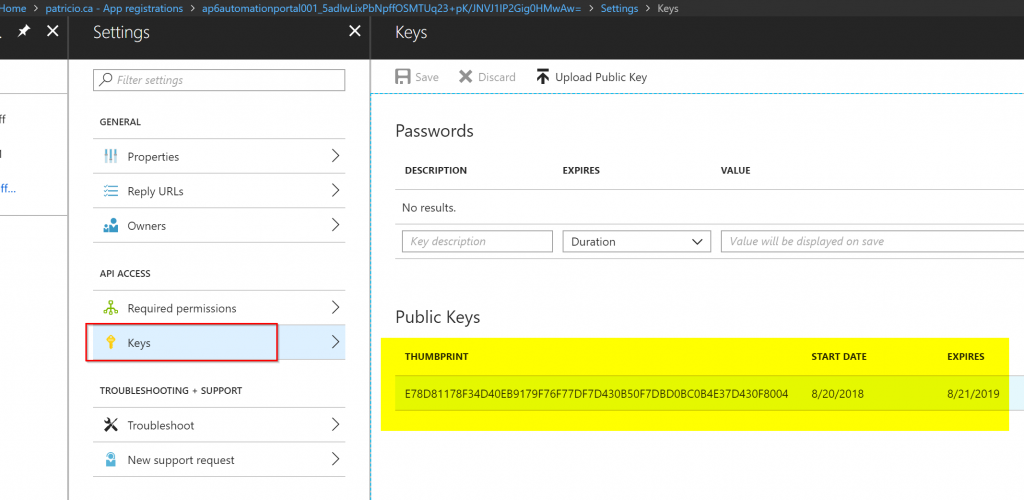
As part of the creation process, a certificate will be created and associated with the Service Principal. We can check that out by clicking on the application in the previous screenshot. In the new blade, click on Settings button, and then in the Keys item. In the right side, the thumbprint of the certificate and the expiry date will be displayed.
We can also see the Service Principal under Enterprise Applications in the Azure Active Directory service, and from that point, we can monitor activity, manage some settings related to that object, and permissions.
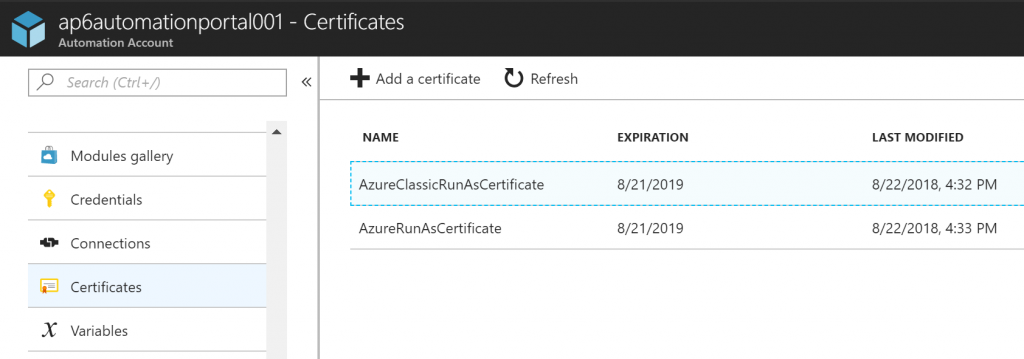
Since we touched on the certificate topic, we will use a certificate to authenticate with the Service Principal account in our upcoming Runbooks. Getting the Automation Account properties, we can see that a couple of certificates listed. We have one for each environment (ASM and ARM), when we check the properties of AzureRunAsCertificate, for instance, we will be able to see the Thumbprint, expiration, and if it is exportable.
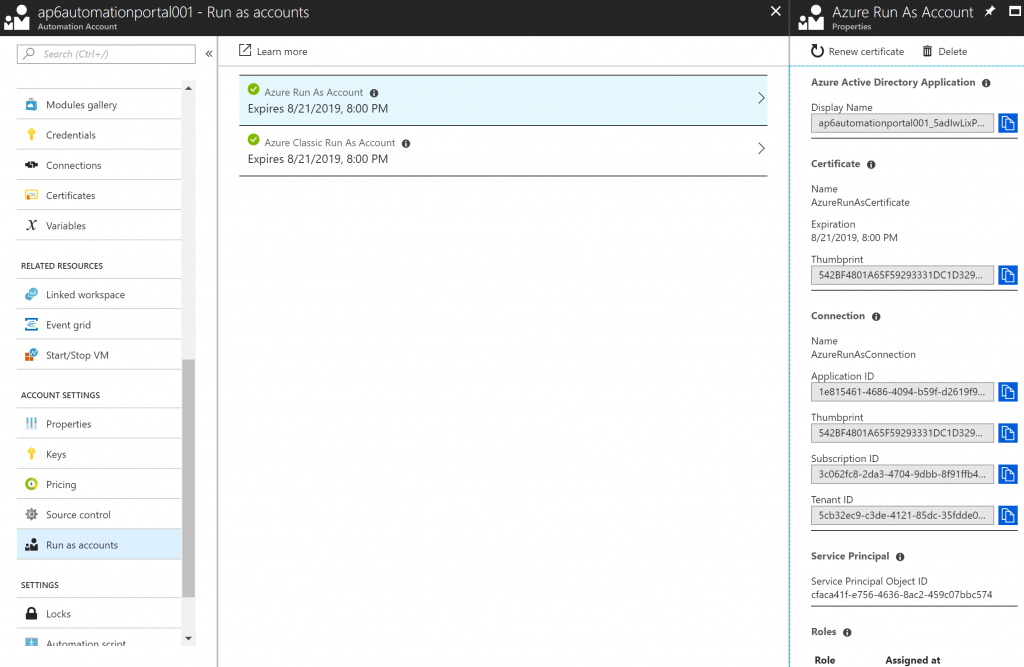
In the Azure Run As Accounts section, we will have a green check on both Azure Run As Account and Azure Classic Run As Account and the expiry date.
When you are looking for some information about any given Azure Run As Account, this is the place. Click on the desired Run As Account from the list, and on the right side we will have all details pertinent to that account, including Azure AD Application name, Certificate Thumbprint, Service Principal Object ID, and even the roles assigned to the account.
In the Connections section, we will have two connections: AzureClassicRunAsConnection and AzureRunAsConnection, which were created during the deployment of the Automation Account. Each one of these entries has pre-populated the ApplicationID, TenantID, Certificate Thumbprint, and SubscriptionID

In the Runbooks section, we will see five Runbooks that are simple tutorials and they explain how to take advantage of the automation account using different languages (Phyton, PowerShell, Graphical Runbooks, and so forth.

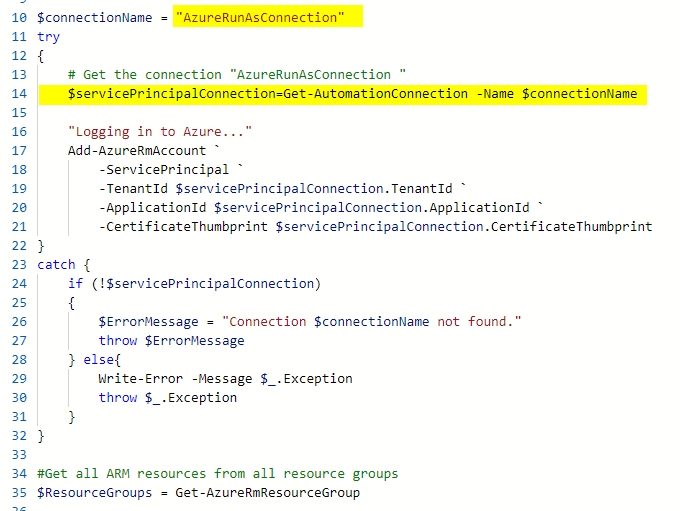
You may be wondering, how all those settings added to the Automation Account will help me with the Runbooks, right? You can look at the code of the AzureAutomationTutorialScript Runbook, and we highlighted the points where the script retrieves the Connection and that information will be used to authenticate.
Note: When using Hybrid Workers (the VMs part of your subscription) to execute Runbooks, we will export the certificate to that same VM.
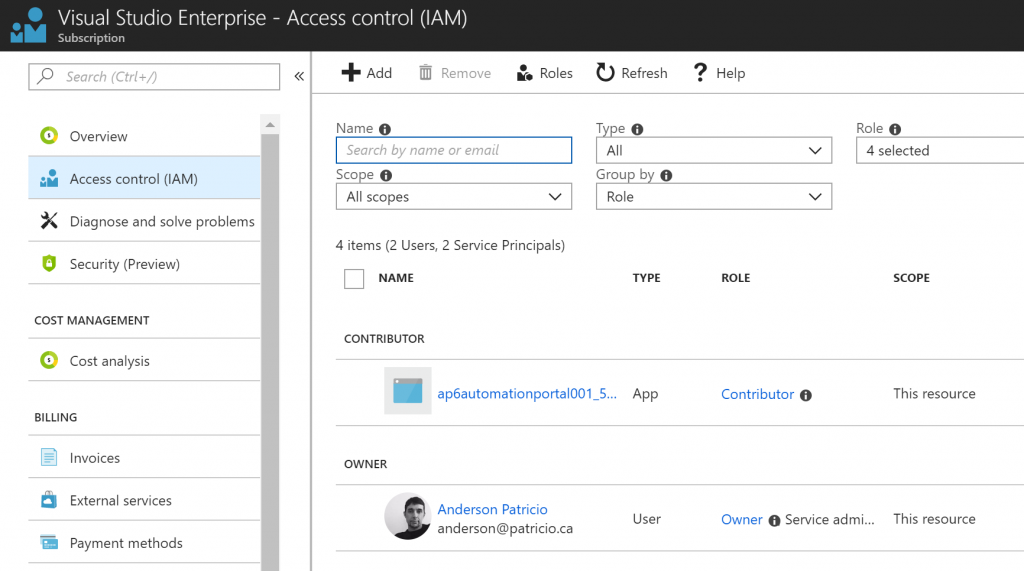
There are also changes at the Subscription level. The new Service Principal received Contributor permissions, as depicted in the image below. It may be a good idea to lock down the permissions based on the requirements of the automation account.
How about when I say ‘no’ to Azure Run As Accounts?
The process is simple. Basically, you won’t have these items being added to your environment:
- No Service Principal accounts being created, and because of that no certificates
- No permission at the subscription level
- No Runbooks in the Automation Account
- No Connections items in the Automation Account
- The Run as Accounts will be empty in the Automation Account
Is there a way to create all the missing components?
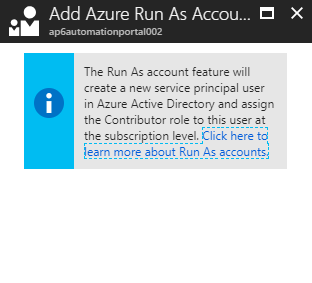
You can always manually create and associate to the Automation Account, but there is a simpler way when using Azure Portal. Open the desired Automation Account, click on Run as accounts item, and on the right side, click on Create (in this example we will use the Create for Azure Run As Account). A new blade informing that a new Service Principal account and permissions at the subscription level will be created. Click on Create to initiate the process.
What is going to be the result? A new Service Principal with an associated certificate. Even the Runbooks will show up on your Automation Account! Life is good!!!
Featured image: Shutterstock


Why is there an option to select “no” for run as account, if only run as accounts can be used to create and authenticate runbooks?
Thanks