There are several methods available to deploy a resource (compute, network, storage, and so forth) in Microsoft Azure. The most orthodox method is creating the VM manually using Azure Portal. But there are plenty more to choose from: PowerShell, Azure CLI, Azure Resource Manager templates, to mention a few. Using just the ARM templates, for example, we can provision resources from several sources, such as deployment component in Azure Portal, PowerShell, and Visual Studio. In this article, we will start using the Visual Studio Team Services cloud development tool and Visual Studio to deploy ARM templates taking advantage of CI/CD (Continuous Integration, Continuous Deployment) to allow a code created on Visual Studio to be stored on Visual Studio Team Services.
Our focus will be creating the environment to support the use of Visual Studio and Visual Studio Team Services. (in our next article, we will cover the deployment portion of ARM templates.)
Initial requirements
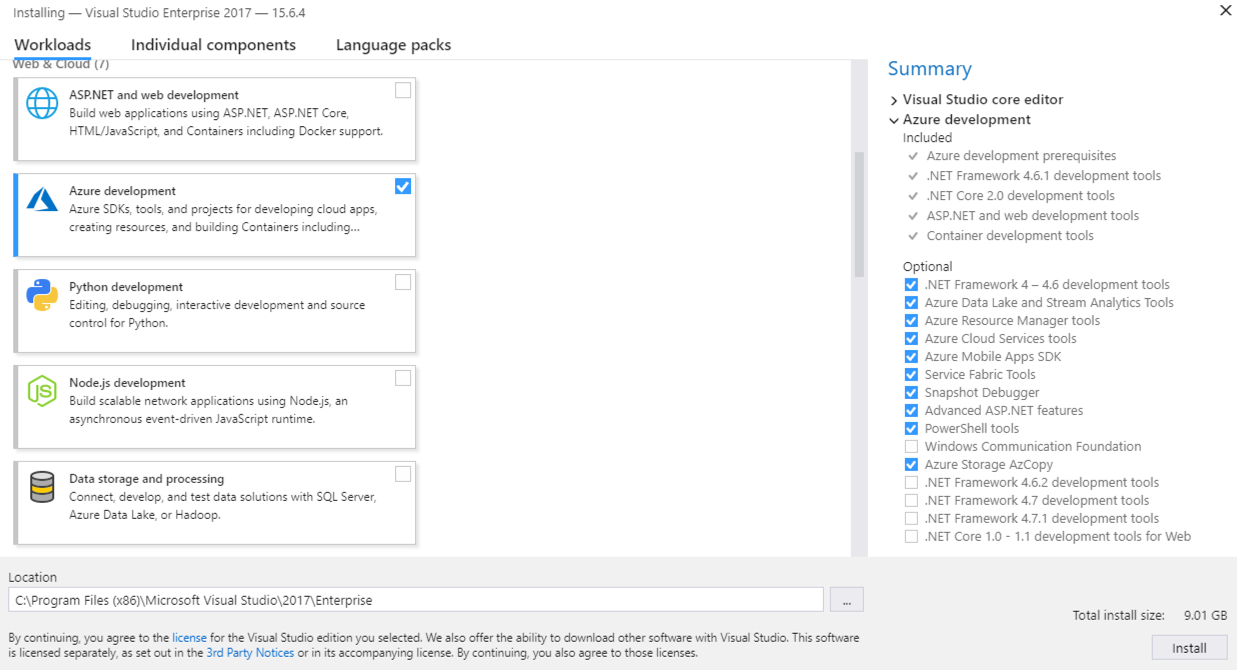
The requirements of this article are Visual Studio 2017 and Git installed on your machine and an Azure subscription. If you do not have Visual Studio 2017 installed, go here and install it before continuing on this article.
The installation process is straightforward. To complete this article we installed Visual Studio 2017 only with Azure development workload, and a couple of additional features (PowerShell tools and Azure Storage AZCopy, although not required for this exercise). The version that we are using in this article is Visual Studio 2017 Enterprise.
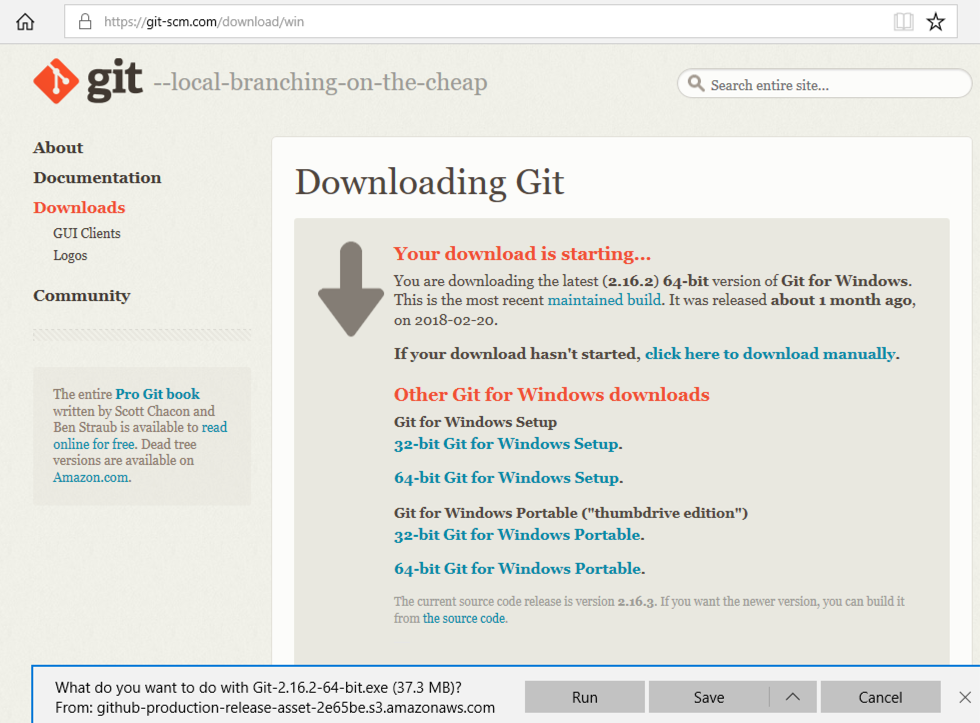
The second requirement is the installation of Git on the same machine where Visual Studio 2017 is installed. Download Git and use default values to install it.
Creating the Visual Studio Team account
The first step is to sign in to your account in the Visual Studio portal using your Microsoft Live/Corporate account. The first page will ask for your name, email, and country. Fill out all information requested and click on Continue.
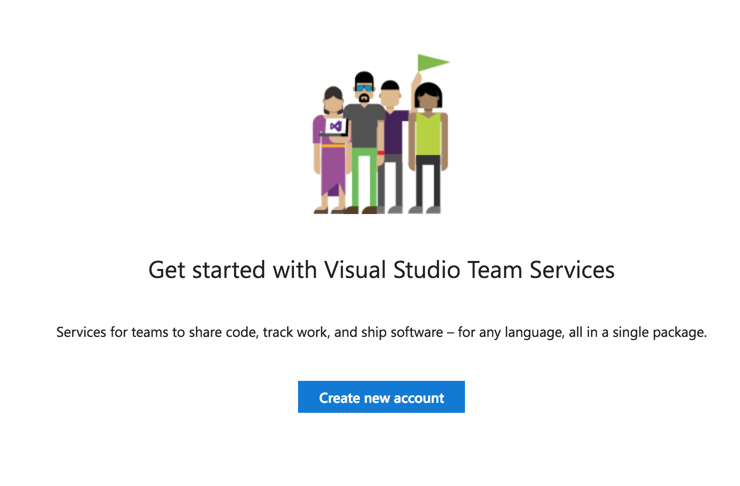
In the following page, on the right side, click on Create new account and that will start the process to create a Visual Studio Team Services to manage all the code of our future project.
Time to choose a name for the team. We will be using ucboxca, and we will select Team Foundation Version Control to manage the code. Click on Continue.

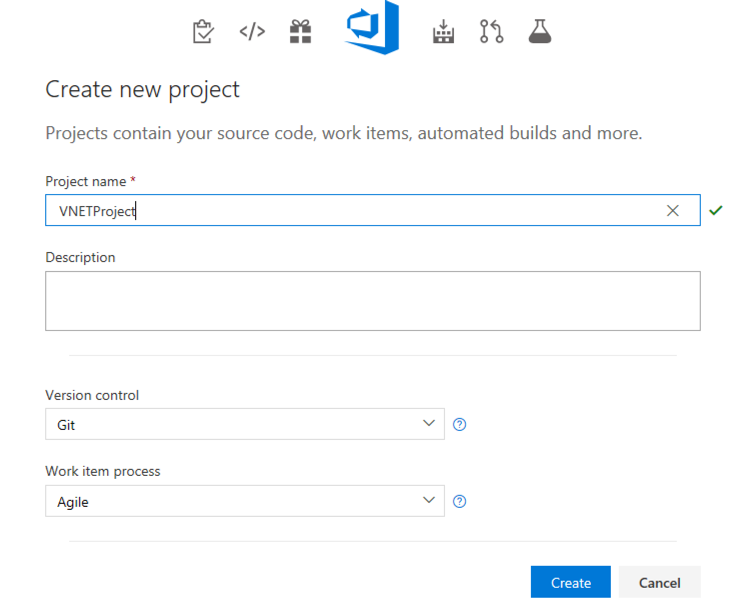
After creating your new visual studio account, create a new project to host the code and additional artifacts that will be controlled by Visual Studio. We will be creating a simple project called VNETProject, and we will use Git as version control. Click on Create.
A new page will be displayed informing that the new project was created. Click on Clone in Visual Studio. If you are using Windows 10, a dialogue box asking to switch applications will be displayed. Click on Yes, and the Visual Studio 2017 will open.
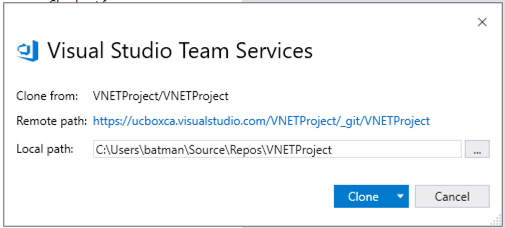
The first window on Visual Studio will require information to clone the information that we have just created in our project on Visual Studio Team Services and the local computer. In our example, the local repo (repository) will be C:\users\batman\Source\repos\VNETProject. Click on Clone.
The Visual Studio will open. Click on Team Explorer tab located at the bottom on the right side. A line at the top of Team Explorer will request that you create a new Project. Click on it. If it does not open, just click on File / New and then Project… Select Cloud and then Azure Resource Group. For this article, we will call this first project as FirstVNET and we will leave Create new Git repository checked. Click OK.

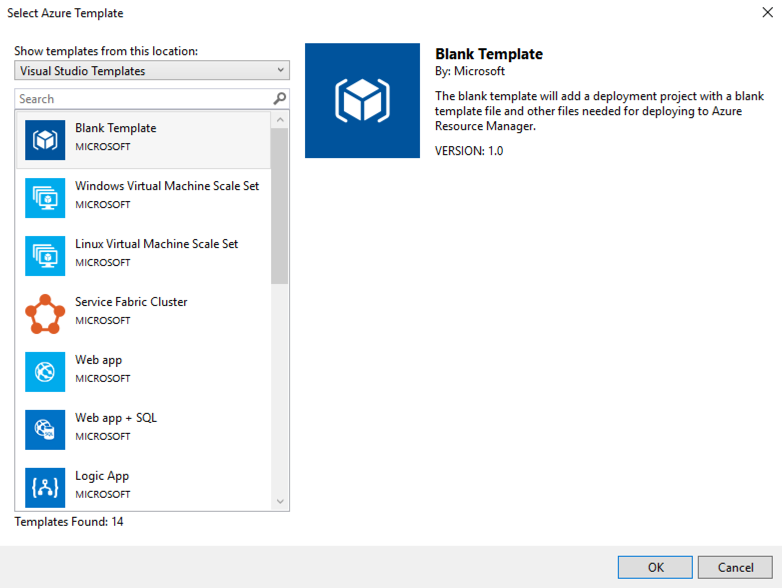
A new page will be displayed where we can select which template we will start our new cloud project. We will start from scratch, so we are going to select Blank Template and click OK.
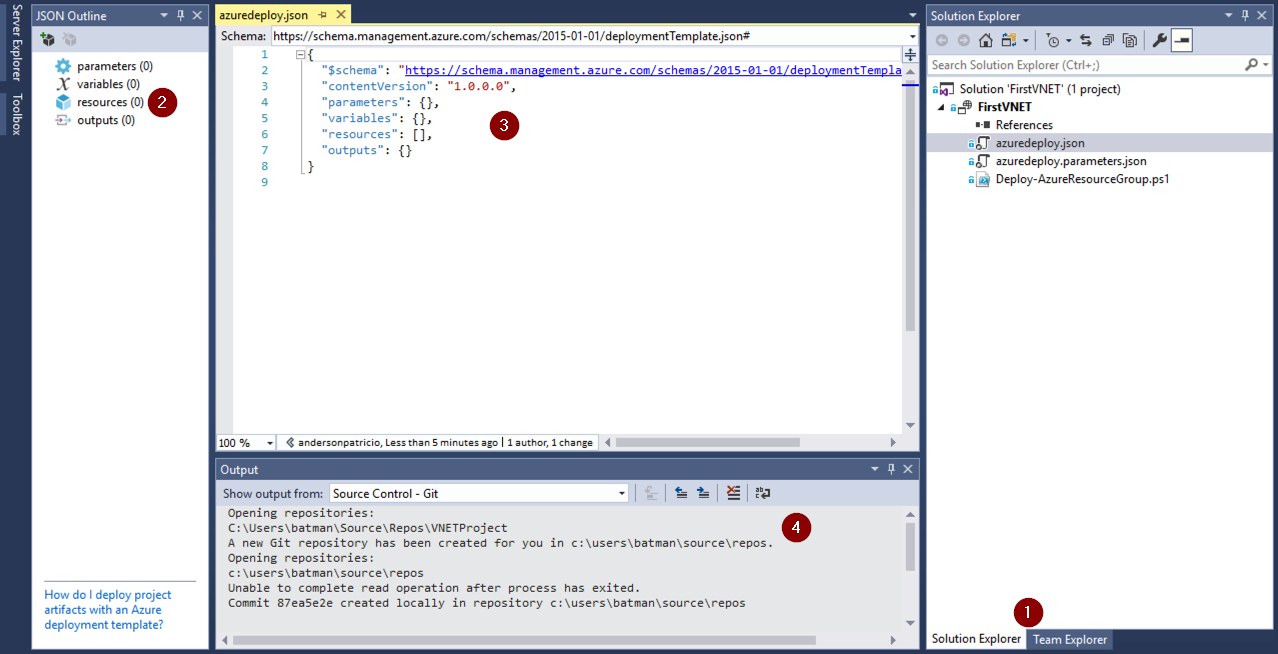
We are almost complete in our goal for this article, but before going any further, we will stop a little bit on the image depicted below to explain some key concepts when using Visual Studio with ARM templates.
- Solutions Explorer/Team Explorer area (Item 1): we have two main components in this section that we will use all the time. Team Explorer, which will provide the interface to communicate with your Visual Studio Team Services including change control, builds, and so forth; and Solution Explorer, which is your actual files for the current project.
- The file where we add code (Item 3) here is the file that we open from Solution Explorer, depending on the file type. We can have some outlines (Item 2) as shown with JSON files.
- In the output area (Item 4), we can have a detailed view of what is going on in some areas such as deployment and source control.
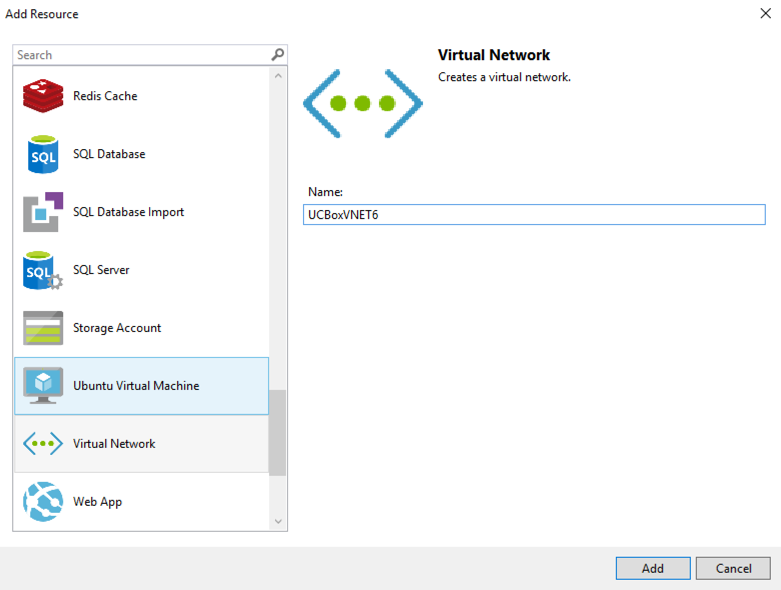
Let’s add a simple resource to our ARM template using Visual Studio. Make sure that the file azuredeploy.json is open, then right-click on resources (located on the left side), and click on Add New Resource…
A list of all resources available will be displayed. Click on Virtual Network, and assign a name to the new Virtual Network, click on Add. All the code required to be added to the ARM with values will be automatically populated on the JSON file.
Completing the synchronization with Visual Studio Team Services
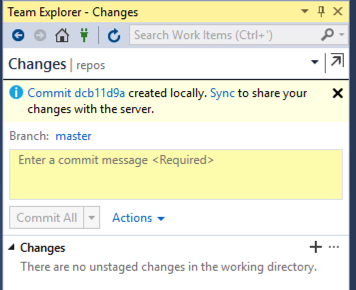
Now that we have some code on the JSON files of our ARM template, click on Save first to save it locally. Click on Team Explorer, and click on Changes, type a brief description of the current build. In our case it could be something like “First VNET using Visual Studio”, and such information can be useful to track progress and roll back settings during your deployment process. Then click on Commit All to create a local snapshot.
After that, a small information banner will be displayed (similar to the one depicted in the image below). Click on Sync to start replicating the local changes with the Visual Studio Team Services.
Because this is our first time, expand Push to Visual Studio Team Services and click on Publish Git Repo. In the new page, enter the information to connect on the Visual Studio Team Services (if it not already there), and select the Team Project and the Repository Name that we have just created in the previous steps.

The regular process to synchronize between the local repository and Visual Studio Team Services is summarized in these following steps:
- After reviewing and ready to commit your code, click on Change and describe the changes and click on commit all.
- In the banner line, click on Sync and Synchronize with the Visual Studio Team Services.
- Click on Sync again and that will make sure that both sides of the fence are synchronized and in sync. That would trigger the automatic deployment that we are going to configure for the next article here at TechGenix.
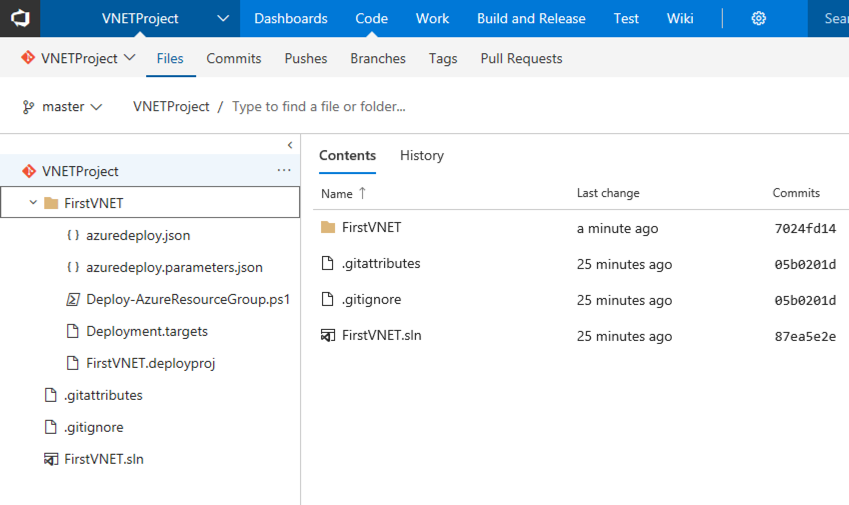
- For now, after the first synchronization takes place, we can go to our Visual Studio Team Services page, and under Code we can see our repository and the files that we placed as part of our new Project/Solution in Visual Studio from our desktop.
Notes from the field
Using Visual Studio to manage our ARM templates brings a lot of advantages when compared to regular files being created on a local editor. Here are some of the key advantages for any ITPRO user:
- Version control: If you make a mistake, you can always roll back.
- Centralized repository from anywhere: In case of a corrupted desktop, you can always retrieve your latest progress and keep working from where you left off.
- Automated deployment: We can save the files and let Visual Studio Team Services take care of the deployment automatically (which is going to be the topic of our next article).
- All your code in a single location, even if you don’t have a team of people modifying your Azure environment. All the cool scripts that you have been working on can be placed on the Visual Studio Team Services to be used in the future. It’s your own personal archive space!


