Readers interested in understanding how to perform image-based unattended installs of Windows Vista using Windows Automated Installation Kit (Windows AIK) tools such as Windows System Image Manager (Windows SIM), the Windows Preinstallation Environment (WinPE), the System Preparation Tool (Sysprep) and ImageX are referred to articles 1 through 13 of my Deploying Vista series here on WindowsNetworking.com.
Readers interested in understanding how to use Windows Deployment Services (Windows DS) for server-based unattended installs of Windows Vista are referred to articles 14 through 23 of my Deploying Vista series.
For more information on using Microsoft Deployment Toolkit for deploying Windows Vista, see the following articles in this series:

Introduction
The previous article examined how to create a distribution share in MDT 2008 and how to add operating system installation files and device drivers to it. This article continues from the previous one by examining how to add packages and applications to a distribution share.
Adding Packages to the Distribution Share
You can also add packages to your distribution share so they can be installed when you deploy Vista using MDT. A package or Windows package file may contain security updates, hotfixes, language packs, or other software. Packages for Windows Vista or Windows Server 2008 typically have the .msu file name extension and contain one or more .cab files (each .cab representing one update), an .xml manifest describing the contents of the package, a plaintext properties file, and possibly other metadata. Packages for language packs however are simple .cab files.
To add a package to your distribution share, right-click on the OS Packages node and select New to launch the New Package wizard, then browse to the folder where your .msu or .cab file is located (Figure 1):
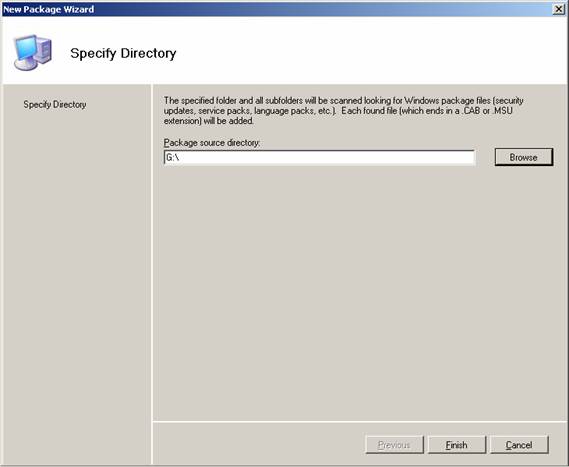
Figure 1: Adding a package to your distribution share
Once packages have been added, they are displayed in the details pane of Workbench (Figure 2):
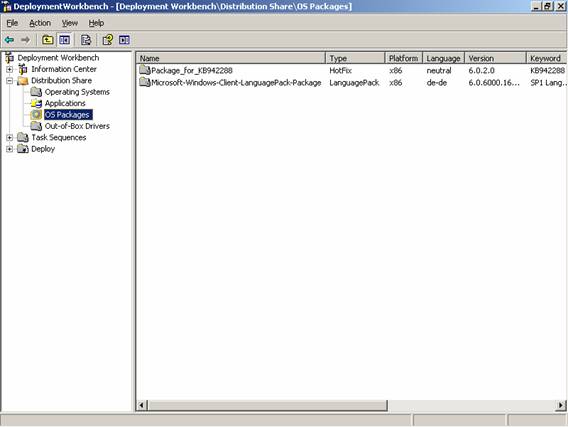
Figure 2: Packages added to a distribution share
To view detailed properties of a package, right-click on it and select Properties (Figure 3):

Figure 3: Detailed properties of a package
Note:
You can enable or disable a package by selecting or deselecting the checkbox at the bottom of the General tab above.
The Groups tab lets you assign the package to a specific package group. By default, all packages are assigned to the All Packages package group, but you can create additional package groups if needed. Package groups are useful if you will be deploying multiple operating systems or operating system version levels and these OSes or OS version levels use different packages or package levels. For instance, a language pack that applies to Windows Vista RTM would not apply to a language pack that applies to Windows Vista SP1 (see Figure 4).
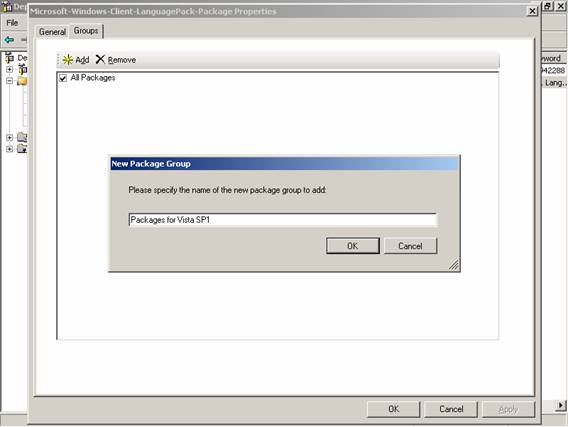
Figure 4: Creating a new package group for packages that apply to Vista SP1
Adding Applications to the Distribution Share
You can also add applications to your distribution share so they can be installed when you deploy Vista using MDT. To deploy an application you will need the Windows Installer (.msi) file for the application so you can install it silently using the msiexec /qn /i command.
As an example, let us add the Microsoft Office Live Meeting 2007 client application to our distribution share. Begin by downloading the executable Setup file for the application from Office Online. This Setup file is named LMSetup.exe and once you have it you must extract the .msi file from the Setup file by typing the following at a command prompt:
LMSetup.exe –out <path_to_folder>
Executing this command extracts the file LMConsole.msi into the folder specified. Now copy this .msi file onto removable media or a network share and you are ready to add it to your distribution share. Begin by right-clicking on the Applications node in your Workbench and selecting New to launch the New Application Wizard (Figure 5):
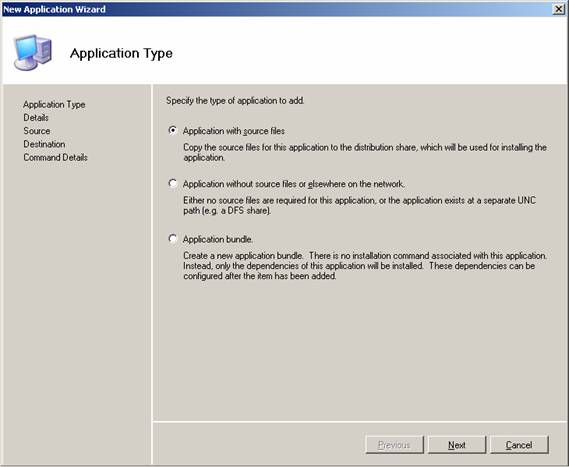
Figure 5: Adding an application to your distribution share
If you have an .msi file to install your application, choose the first option in the screen above and continue as shown below. If the source files for your application are located somewhere on your network and you just need to run a command on the destination computer to install the application, choose the second option.
Click Next and specify a name for the application and optionally the application’s publisher, version and language (Figure 6):

Figure 6: Specify a name for the application
Click Next and browse to the local or network folder where the .msi file is located (Figure 7):
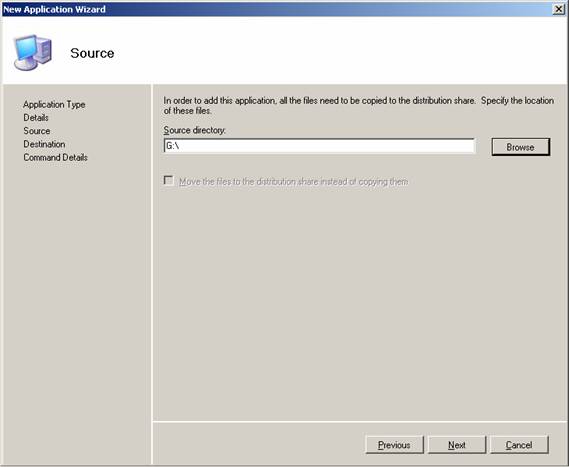
Figure 7: Specify the location of the .msi file
Click Next and either accept the default name for the local directory that will be created for the .msi file, or enter a different name if preferred (Figure 8):
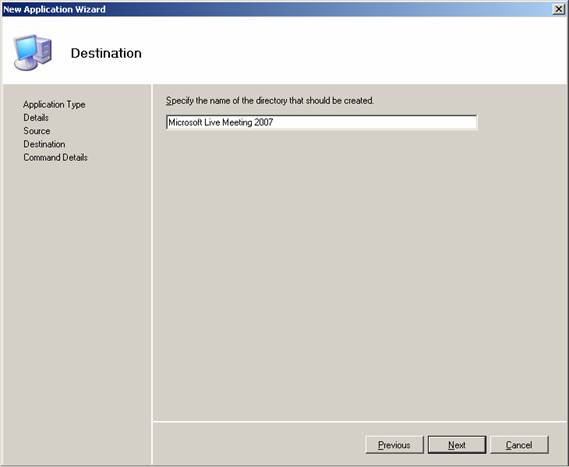
Figure 8: Specify the name of the folder where the .msi file will be locally stored on your technician computer
Click Next and enter the command that will silently install the application on the destination computer (Figure 9):
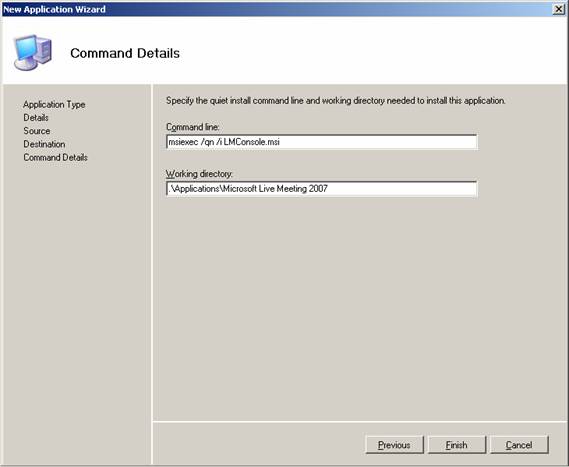
Figure 9: Specify the command that will silently install the application
Click Finish to import the application into your distribution share. Imported applications will be displayed in the details pane of your Workbench as shown in Figure 10:
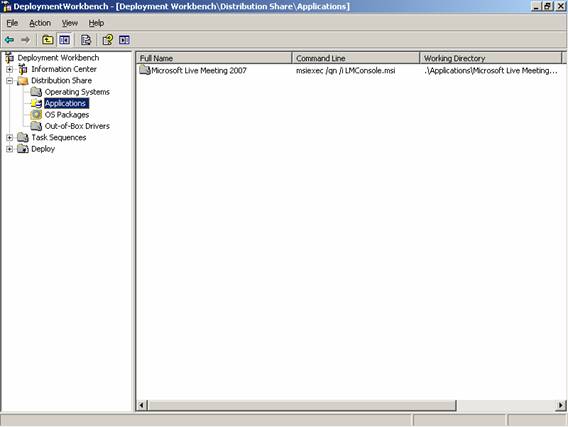
Figure 10: Applications that have been added to the distribution share
You can right-click on the imported application and select Properties to display detailed properties for the application. The General tab displays the application’s name, the application’s source directory on your technician computer, and other information (Figure 11):
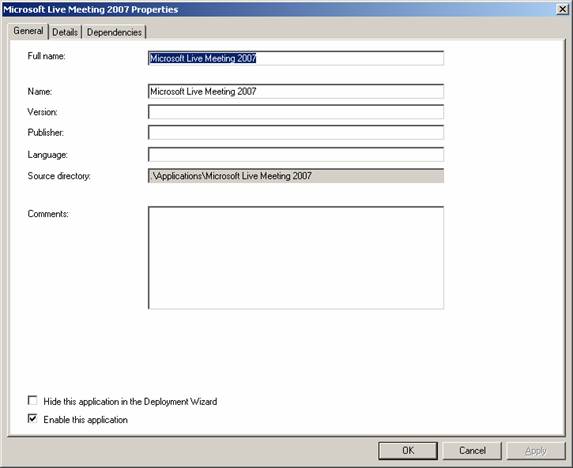
Figure 11: General tab of an application’s properties
Note:
You can enable or disable an application on the General tab.
The Details tab displays the command used to silently install the application and other information (Figure 12):

Figure 12: Details tab of an application’s properties
The Dependencies tab is used to manage dependencies when the order in which applications are installed is important. You can manage your imported applications by editing their properties, enabling or disabling them, or removing them from your distribution share if desired.
Note:
Do not configure an application to reboot the computer after it is installed or the task sequence used by MDT to deploy Windows will be unable to complete its tasks and the deployment will fail.
Examining the Distribution Share
Figure 13 shows the structure of the distribution share after adding the operating system installation files, device drivers, packages and applications described in this article and the previous one:
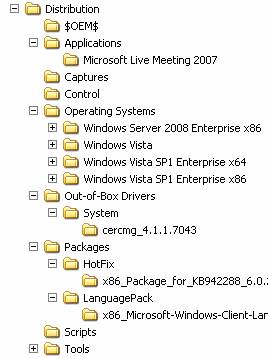
Figure 13: Typical structure of a distribution share on the technician computer
Examining the Resulting Installation
At this point you can follow the procedure outlined in part 25 and part 26 of this series to test your populated distribution share as follows:
- Create a task sequence.
- Create a Lab deployment point.
- Update your deployment point.
- Burn the WinPE .iso file to a CD.
- Boot a bare-metal system using the CD.
- Follow the prompts of the Windows Deployment Wizard to install Windows Vista SP1 Enterprise together with the device drivers, packages and applications you populated your distribution share with.
The Windows Deployment Wizard will ask you whether to install the additional language pack (on the Package page of the wizard) and whether you want to install Microsoft Live Meeting 2007 (on the Select One Or More Applications To Install page). For example, after the desktop appears on our destination computer, a dialog is displayed indicating that the Live Meeting client is being installed (Figure 14):
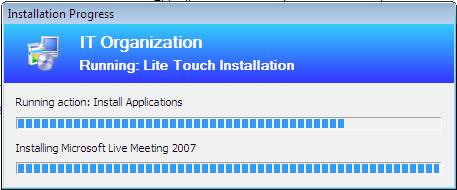
Figure 14: The application is being installed
Once installation is finished, you can verify from the Start Menu that the application is available (Figure 15):
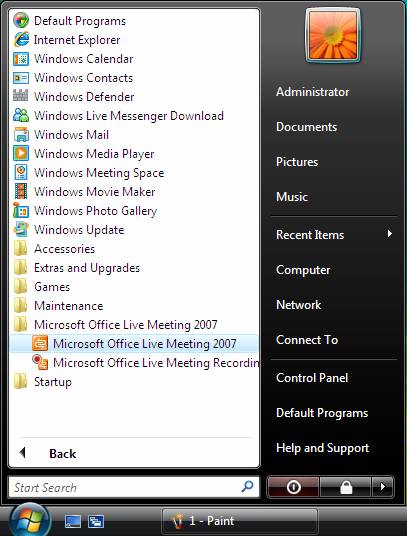
Figure 15: The application has been installed
You can use Programs in Control Panel to verify that the package for the KB942288 hotfix shown in Figure 2 above has been installed (Figure 16):
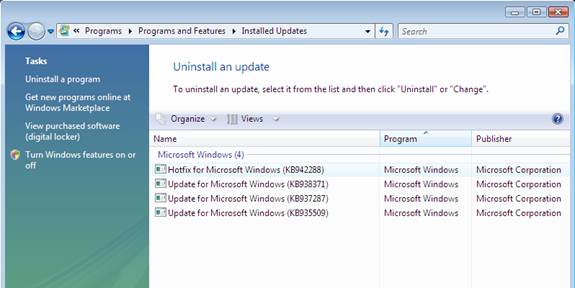
Figure 16: The package has been installed
You can verify from Regional and Language Options in Control Panel that the additional language pack is available on the system (Figure 17):
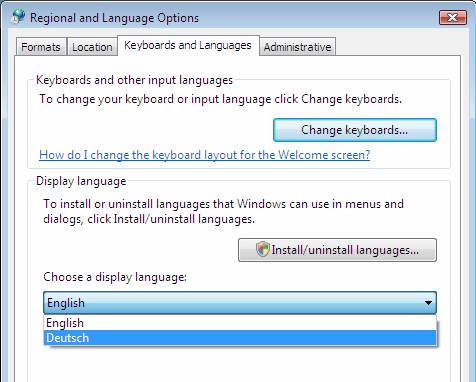
Figure 17: The language pack has been installed
And you can verify from Device Manager that the device driver has been installed (Figure 18):

Figure 18: The device driver has been installed
Conclusion
This article and the previous one have explored how to create and populate the distribution share on your technician computer. The next article will examine how to create and configure deployment points.
Readers interested in understanding how to perform image-based unattended installs of Windows Vista using Windows Automated Installation Kit (Windows AIK) tools such as Windows System Image Manager (Windows SIM), the Windows Preinstallation Environment (WinPE), the System Preparation Tool (Sysprep) and ImageX are referred to articles 1 through 13 of my Deploying Vista series here on WindowsNetworking.com.
Readers interested in understanding how to use Windows Deployment Services (Windows DS) for server-based unattended installs of Windows Vista are referred to articles 14 through 23 of my Deploying Vista series.
For more information on using Microsoft Deployment Toolkit for deploying Windows Vista, see the following articles in this series:


