Introduction
When Microsoft released Exchange 2000, they made many changes to Outlook Web Access (or OWA for short). The first change that everyone noticed was the fact that the old yellow logon screen was no longer displayed, instead; OWA takes you straight into the Inbox of the required mailbox, which it gets from Active Directory.
Okay, not everyone misses the logon screen, but many people do, and a surprising number of people are asking how they can get it, or something similar, back; either because they want to open different mailboxes, or perhaps simply because they are used to it.
This article describes how to create a Web page that requests a mailbox name and then directs the user to the named mailbox.
Procedure
The first thing to do is to decide what to call the page, and where to put it. In this example the page is called OWALogon.asp and it is going to be saved in the root directory of the Default Web Site, which is normally C:\Inetpub\wwwroot.
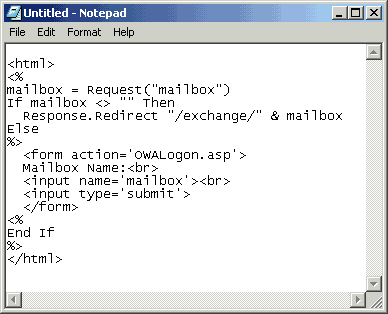
Start Notepad from your server’s Start -> Programs -> Accessories menu and type the following lines into the editing window:
<html>
<%
mailbox = Request(“mailbox”)
If mailbox <> “” Then
Response.Redirect “/Exchange/” & mailbox
Else
%>
<form action=’OWALogon.asp’>
Mailbox Name:<br>
<input name=’mailbox’><br>
<input type=’submit’>
</form>
<%
End If
%>
</html>

Fig. 1 – The new logon page in Notepad
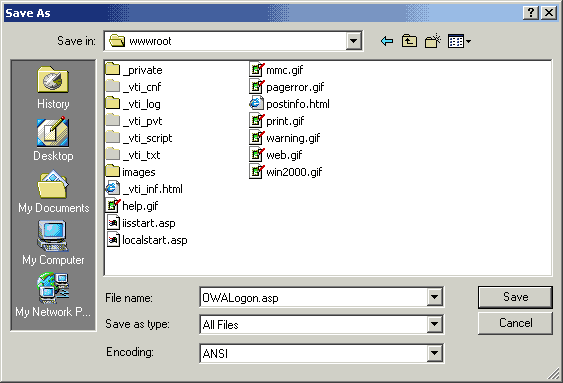
Select Save As… from Notepad’s File menu, navigate to the C:\Inetpub\wwwroot directory, select All Files from the Save As Type: drop-down box and type the name OWALogon.asp into the File Name: field. Finally, click on the Save button to save you file.

Fig. 2 – Save the file as C:\Inetpub\wwwroot\OWALogon.asp
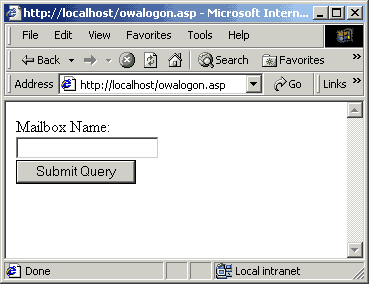
Now, let’s see if our logon page works. Start your Web browser and enter the URL of the new page. In this example, the page is being viewed on the Web server itself, so the URL is http://localhost/OWALogon.asp .

Fig. 3 – The New Logon Page
Type in the name of your mailbox to make sure that you can access it, if not, then verify the contents of the OWALogon.asp file you have just created.
Now, this isn’t a particularly attractive logon page, so you will probably want to add some graphics and a bit more text. What your page will look like will depend upon your personal preference, but I’m going to use a graphic called win2000.gif that normally exists in the C:\Inetpub\wwwroot directory by default.
Make the following changes (or something similar) to your OWALogon.asp file, and then re-save it:
<html>
<%
mailbox = Request(“mailbox”)
If mailbox <> “” Then
Response.Redirect “/Exchange/” & mailbox
Else
%>
<form action=’OWALogon.asp’>
<img src=’win2000.gif’><br>
<h1>Outlook Web Access</h1>
Mailbox Name:<br>
<input name=’mailbox’><br>
<input type=’submit’ value=’OK’>
</form>
<%
End If
%>
</html>
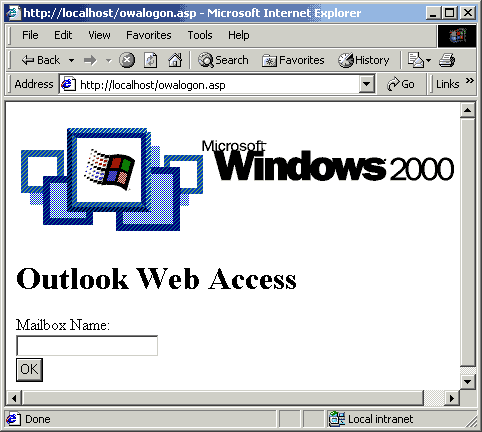
Now, you logon page should look something like this:

Fig. 4 – A slightly better logon page.
Not a particularly exciting example, it has to be said, but it’s a start. You will, no doubt, have your own ideas on what you want your own OWA logon page to look like.

