OneDrive for Business is a convenient location for users to store data, especially when they are working outside of the office. Even so, the data within OneDrive for Business needs to be protected, just as you would protect data residing elsewhere in your organization. One of the best places to start is with a data loss prevention (DLP) policy.
Why have a data loss prevention policy?
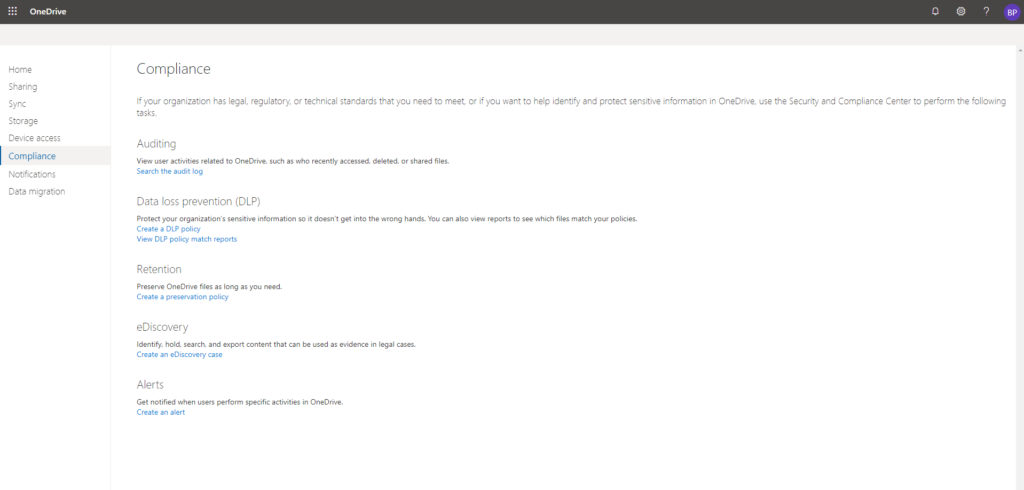
A data loss prevention policy helps to make sure that sensitive data is not accidentally leaked to those who should not have access to that data. To create a data loss prevention policy, log into your Microsoft 365 account, and then go to the Microsoft 365 Admin Center. Next, choose the All Admin Centers option from the menu and then click on the option to access the OneDrive for Business Admin Center. Once this Admin Center opens, select the Compliance tab and then click the link to create a DLP policy, as shown in the screenshot below.
At this point, you will be taken into the Office 365 Security and Compliance Center, which you can see in the next screenshot. If you’re not familiar with the Office 365 Security and Compliance Center, it is a centralized resource for managing enforcing security and validating your organization’s compliance initiatives.
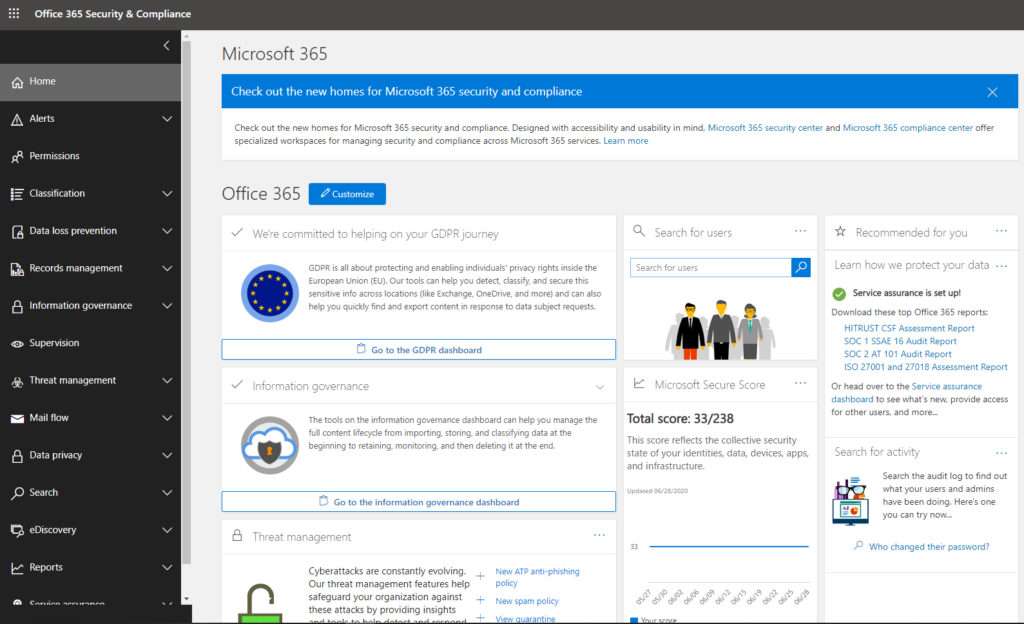
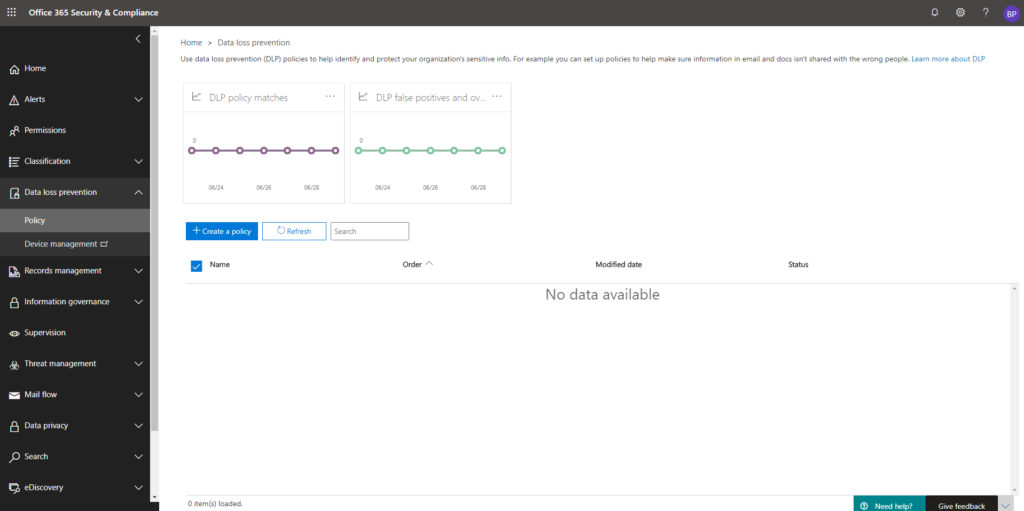
As you look at the image above, you will notice that there are several tabs along the left side of the screen about things like Search, eDiscovery, and Reporting. Expand the Data Loss Prevention tab, and then click on the Policy option found beneath it. The console will now display a screen containing two charts — DLP policy matches and DLP false positives. As useful as these charts might be, they are going to be empty in the absence of a DLP policy. To create the necessary policy, click on the Create a Policy button, shown in the figure below.
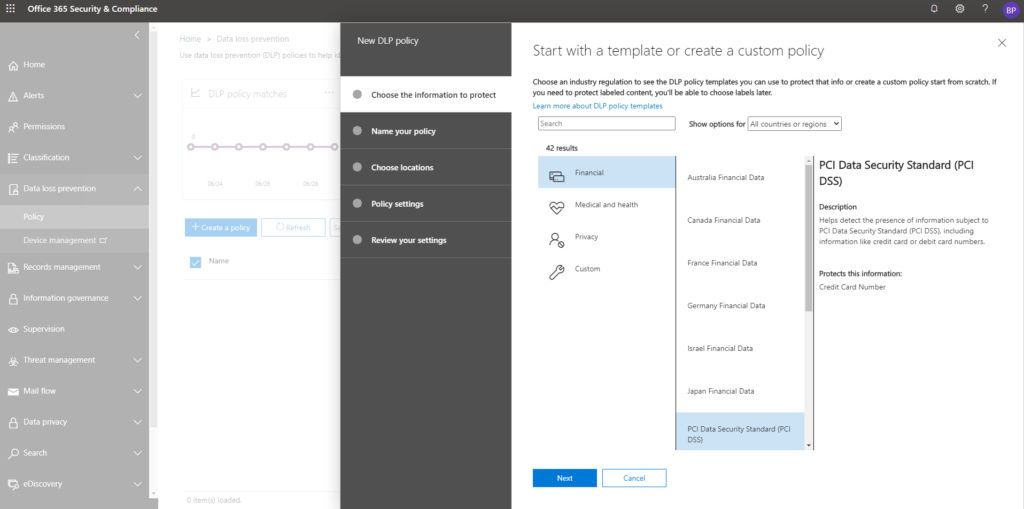
The first step in creating a DLP policy is to specify the type of policy that you want to create. Microsoft provides dozens of policy templates that you can use to make the policy creation process easier, but you can also build a custom policy.
In case you are wondering, the policy templates are grouped into categories such as Financial, Medical and Health, and Privacy. Each of these categories contains templates about related regulations. For example, the Financial category contains a template that can help organizations to comply with the PCI Data Security Standard regulations, as shown below.
DLP name and description
Once you have selected the template that you want to use (or chosen to create a custom template), click Next. When you do, you will be taken to a screen that prompts you to name the policy that you are creating. If you are using one of the built-in templates, then the policy name will automatically be set to match the template name, but you can give the policy a different name if you want to.
In any case, it’s a good idea to enter a description of the policy in the space provided. Ideally, the description should include details such as who created the template, when, what the policy does, and why it was created. Just be sure to update the description any time that you modify the policy.
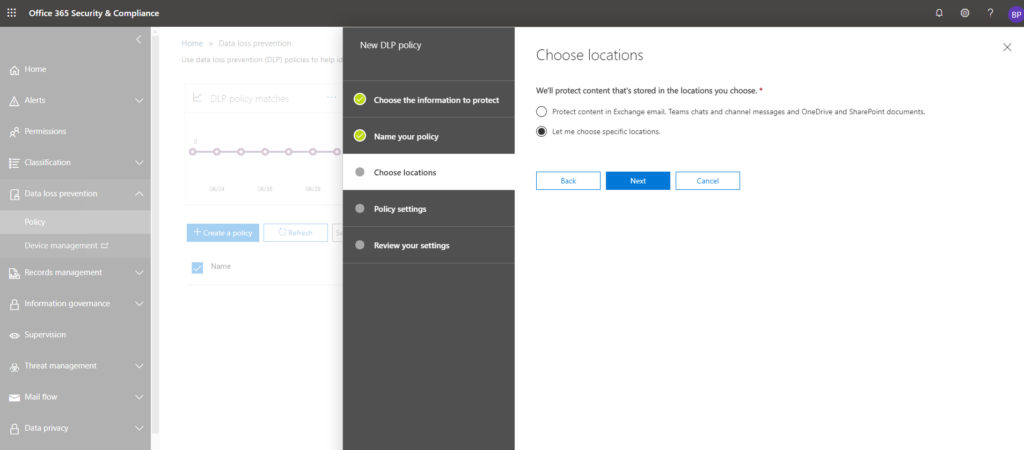
Click Next, and you will be taken to a screen that asks you to define the policy’s scope. As previously noted, the Office 365 Security and Compliance Center is designed to act as a centralized resource for keeping your Microsoft 365 deployment secure. As such, Microsoft gives you the option of extending your DLP policy to multiple Microsoft 365 applications. In fact, that’s the default behavior. If you go with the defaults, then your newly created DLP policy will pertain to Exchange, Teams, OneDrive, and SharePoint. As you can see in the next screenshot, though, you can limit the policy’s scope so that it only pertains to OneDrive for Business.
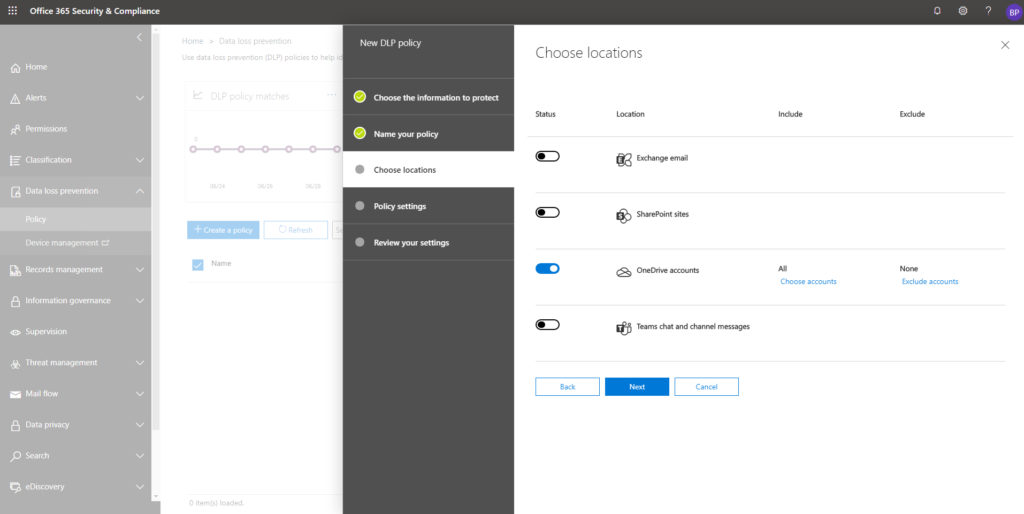
As you look at the image above, you will likely notice that this screen doesn’t give you the option to select the applications to which the new DLP policy will apply. You will be presented with this option when you click Next. It’s also worth noting that as you specify which applications you want to associate the DLP policy with, you also have the option of associating the policy with specific user accounts. If you look at the next screenshot, for instance, you will notice that the new DLP policy currently applies to everyone. However, Microsoft 365 gives you the option of applying the policy only to specific accounts, or of excluding certain accounts from the policy.
Click Next, and you will be taken to the Policy Settings screen. This screen gives you the chance to configure the settings that make up the policy. The options that are presented on this screen will vary depending on the template that you selected.
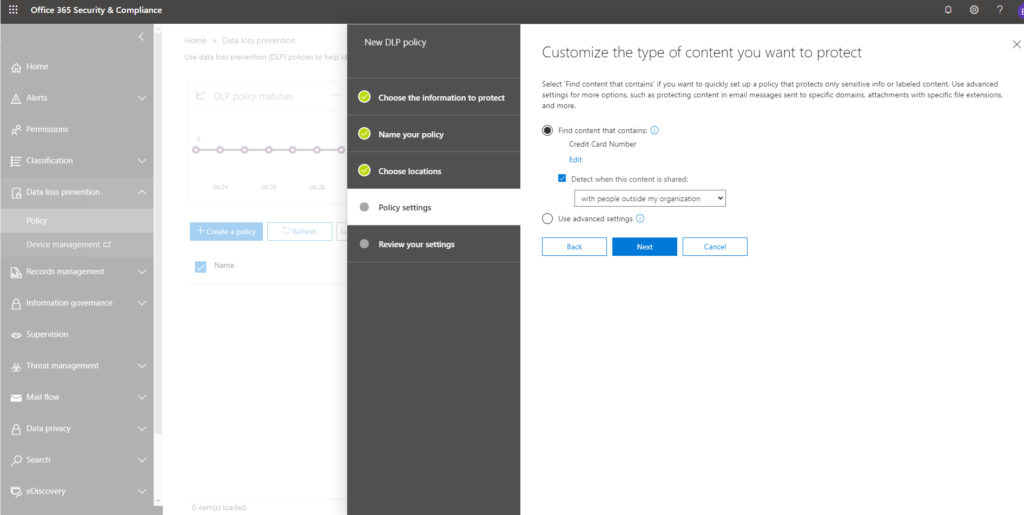
For the sake of demonstration, I chose to create a policy based on the PCI DSS template. The PCI DSS regulations are designed to help merchants to protect credit card data. As such, the PCI DSS template contains a setting that is designed to look for credit card numbers. If, for example, a user included a credit card number in an Office document, saved it to OneDrive for Business, and then shared the document with someone else, the action would trigger a policy based on the PCI DSS template. You can, of course, make customizations to the policy settings, as shown in the next screenshot. Incidentally, the policy settings span several screens, so there are additional settings beyond those shown in the screenshot.
When you finally finish configuring the various policy settings, you will be taken to a summary screen that gives you the chance to review your settings. Assuming that everything appears to be correct, click the Create button to create the policy.
Data loss prevention policy: Beware of unintended consequences
Even though the process of creating a data loss prevention policy is relatively straightforward, it is a good idea to test the policy before actually enforcing it (the Policy Settings screen gives you an option to do this). Enabling a DLP policy can occasionally have unintended consequences. Using the testing option gives you a chance to validate the policy’s behavior before you unleash the policy upon your organization.
Featured image: Shutterstock


Great article, thank you. Does DLP offer pretection/scanning on my Onenotes? Technically if saved in ODFB or SPO the DLP policy should trigger or scan this content right?