Libraries are one of the most convenient features in Microsoft’s System Center Virtual Machine Manager. Libraries act as repositories for the objects that you use when creating new virtual machines. For example, libraries can contain ISO files, virtual hard disks, and even PowerShell scripts. As useful as libraries may be by themselves, it is sometimes beneficial to create multiple libraries. Creating multiple libraries can serve a variety of purposes. For example, an administrator who is creating new virtual machines can pull resources from the library that is in the closest proximity to them. Similarly, libraries can provide redundancy so that library resources are always available, even if a particular library share has been taken offline for service (you can also achieve high availability by using a file server cluster). So, with that in mind, I want to show you how to add a secondary library to System Center Virtual Machine Manager. From there, I will show you how to take advantage of equivalent objects within those shares.
Creating a library share
Before I show you how to add a new library to System Center Virtual Machine Manager, I need to point out that a library is really nothing more than a file share. This means that if you want to create a dedicated library server, you don’t have to worry about deploying a second copy of System Center Virtual Machine Manager. All you have to do is to create a file share on either a Windows Server or on a NAS appliance that supports SMB file sharing.
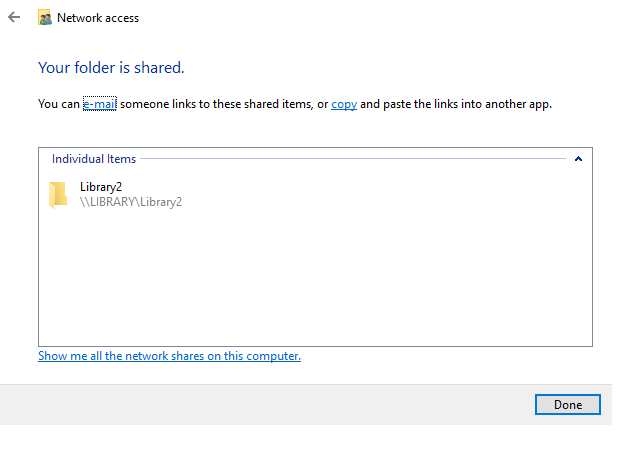
For the sake of demonstration, I have installed Windows Server 2019 onto a Hyper-V virtual machine and created a folder called Library2. I then shared the Library2 folder, as shown in the figure below. This folder will become the new library.
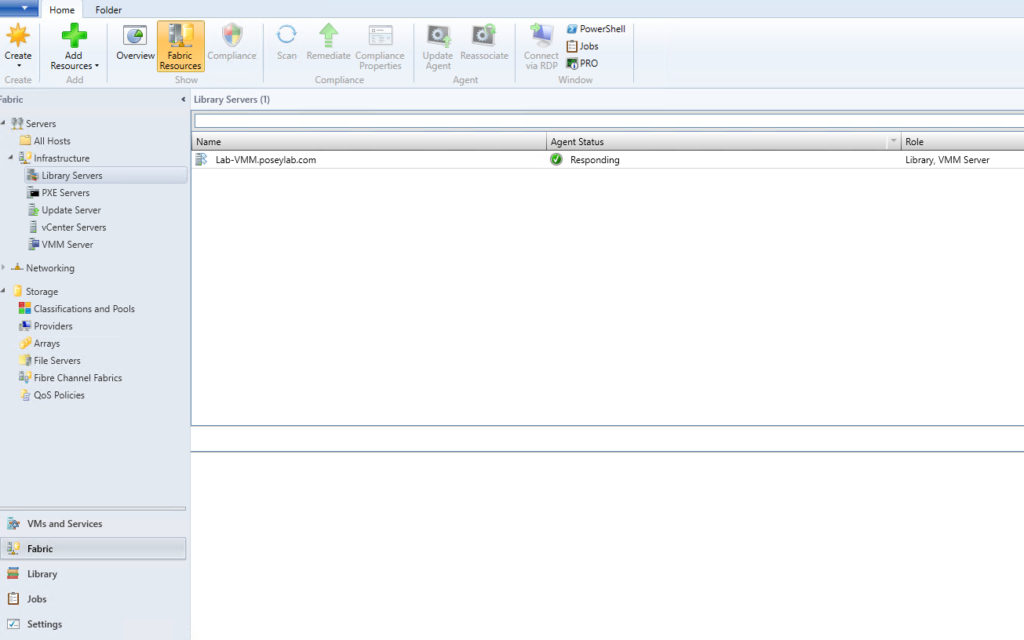
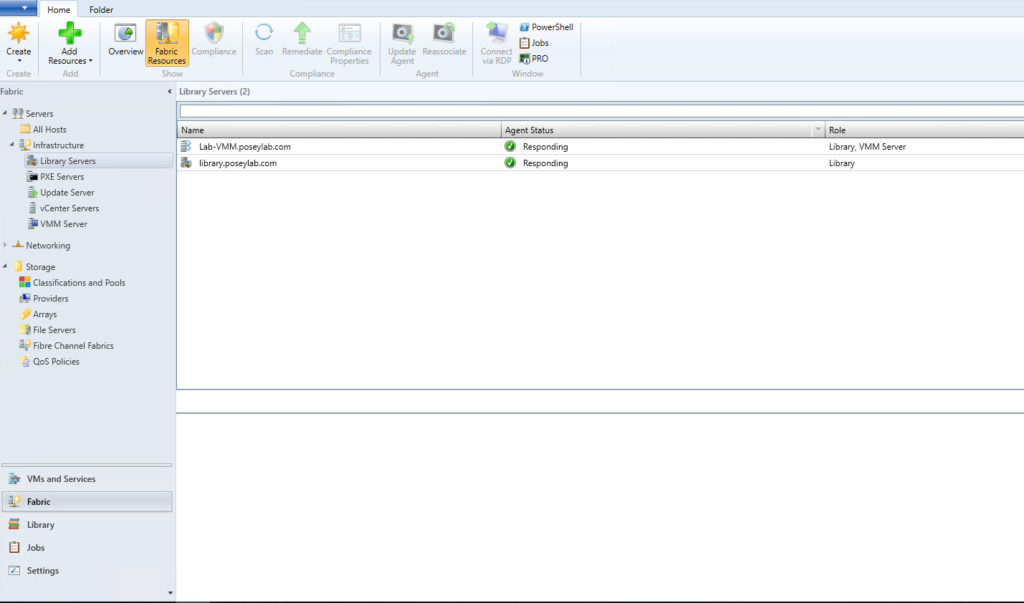
Now, open the Virtual Machine Manager console, and select the Fabric workspace. Navigate through the console tree to Servers | Infrastructure | Library Servers. When you do, you should see the default library share listed, as shown in the next figure.
Right-click on the Library Servers container and select the Add Library Server command from the shortcut menu. When you do, VMM will open the Add Library Server wizard.
The wizard’s initial screen asks you to supply a set of credentials that can be used to access the library share. Although you can technically use any credentials that have sufficient permissions, as a best practice, it’s a good idea to use your Run As account. Just be sure to grant this account permission to access the library share.
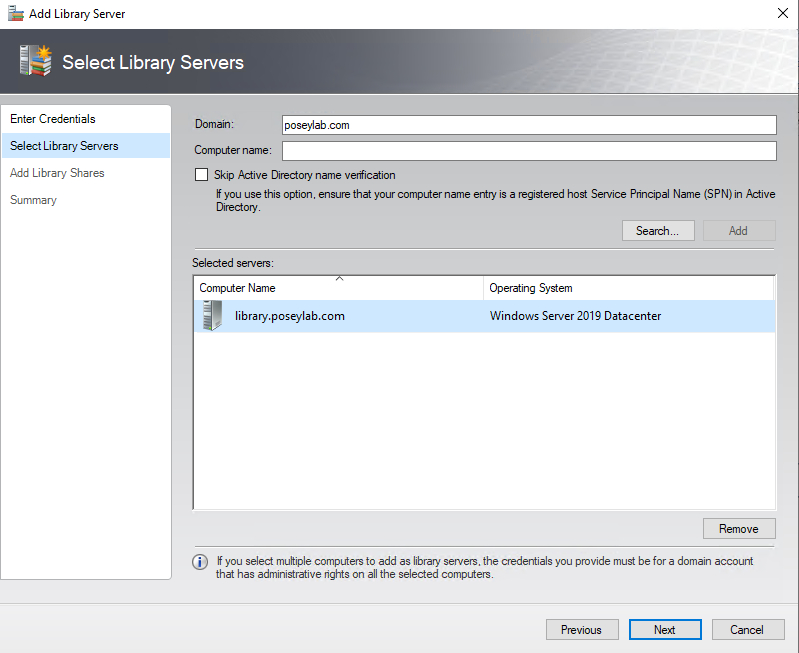
Click Next, and you will be taken to a screen that asks you to select the library server. Here you will simply need to verify that the correct domain name is being used and then enter the name of your library server. You can see what this looks like in the figure below.
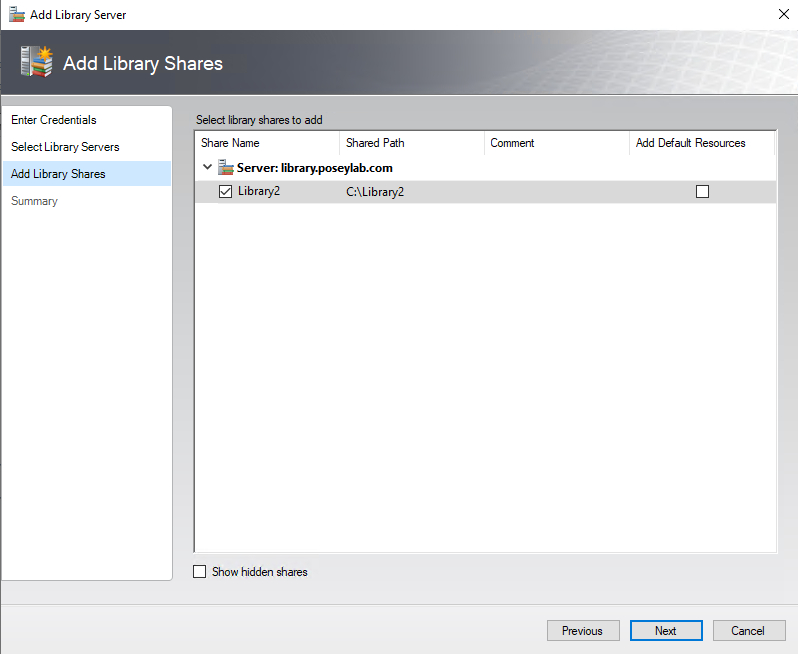
Click Next, and VMM will search for any shares that exist on the library server that you have specified. Select the desired share as shown in the figure below, and then click Next.
When you are done, click Next, and then click the Add Library Server button. VMM will now add the specified shares as libraries. When the process completes, you should see your newly added shares listed alongside the default library share, as shown below.
Defining equivalent objects
As previously mentioned, one of the main benefits of defining multiple libraries is that doing so gives you redundancy through the use of equivalent objects. Equivalent objects are exactly what they sound like. They are two or more objects within libraries that are identical to one another. Suppose for a moment that you need to deploy a virtual machine using a template, but the library server containing some of the objects specified within the template happens to be offline. Virtual Machine Manager can use an equivalent object from another library share to complete the deployment process.
As previously mentioned, a library share is really just a file share. That means that you can copy files between library shares in the same way that you might copy a file between any other file shares. In fact, you can access these file shares directly through the VMM console. Just right click on a library share and choose the Explore option from the shortcut menu, as shown below. This causes VMM to the share in File Explorer.

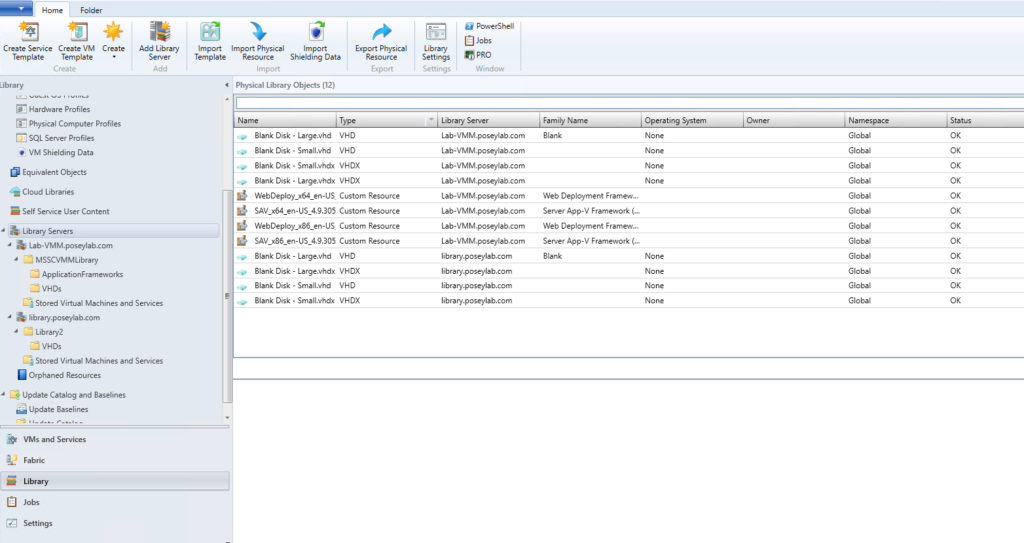
The easiest way to define equivalent objects is to use File Explorer to copy the objects from one library share to another, resulting in two copies of the objects in two different file shares. When you are done, select the Library Servers container, as shown below. As you can see in the figure below, selecting this container causes the console to display the full contents of all of your library shares. You can also see that I have created copies of the Blank Disk objects on both library servers.
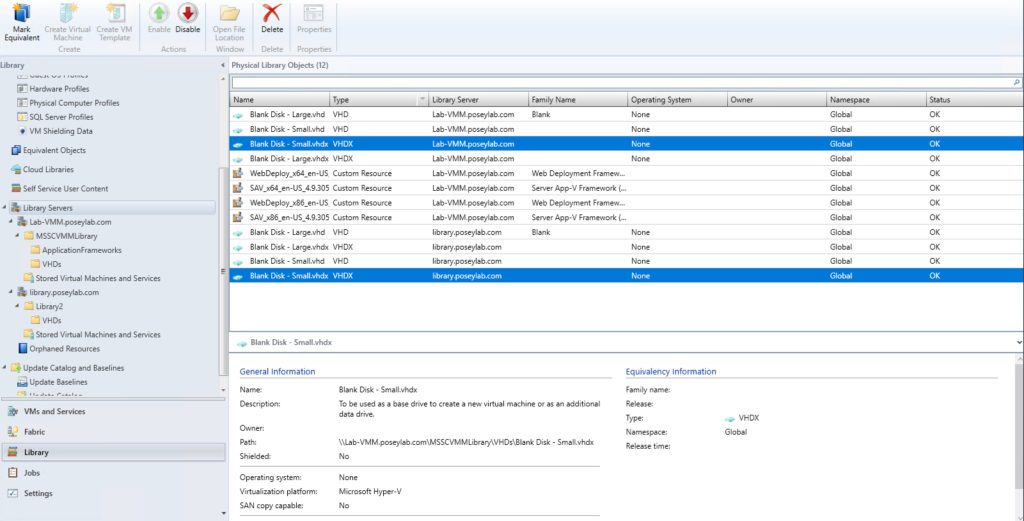
The last step in the process is to tell VMM which objects are equivalent to one another. To do so, click on an object, hold down the Ctrl key, and then click on its equivalent object or objects. With the equivalent objects selected, click the Mark Equivalent button on the toolbar. You can see what this looks like in the next figure.
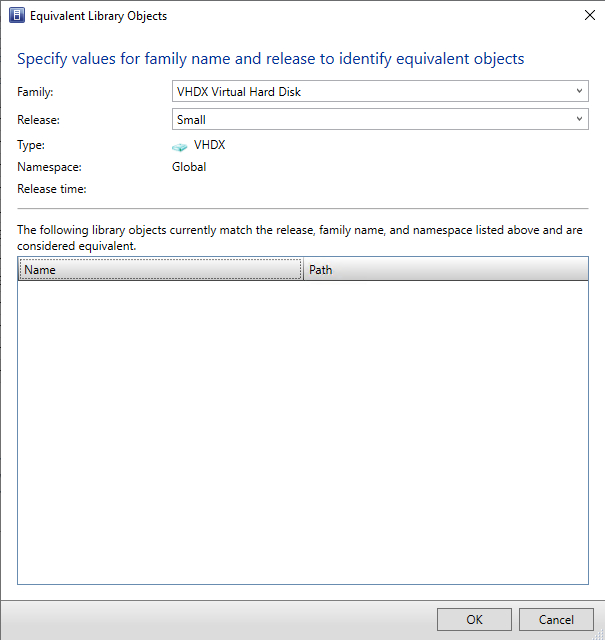
Upon doing so, you will be taken to a dialog box that requires you to provide a family name and a release value that will be assigned to the selected objects. These values can be anything that you want, but you should make them something meaningful. For example, the family might be VHDX virtual hard disk, and the Release might be Small. Of course, this is just an example.
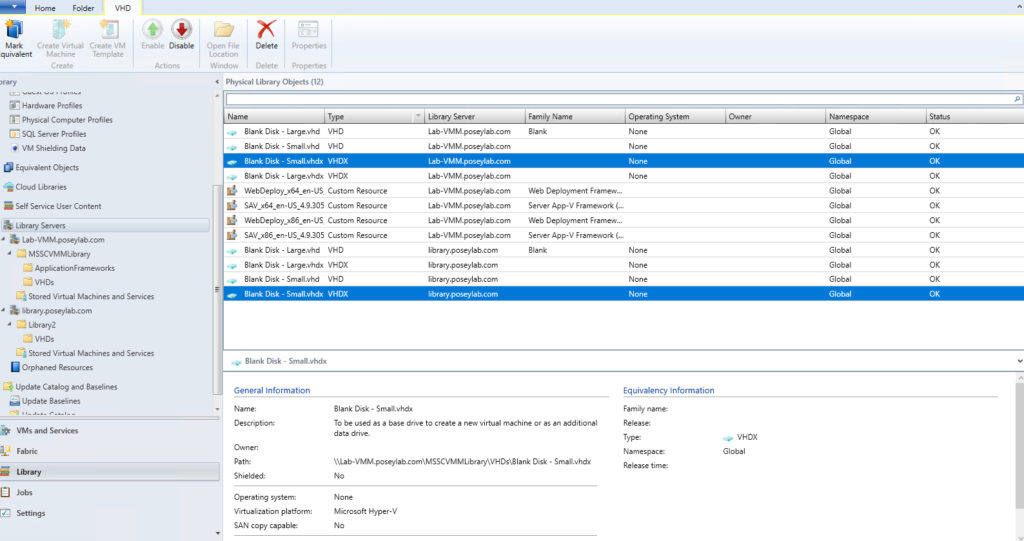
When you are done, click OK twice and the items will be treated as being equivalent to one another. The console will even be updated to reflect the family name that you specified, as shown below.
And, as you see above, the family name has been added to the equivalent objects.
Featured image: Pixabay


