While many organizations are flocking to cloud offerings, such as Office 365 and Exchange Online, others continue to host their email on-premises. By releasing the newest iteration of Exchange (Microsoft Exchange Server 2019), Microsoft has given these organizations a few more years of “on-prem” time. Will there be an on-prem Exchange solution beyond 2019? Who knows? However, with Exchange Server 2019 here, I figured it would be a good idea to explain how to configure it to work with Exchange Online in Full Hybrid mode.
What we’ll cover
In this tutorial, we will walk through the process of provisioning an O365 tenant and then we will use the Hybrid Configuration Wizard to connect an on-prem Exchange 2019 organization with the O365 tenant that is provisioned. We’ll cover the HCW setup process, the preparation of the on-prem Active Directory, and then the deployment of Azure AD Connect.
When you finish reading this tutorial, you should have no problems connecting an on-premises Exchange 2019 organization to an O365 tenant, using the Hybrid Configuration Wizard. Let’s get started!
Prerequisites
Before going into the process of setting up a Full Hybrid between Exchange 2019 and Exchange Online, let’s cover what my lab looks like.
The lab for this tutorial includes an on-prem AD, a domain controller, and Exchange 2019 server (both hosted on VMs in Azure), and a publicly routed email domain:
- Active Directory: bluewidgets.local
- AD Domain Controller: DC01.bluewidgets.local (Windows 2016)
- Exchange 2019 Server: EX01.bulewidgets.local (Windows 2016)
- Email Domain: bluewidgets.org (hosted at GoDaddy)
I’ve added bluewidgets.org as an alternate UPN suffix for the bluewidgets.local AD domain, and I’ve updated all users in the domain to use bluewidgets.org as their UPN suffix. This is necessary because, when the users eventually sync to O365, they must be syncing with an Internet-routable domain name as their UPN suffix.
Getting started
The first step in the process is to provision an O365 tenant. For this tutorial, I provisioned a tenant with a single E1 license. (E1 provides an Exchange Online license.)
To sign up for a new O365 tenant, visit this link.
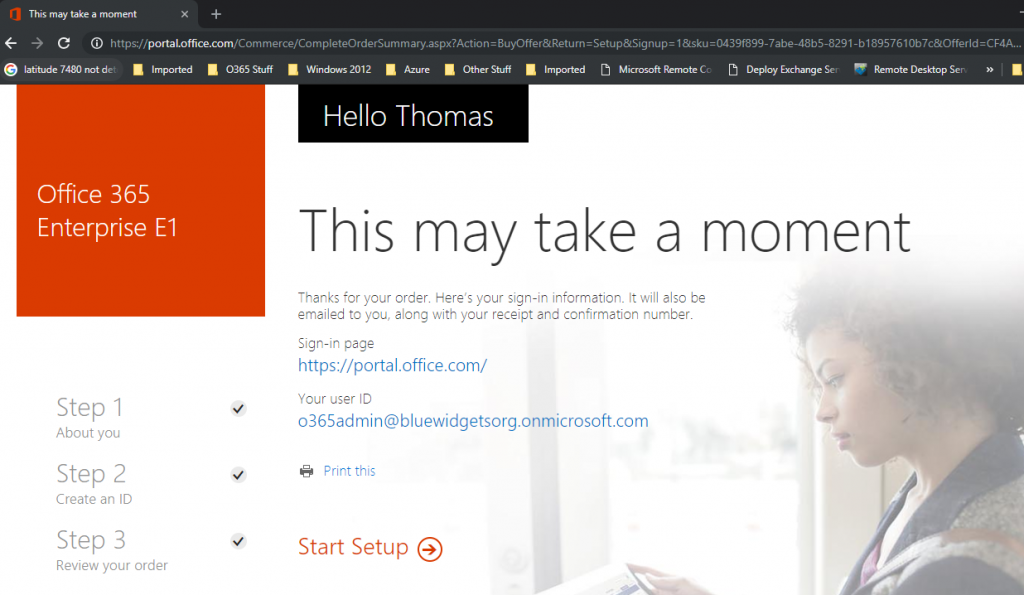
If you are following along with this tutorial, all you need to do is purchase a single E1 license during tenant provisioning.
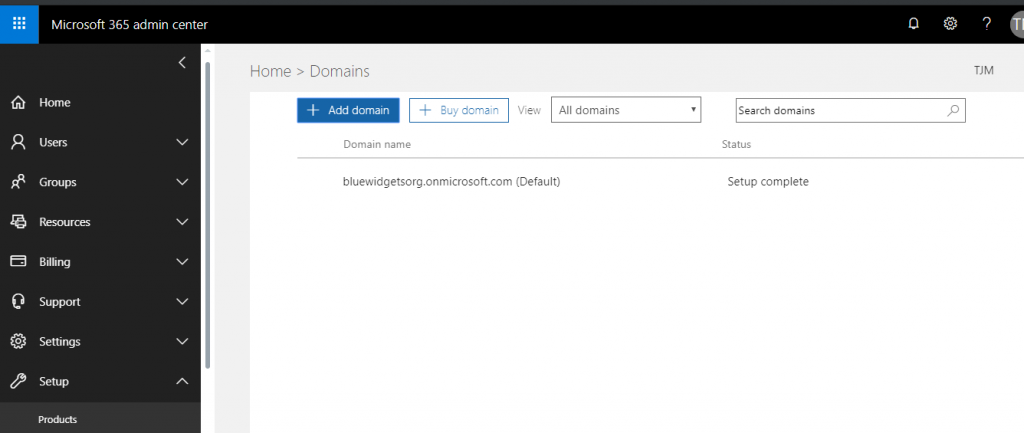
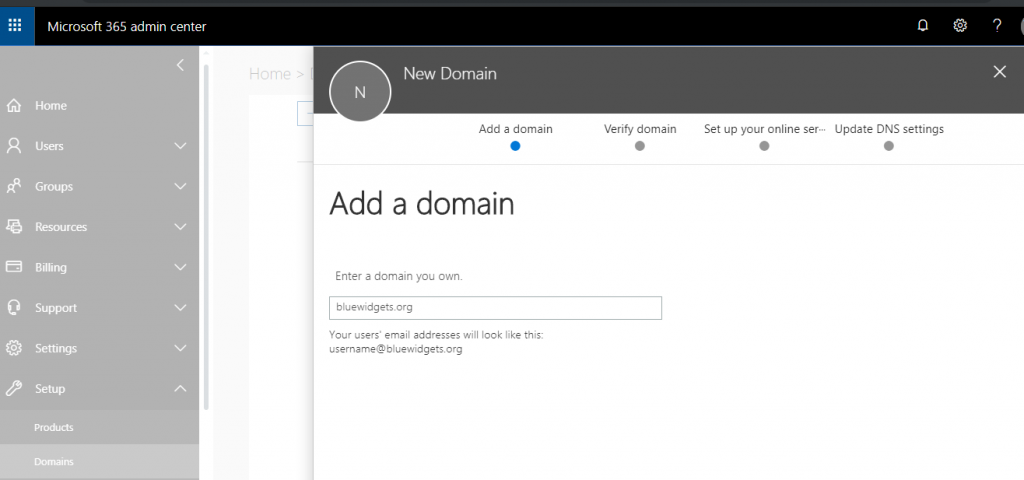
Once you have the O365 tenant provisioned, login and add your email domain to the tenant. The email domain that I’m using for this tutorial is bluewidgets.org so that’s the domain I’ve added to my newly-provisioned O365 tenant. To do this, click on Setup, and then Domains, after logging into the tenant as a Global Admin. Click “Add Domain” and then add your on-prem email domain.
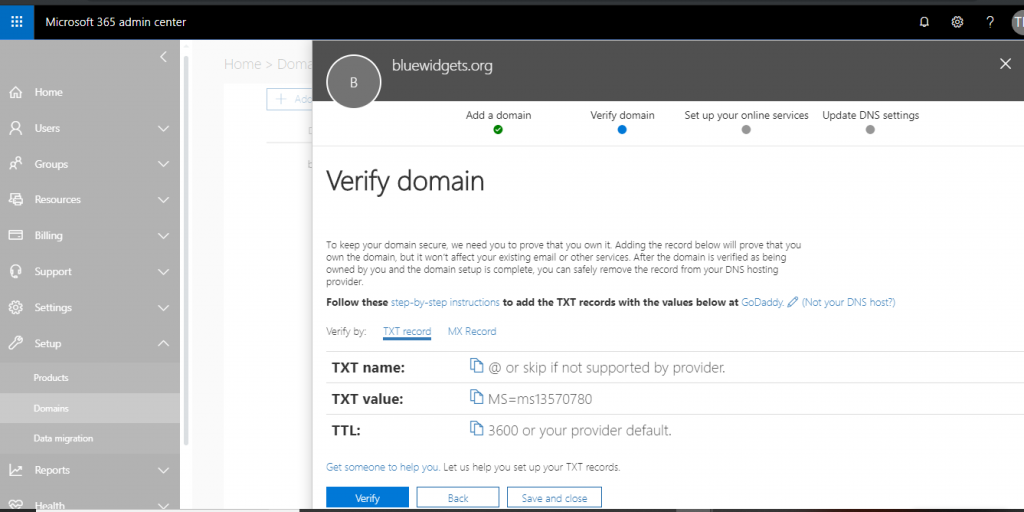
After adding the email domain to the O365 tenant, you’ll need to verify the domain. Doing so proves to Microsoft that you own the domain that you are adding.

To verify the domain, you can either sign in to GoDaddy (if your domain’s DNS is hosted there) or you can add a TXT record to your public DNS. I prefer to add a TXT record in all cases.
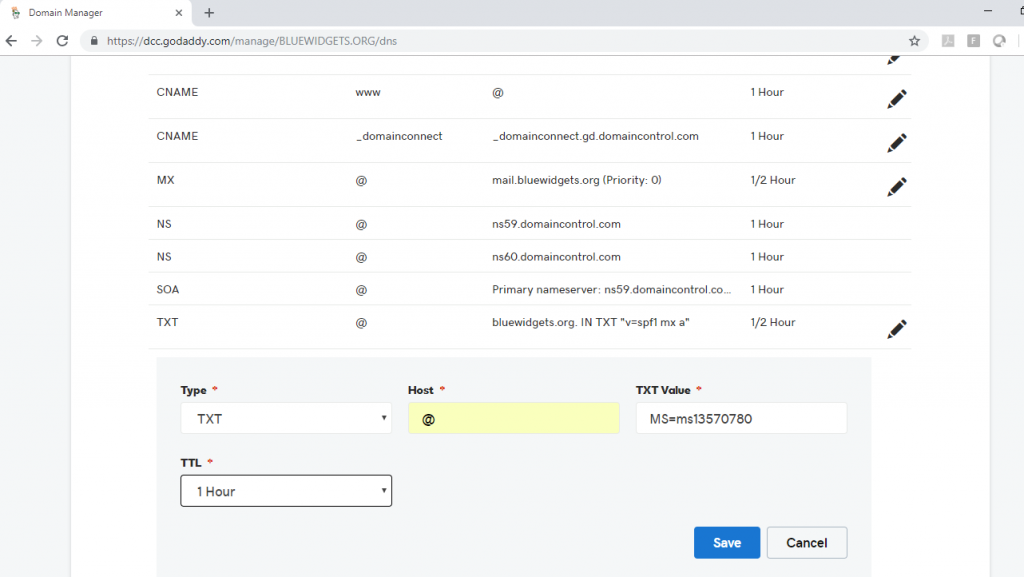
After adding the requested TXT record to DNS, click the Verify button to allow O365 to check for the record’s existence.
After verifying the domain, you’ll be prompted to update DNS records so that things like autodiscover, MX, and such point to O365. Skip this for now because changing them now will break mail flow to your on-prem environment.
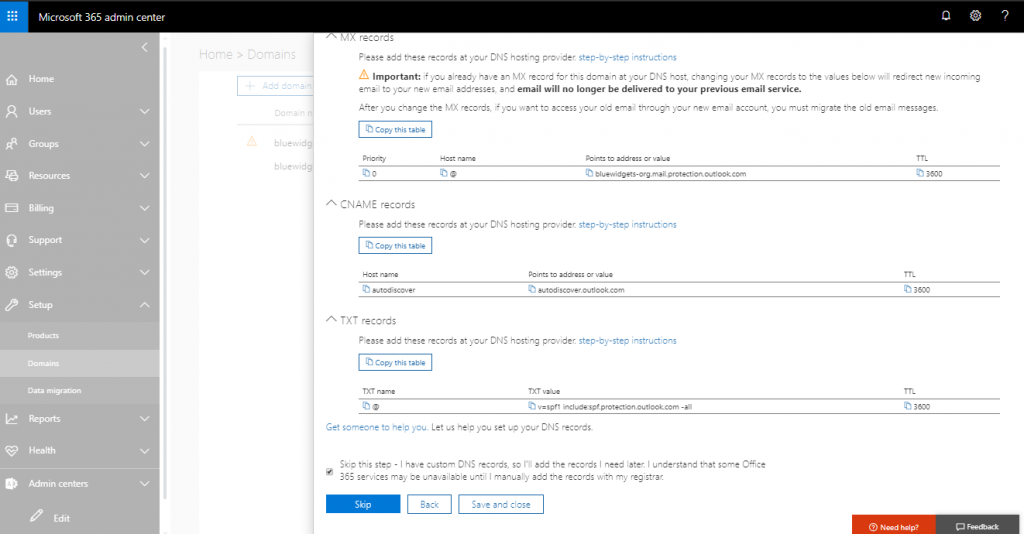
After clicking the “Skip” button, click “Finish” to complete the DNS setup.
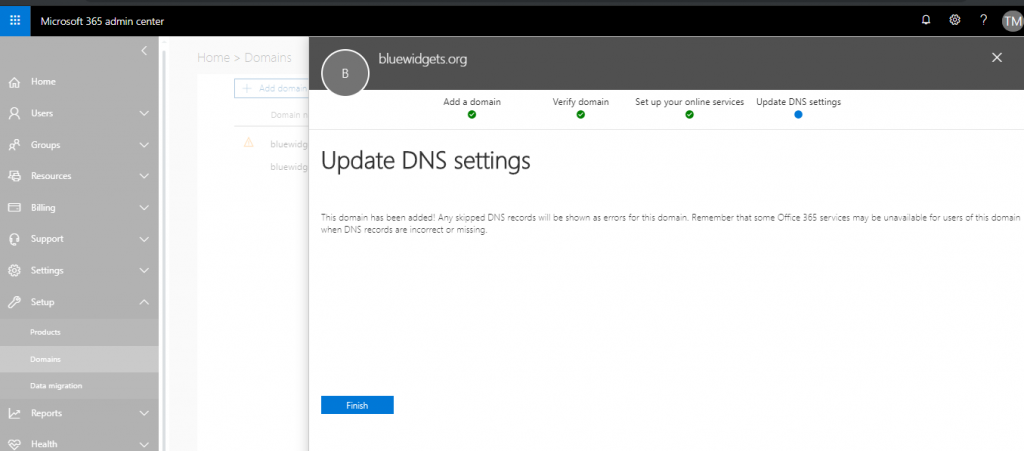
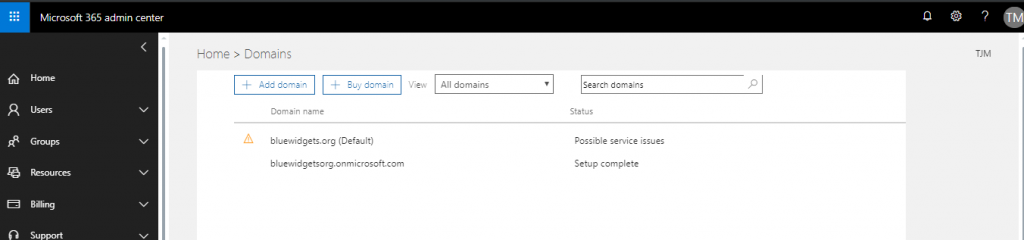
After clicking “Finish,” your new domain will show “Possible service issues” because O365 is still looking for the DNS entries it previously wanted you to add. This is OK to ignore.
Run the Hybrid Configuration Wizard
The Hybrid Configuration Wizard is the software that connects the on-premises Exchange 2019 org to Exchange online. It creates a HybridConfiguration object in the on-prem Active Directory, which stores the hybrid configuration information for the hybrid deployment. This information is then updated by the HCW. The HCW then collects existing on-prem Exchange and AD topology information, O365 tenant data, and Exchange Online configuration data. It then defines organizational parameters and performs several configuration tasks in both the on-prem Exchange org and the Exchange Online org.
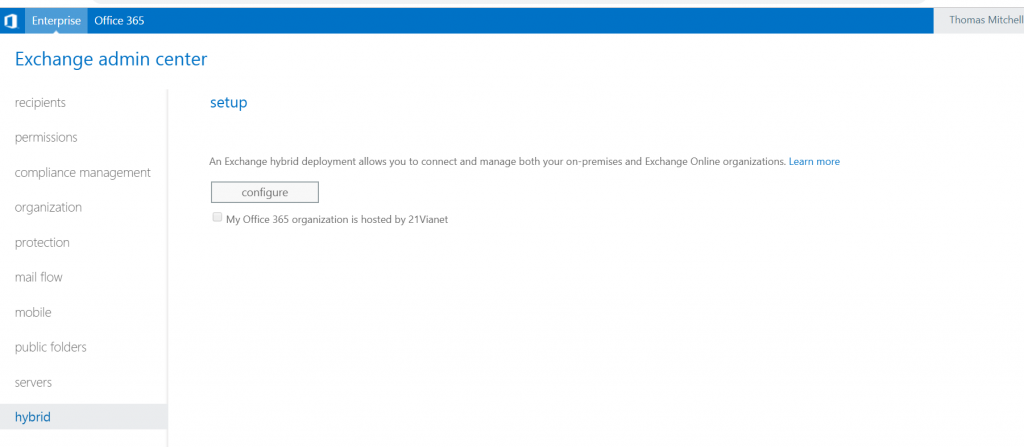
To run the HCW, open the on-prem Exchange Admin Center and click “Hybrid” and then “Configure.”

After clicking “Configure,” you are prompted to sign in to your O365 tenant.

Login with the Global Admin account.

After logging into O365, click “Configure” again to continue the HCW setup and configuration.
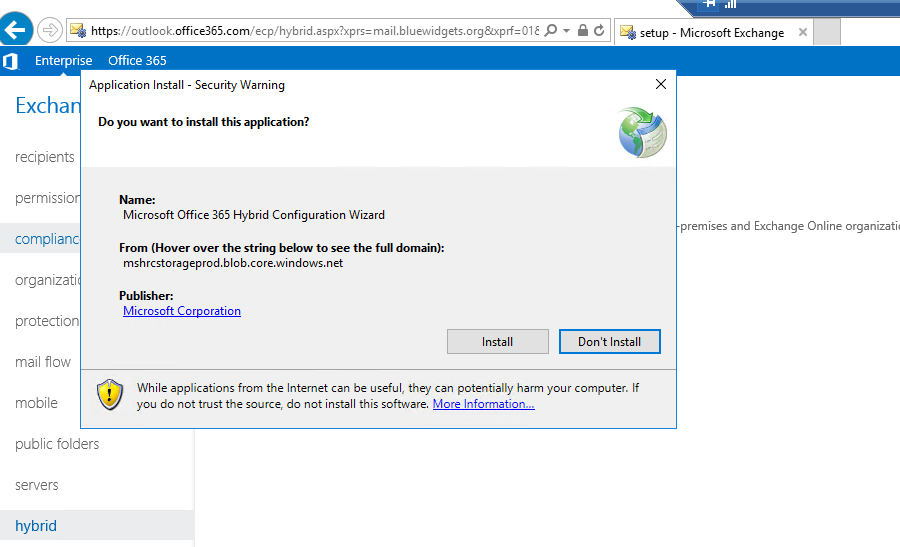
The HCW application is downloaded and then launches.

You will be prompted to specify a server running Exchange. In this lab environment, there is only one Exchange server, so I’ve selected EX01.
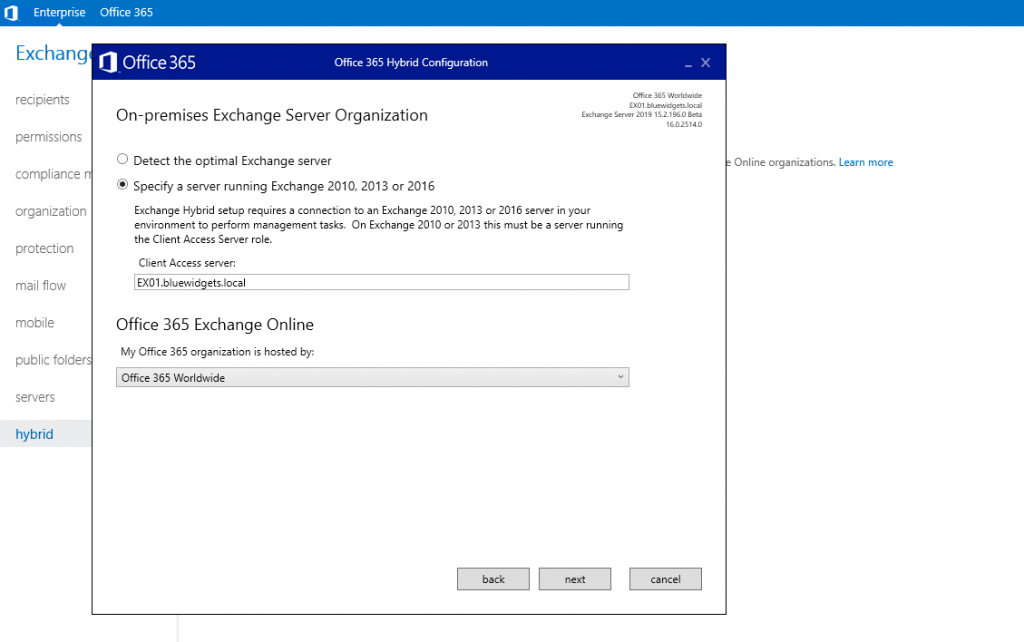
In most cases, you’ll select “Office 365 Worldwide” as the location hosting Exchange Online. After doing so, click “Next” so you can provide login credentials for both the on-prem environment and for the Exchange Online environment.
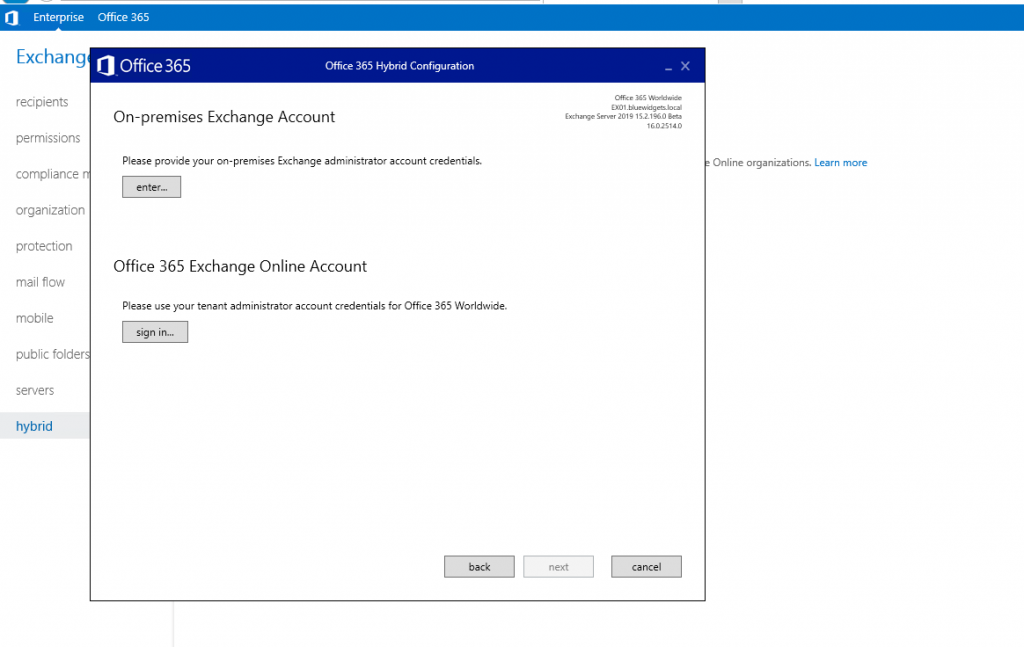
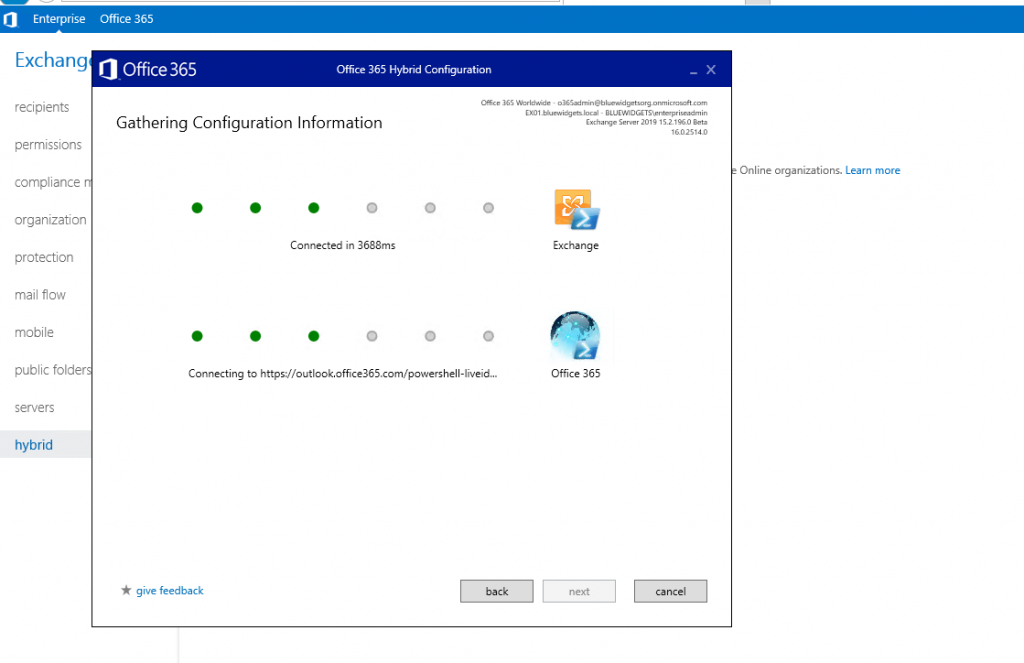
After supplying both sets of login credentials, click “Next” to allow the HCW to gather configuration information for both environments.
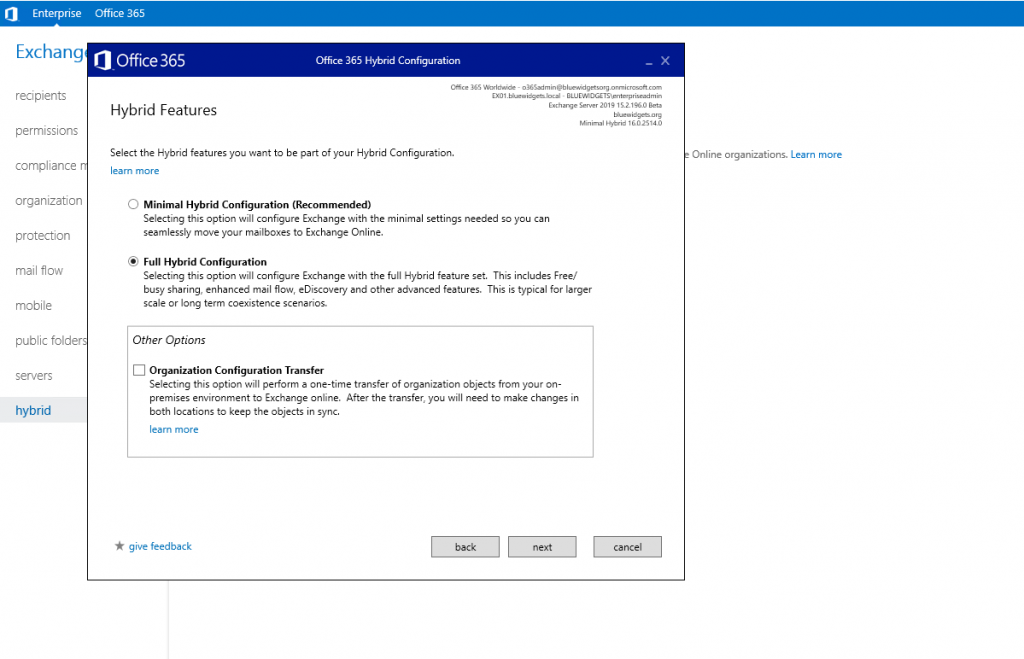
When the collection is complete, you are prompted to choose a hybrid mode. For this tutorial, we are covering a full hybrid solution, so I’ve chosen the Full Hybrid Configuration option.
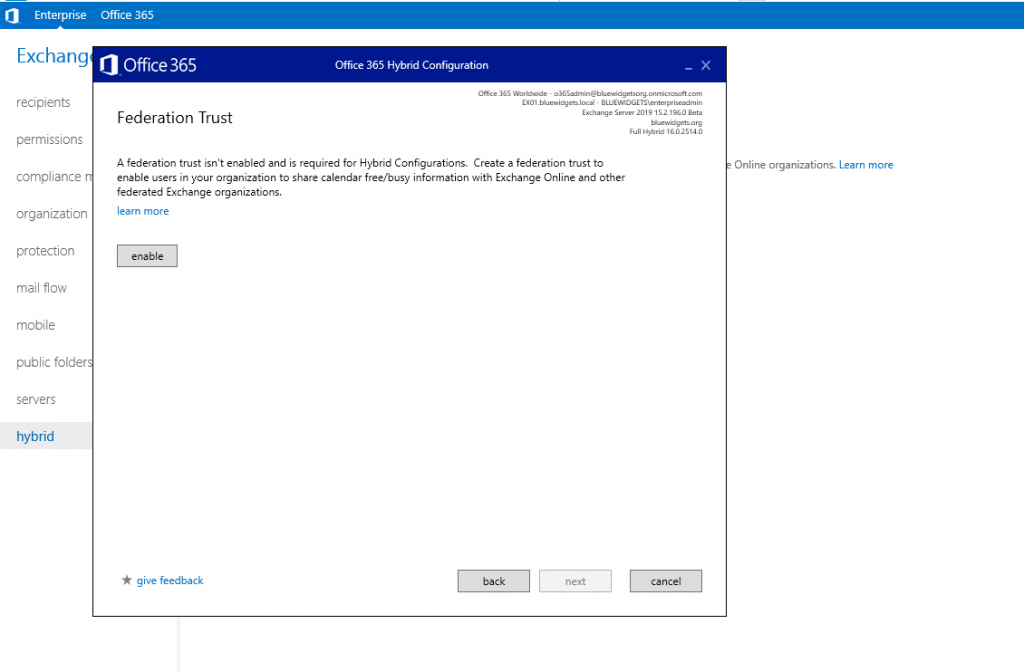
Clicking “Next” takes you to the Federation Trust setup screen when you must click “Enable” to enable a Federation Trust between the two orgs. As a side note, such a trust is NOT necessary when configuring a Minimal Hybrid solution.
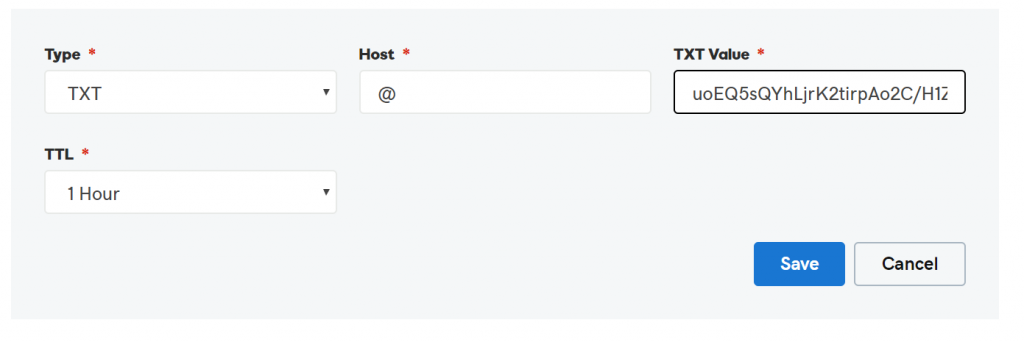
When you enable the Federation Trust, you’ll be prompted to add a TXT record to the public DNS for the email domain. Copy the TXT record value supplied and add it to the public DNS for the email domain.
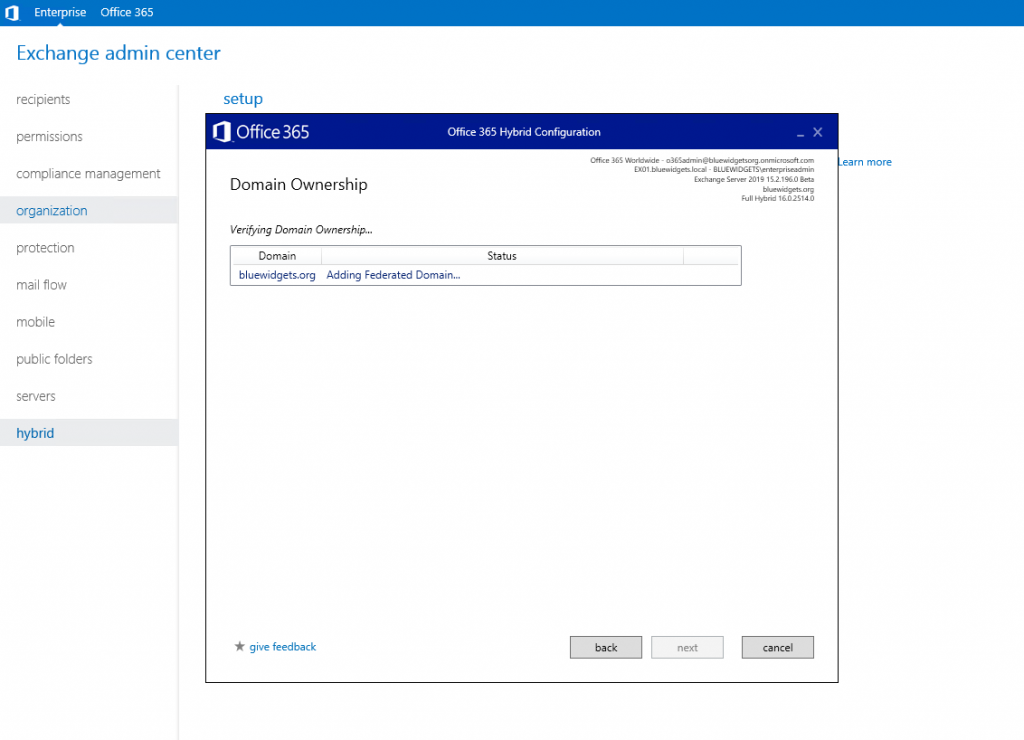
After adding the TXT record to DNS, continue with the Domain Ownership confirmation portion of the Federation Trust setup process.
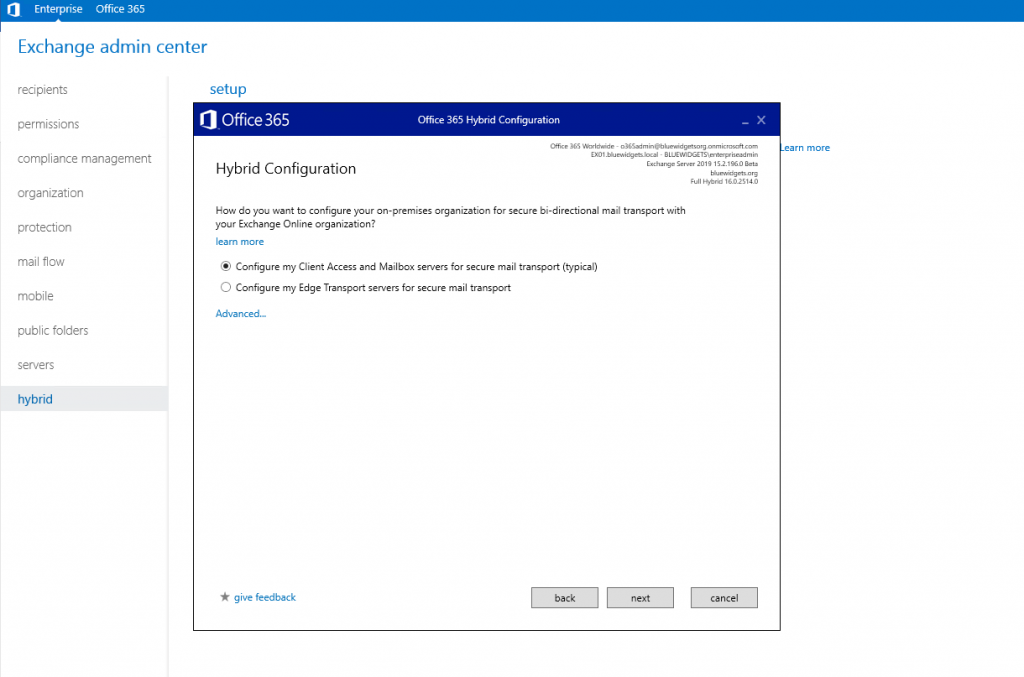
After confirming domain ownership by clicking “Next,” you are prompted to choose a way to ensure secure mail between the on-prem org and Exchange online. You may choose to configure the CAS/MBX servers for secure mail or you can use Edge Transport. The first option is most — and is what we will do for this tutorial (since there is no Edge Transport server in place).
After clicking “Next,” configure a receive connector. You will be prompted to select an on-prem server. I’ve selected EX01 (my only server) in this example.

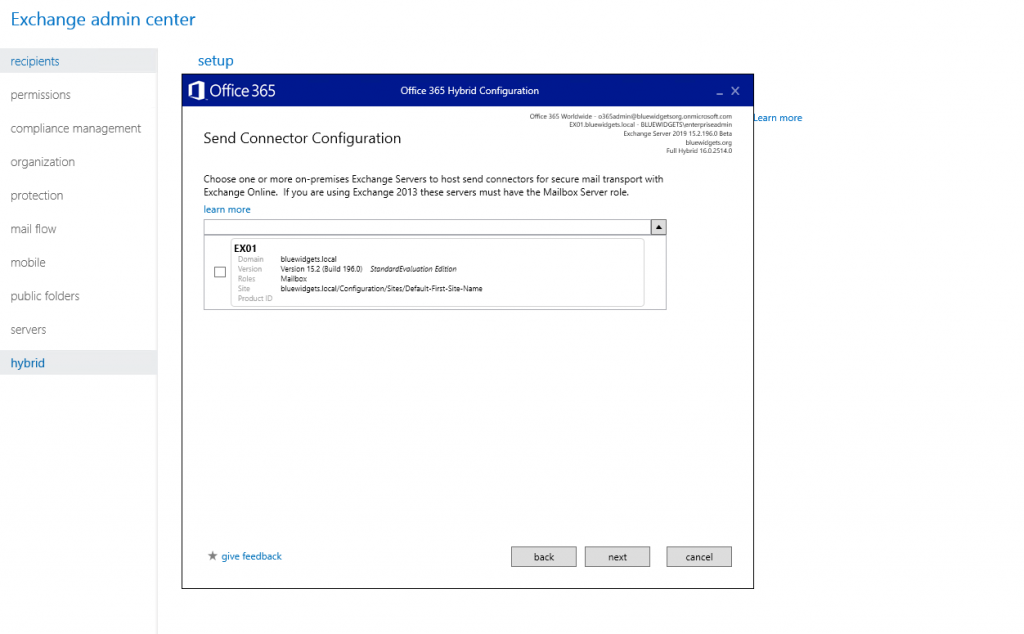
After clicking “Next,” you are prompted to configure a send connector and are, again, asked to choose an on-prem server to host it.
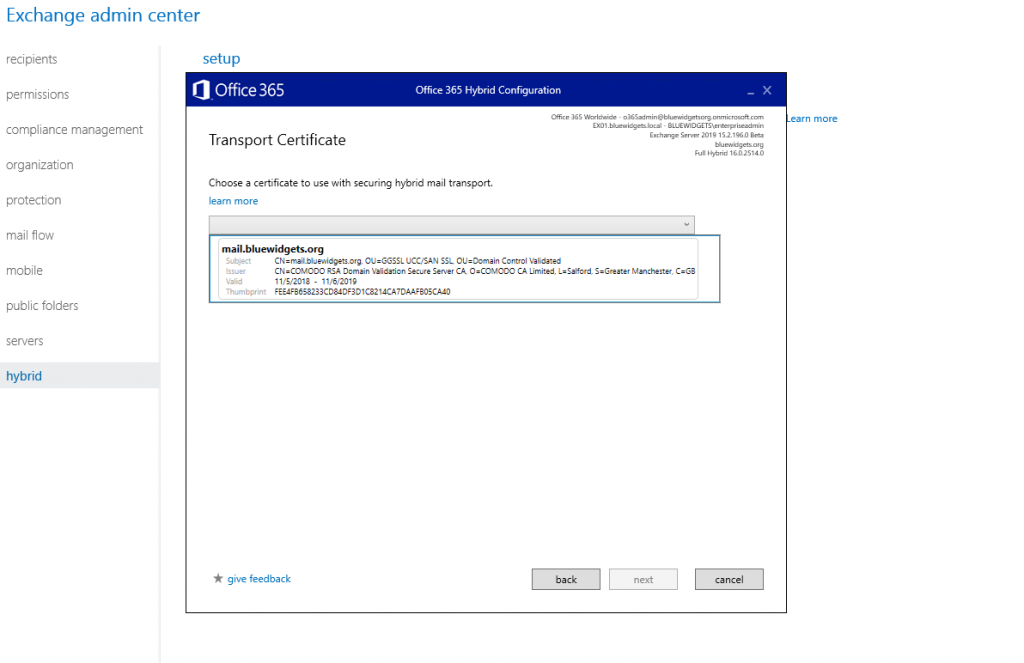
After configuring the send connector and clicking “Next,” you must choose the transport certificate that will be used to secure mail between the organizations. This must be a public cert (typically the one already installed on the on-prem Exchange server).
Clicking next brings you to the Organization FQDN screen, where you must provide a fully qualified name for your on-prem org. I’ve used mail.bluewidgets.org in this example.

Click “Next” to move onto the “Update” page, where you will complete the configuration of hybrid.
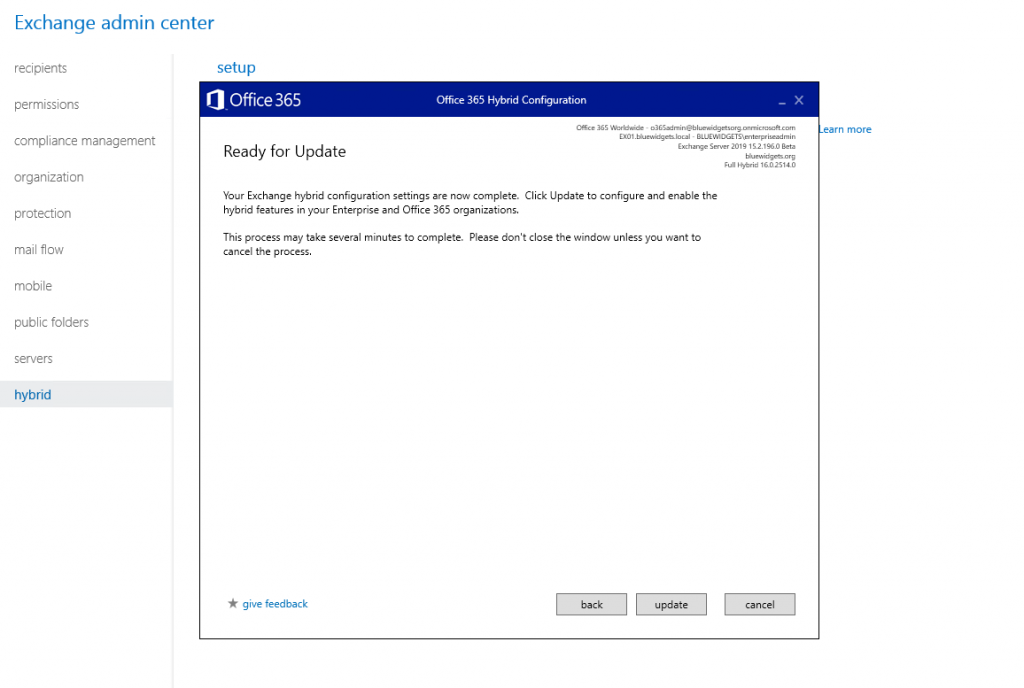
The Hybrid Configuration Wizard will take all of the information that you have provided and complete the hybrid connection setup, making changes as required.
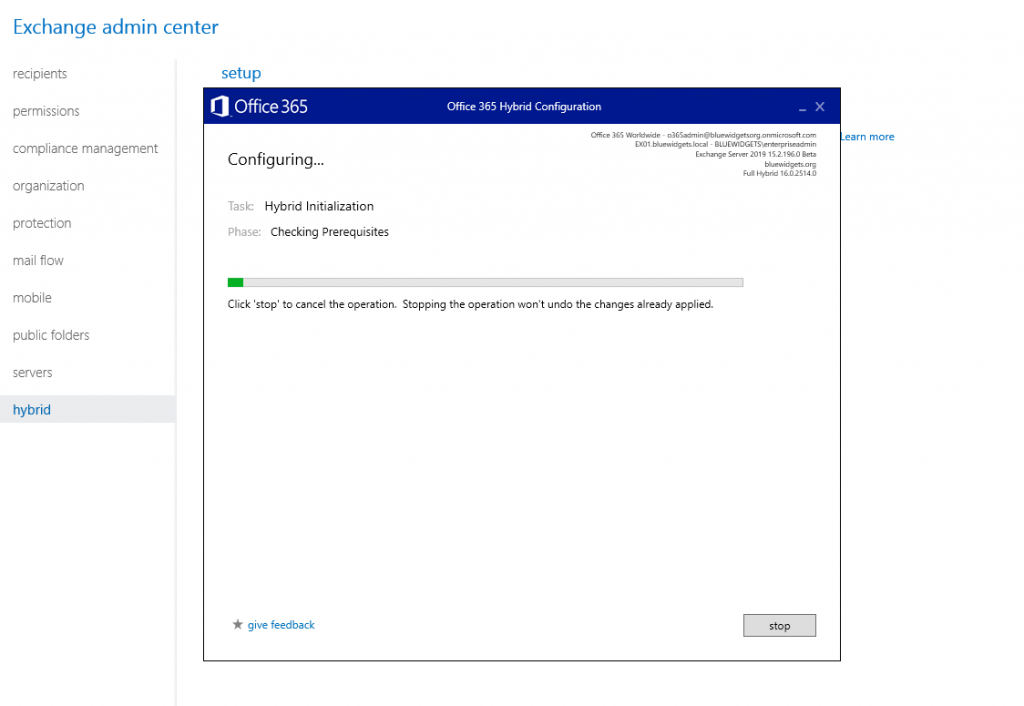
When the process completes, you are greeted with the “Congratulations” screen that indicates the Hybrid Configuration Wizard has successfully created the hybrid connection.
Directory synchronization
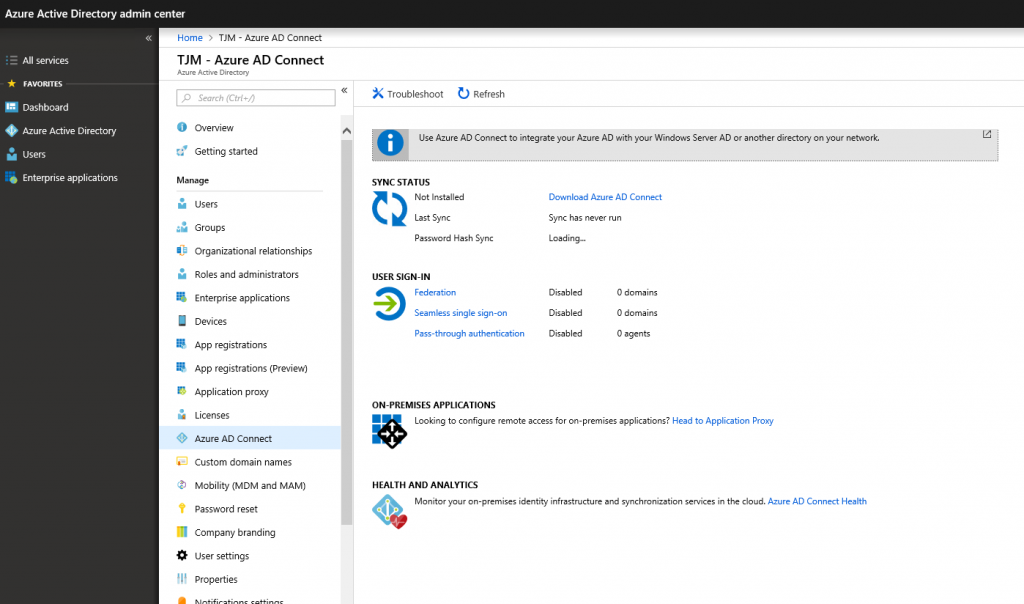
Once the Hybrid Configuration Wizard has completed, you can then setup Azure AD Connect to sync on-prem users to O365. To get started, login to a domain-joined server and browse to the Active Directory Admin Center in the Azure portal. From the portal, download the latest version of Azure AD Connect.
In my lab for this tutorial, I did this from the domain controller. Although this works, my personal preference is to use a separate server specifically for Azure AD Connect. You should do what’s best for your environment.
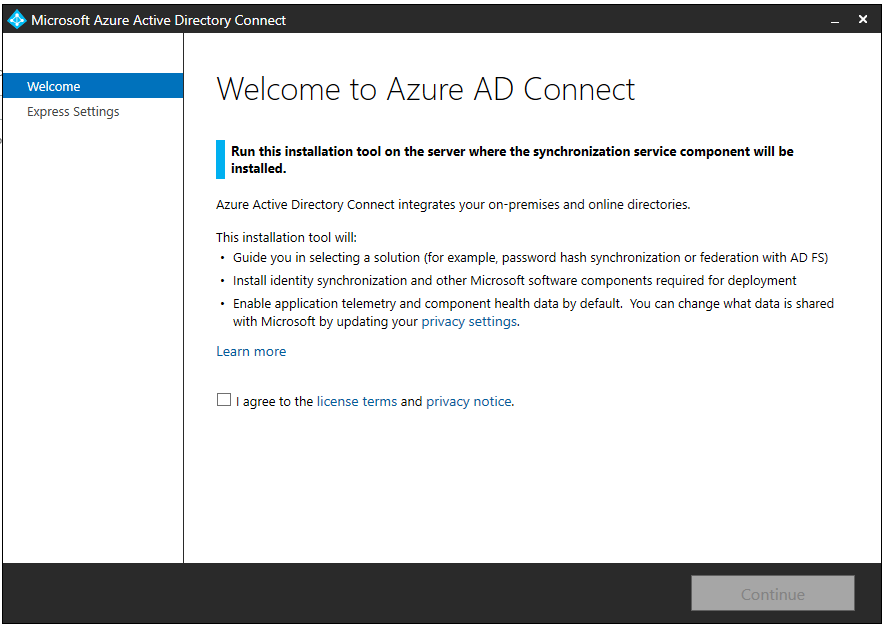
After downloading Azure AD Connect, launch the installer.

Accept the license terms and click “Continue.”
Follow the instructions on-screen to determine whether you should use Express or Custom. Although my lab Active Directory is a single-forest AD, I am using bluewidgets.local, a non-routable domain name, as my AD domain name. As you can see in the screenshot, the Custom option is recommended when using a nonroutable domain name — so in this example, I chose Custom.

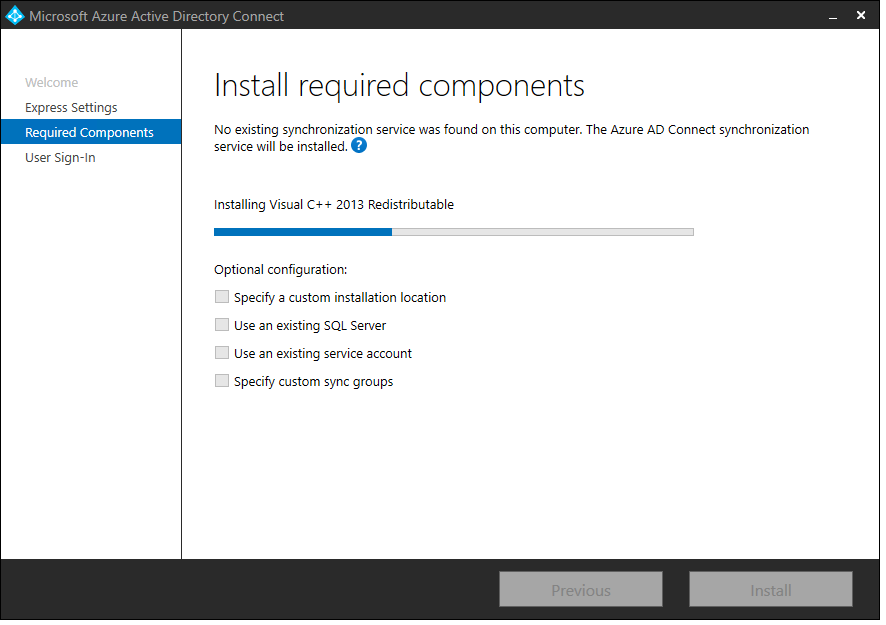
After clicking “Customize,” begin the installation by installing required components. The optional checkboxes can all be left unchecked.

After you click “Install,” the installation begins.
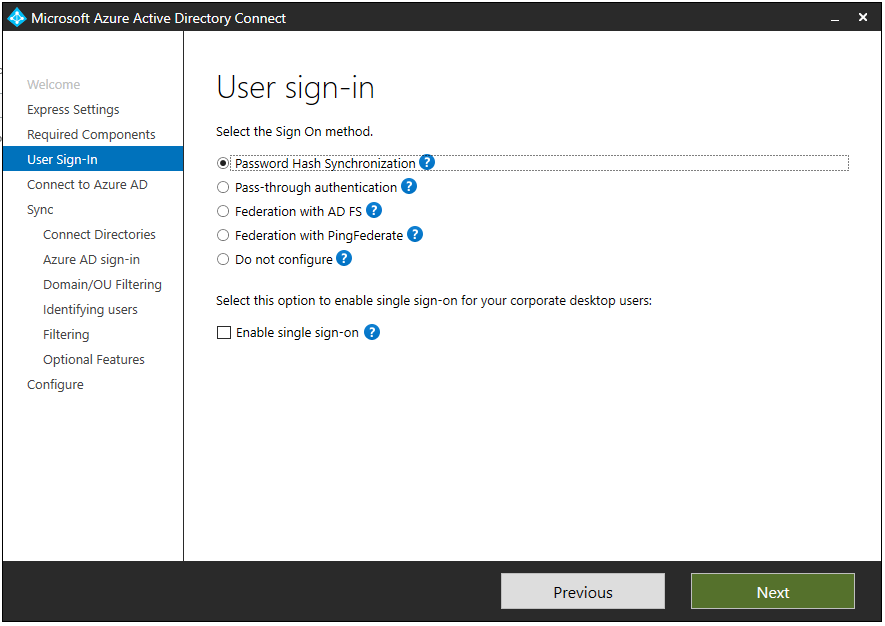
When prompted to choose a sign-in option, select Password Hash Synchronization and click “Next.”
After clicking “Next,” you are prompted to connect to Azure AD by providing Global Admin credentials. Do so and then click “Next.”

After Azure AD Connect connects to Azure AD, you are prompted to connect to the on-prem org. Do so by providing an Enterprise Admin account. In my lab, I opted to allow Azure AD Connect to create a service account for me by selecting the first radio button.
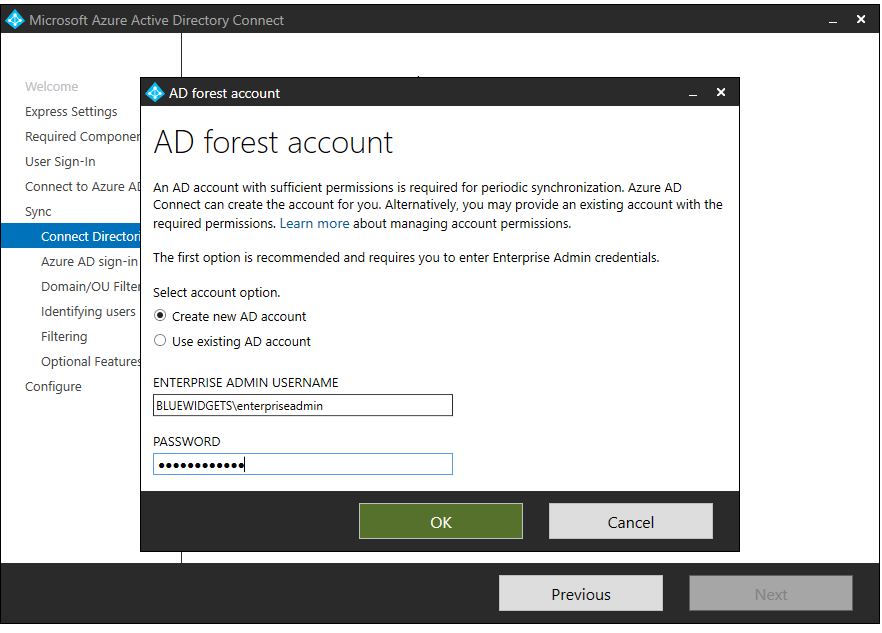
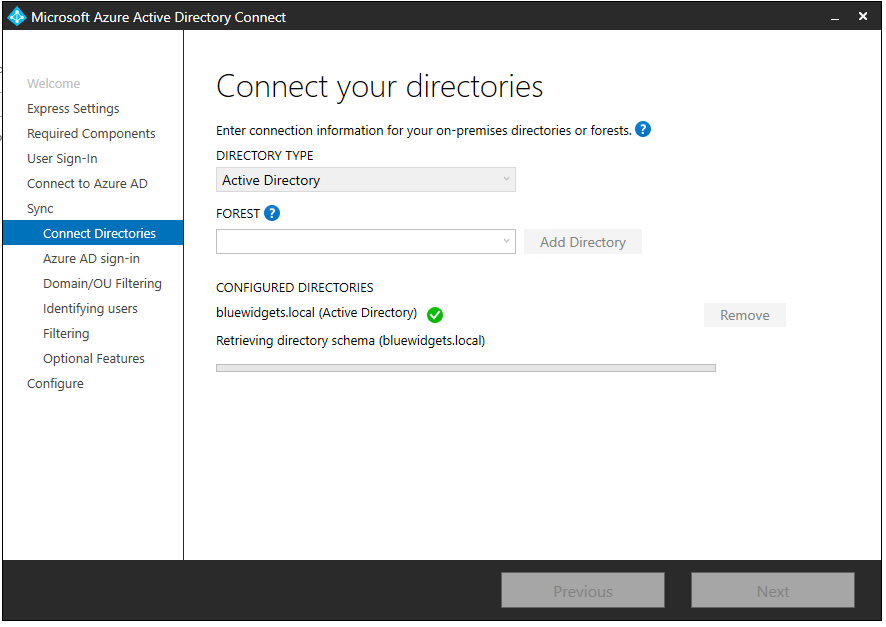
After providing admin credentials for both environments, click “Next” to connect the directories.
Once the directories are connected, you are taken to the “Azure AD Sign-In” screen. If your on-premises AD uses a nonroutable domain name (.local, for example), you’ll see a notification that not all domains have been added (and the .local will be called out). As long as the domain listed with the alternate UPN suffix is showing as “Verified,” you can continue.

/You will need to confirm that you are OK with the UPN suffix mismatch by checking the box and then clicking “Next.”
After clicking “Next,” configure Domain/OU Filtering by either syncing all domains and OUs or by filtering them. For this tutorial, I’ve chosen to sync just the “Employees” OU. I chose to do so to prevent sync of unnecessary accounts to O365 (ie. service accounts and such).

After selecting which OUs to sync, click “Next” to specify how users should be identified in the on-prem AD.

For this lab, I just left the options at their defaults (and you should also be able to do so in most cases as well). Click “Next” to move onto the group filtering settings.
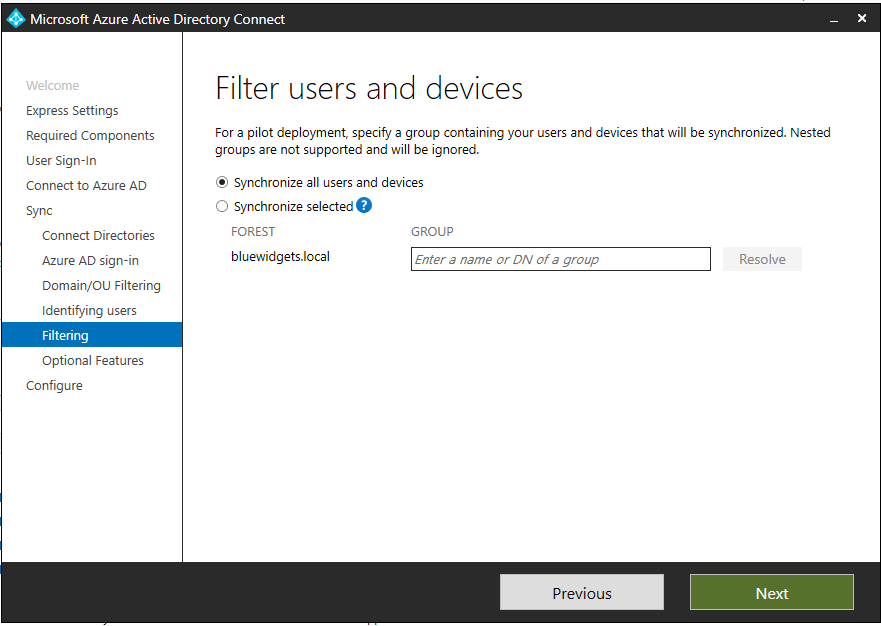
The filtering option offers the ability to limit synchronization to a specific group of users. This is helpful for piloting. For this tutorial, I skipped over group filtering since I was already filtering on a specific OU.
Click “Next” to move on to optional features.
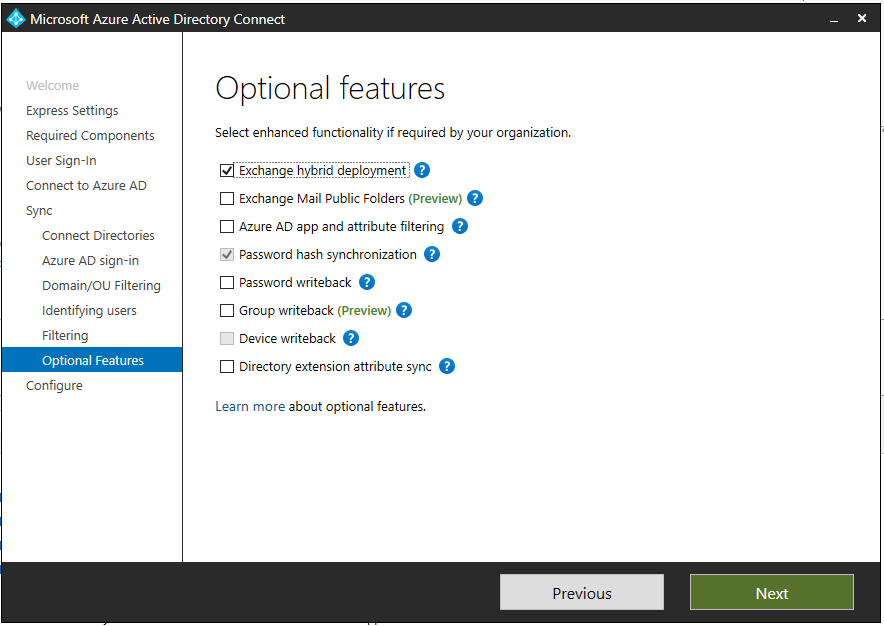
When configuring the Optional Features, check the “Exchange hybrid deployment” checkbox and leave everything else unchecked. Obviously, if you wanted to enable other features, such as password writeback, you would enable those — but those options are outside the scope of this tutorial.
Click “Next.”
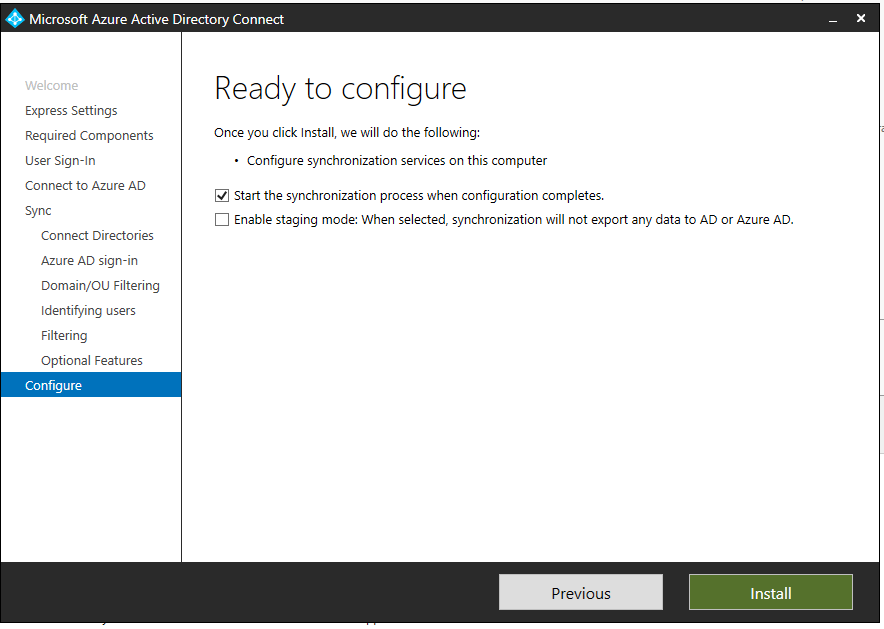
When you arrive at the “Ready to Configure” screen, ensure the “Start sync” box is checked and then click “Install.” Azure AD Connect will complete configuration and it will perform a sync of selected OUs to O365.
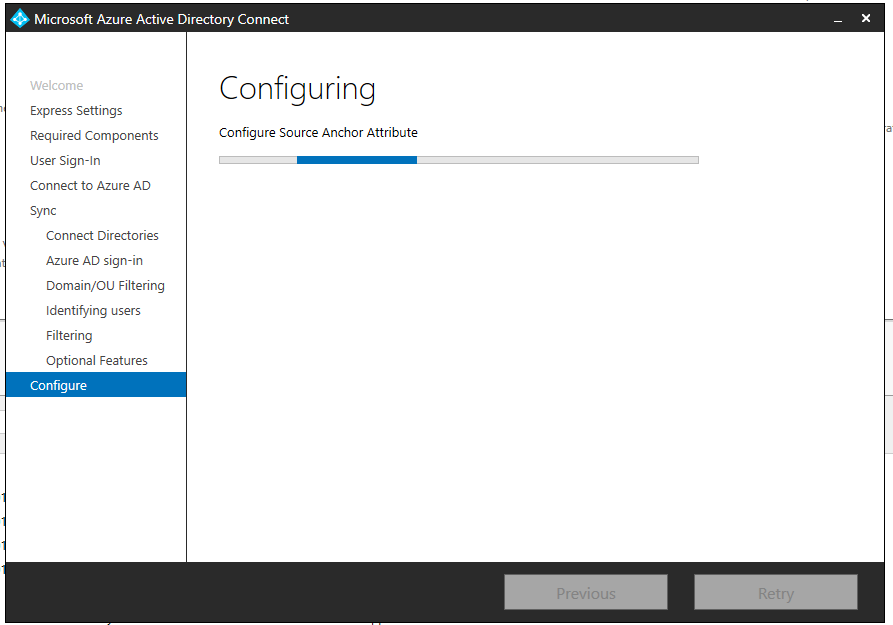
When configuration completes, you are presented with a “Success” screen that provides an overview of settings.
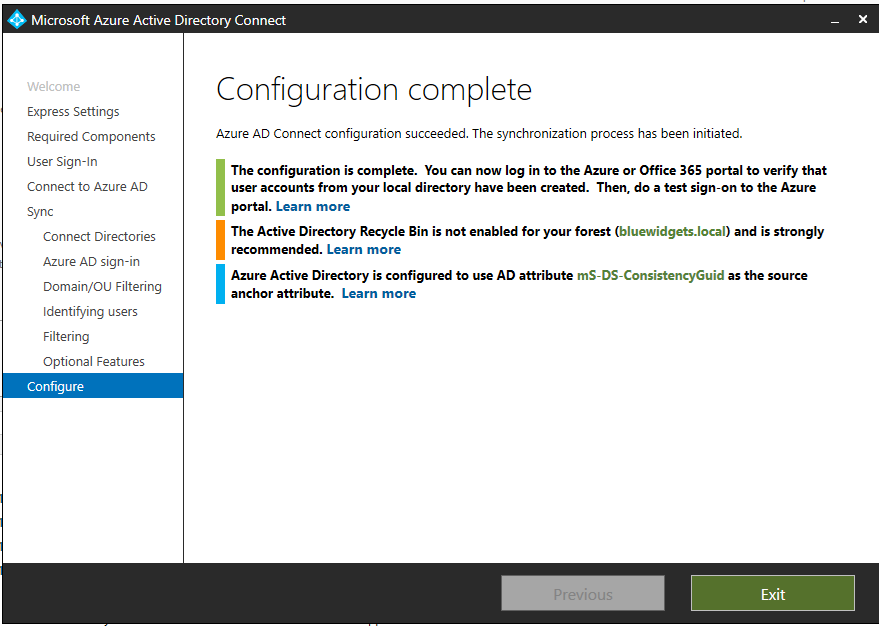
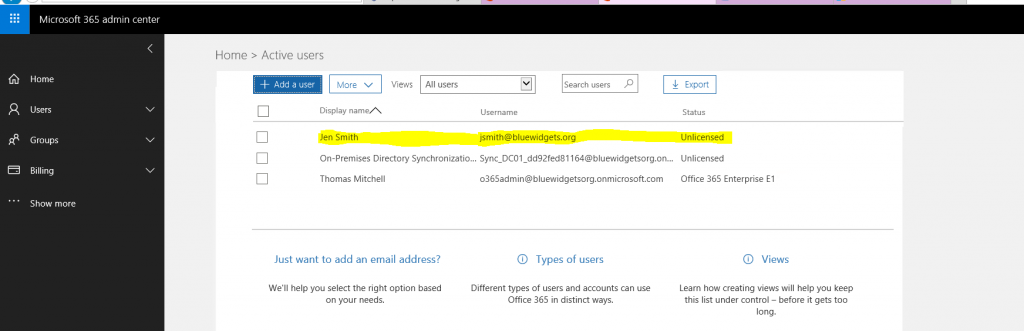
If you switch over to the O365 tenant, you can confirm that your users have been synchronized into O365 as expected.
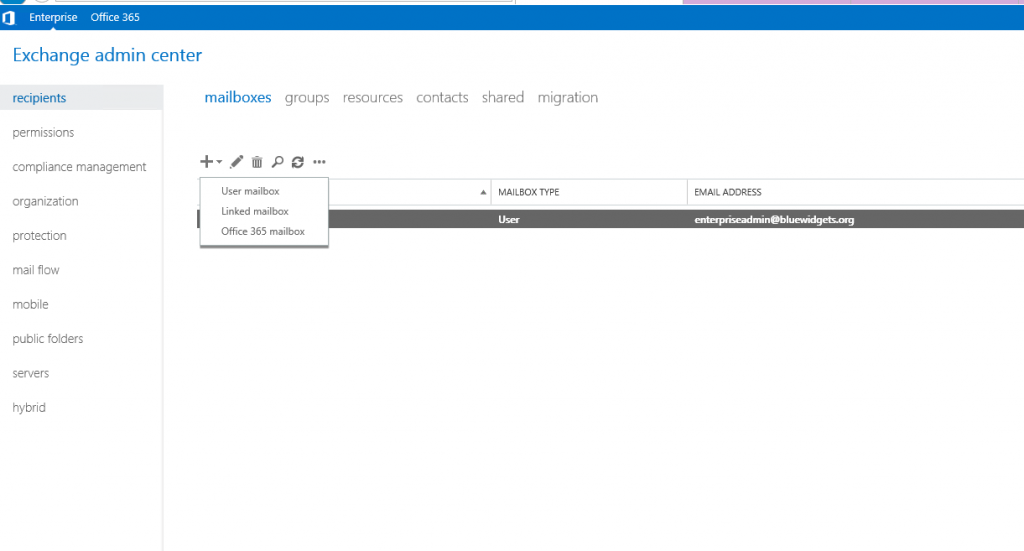
You can further test your hybrid configuration by opening the Exchange Admin Center for the on-premises environment and provisioning a mailbox. When you click on “Recipients” and then the “+” sign to create a new mailbox, you should now see “Office 365 Mailbox” as an option. This allows you to create an on-prem user that uses a mailbox hosted in O365.
Optional configuration
Once you’ve confirmed the hybrid is working as expected, you can modify your DNS records (the ones that you skipped at the beginning of this tutorial) so that autodiscover and MX records point directly to Exchange Online / O365, instead of the on-prem Exchange environment. However, if you decide to do this, make sure you modify both internal and external records for autodiscover. There should only be an external MX record.

These DNS changes should only be completed if you are migrating your on-prem mailboxes to O365 — and should only be completed after all mailboxes have been migrated.
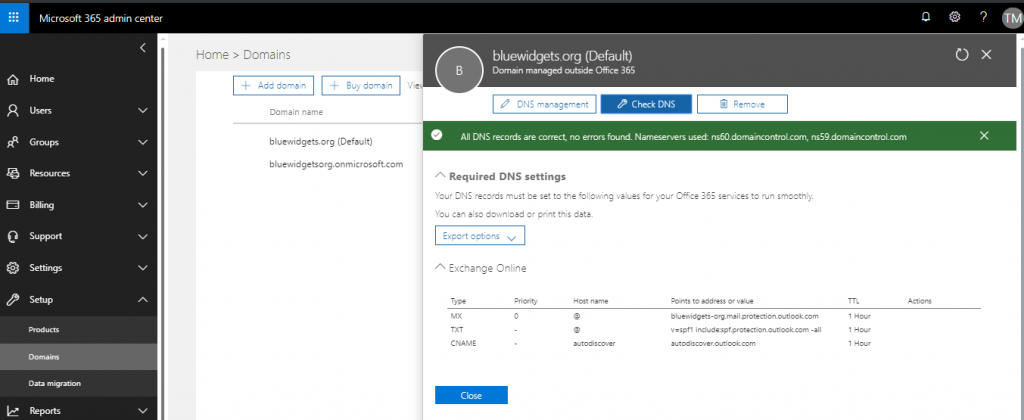
If you choose to make these DNS changes, select “Exchange” and make the DNS changes that are presented to you.
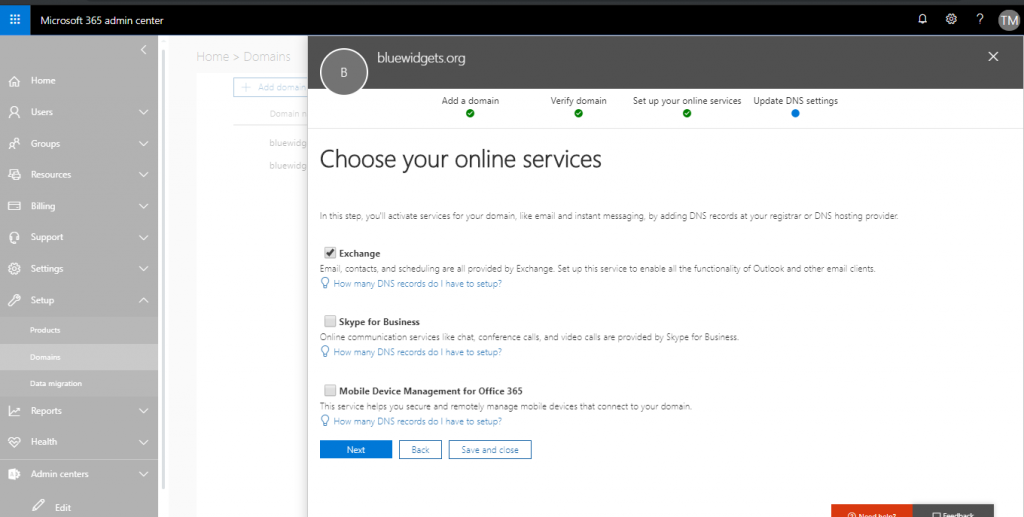
After making the changes, click the “Check DNS” button to ensure you’ve made the proper changes.
Summary
The overall process for deploying a hybrid solution, essentially, consists of just a few main steps. These steps include:
- Provision O365 Tenant
- Add and Verify Domain in O365
- Run Hybrid Configuration Wizard
- Deploy and Configure Azure AD Connect
- Modify Remaining DNS (optional)
The process sounds scary but after you’ve done one or two hybrid deployments, it becomes apparent that the process isn’t nearly as scary as it looks.


I believe you would’ve installed Exchange 2019 on Windows 2019 and not Windows 2016, as 2016 not supported?
Also, based on my reading, you cannot get a hybrid key for Exchange 2019, and that to use it for hybrid purposes you would need a volume licence Exchange key, or you would need to use Exchange 2016 for hybrid. Is your understanding correct?
Hi Chas… The Exchange 2019 server that is used in this lab/demo was actually built on Windows 2016 Core a few months ago, prior to Microsoft’s published Windows Server 2019 requirements. You are correct however – moving forward, Windows 2019 is the published OS “requirement” for Exchange 2019. As far as the hybrid license goes, this particular tutorial assumes that you will actually host mailboxes on prem and in O365, meaning a full Exchange license would be required.
Chas,
Is it possible to remove the on-prem servers later which have the mailbox roles and add an on-prem exchange server with management roles only.
So all mailboxes are in off365 and we have an exchange server on-prem with just management role (no mailbox or CAs roles). Is this a supported configuration
Hi Thomas,
Just wondering if this guide is setting up a Classic Full Hybrid, or Modern Full Hybrid environment.
Apparently I need to be setting up Classic Full Hybrid as we want Microsoft Teams access to on-premises calendar’s, etc.
What amazing article, itis really helpful