If you would like to read the next part in this article series please go to Getting Started with ESXi 5 (Part 2) – Create your first virtual machine.
Introduction
Getting going with a lab installation of ESXi 5 isn’t too hard and is the topic I’ll be presenting in this article. After all, before you take the plunge and migrate your production environment to ESXi 5, I assume you’ll play with it in your lab first. Or, if you’re just getting your feet wet with VMware, you’ll need to gain an understanding for how the software operates.
If you’re interested in learning about some of the new features that are available in ESXi 5, I’ve written two articles on the subject here at virtualizationadmin.com:
Before you get started, make sure you understand that the free version of vSphere Hypervisor (the official name for the free ESXi 5) has some limitations:
- Has a limited vRAM entitlement of 32 GB for the server. This is probably the biggest limiting factor.
- Cannot be managed with vCenter due to the free product’s lack of a vCenter Server Agent. You must use the vSphere Client, which we’ll be installing as a part of this article.
For more information about the free VMware vSphere Hypervisor, visit VMware’s information page.
In this article, you’ll walk though a complete installation of ESXi 5 and the vSphere Client. In part 2, we’ll go through the process of creating your first virtual machine. I’m making the assumption that you have a server that you can use for this purpose and that the server meets VMware’s relatively strict hardware requirements. For my purposes, I’m installing ESXi 5 to a VMware Fusion-based virtual machine on my Mac in order to ease the process of getting screenshots – and there are many screenshots in this article.
To get started with your installation of ESXi 5, insert the ESXi 5 disc into your server and start it up. In my installation, I’m installing ESXi 5 under Fusion. Obviously, this is for demonstration purposes only.
In Figure 1 below, you’ll see the first screen that greets you when you start your server. From this menu, choose the first option to start the ESXi 5 installer.
Figure 1: ESXi 5 boot menu
Once you choose the installation option, the installer provides you with a window that details the status of each file that needs to be loaded. Figure 2 shows you this screen. After that, you’re greeted with a familiar screen that shows you some information about your server, including the processor type and system RAM. The target machine for my sample installation is a virtual machine running on my Mac, hence the relatively minimal hardware configuration. You can see this screen in Figure 3.
Figure 2: Installer load status
Figure 3: Yet another boot screen!
With the preliminaries out of the way, the ESXi 5 installer truly kicks off with a welcome screen containing information regarding VMware’s Compatibility Guide. To continue with the installation process, press Enter.

Figure 4: Kick off the ESXi installation
Of course, no installation would be complete without having to accept an end user license agreement. To accept the agreement as a part of the installer, press F11. If you don’t accept the agreement, press Escape to abort the installation. You can see this screen in Figure 5.

Figure 5: ESXi 5 end user license agreement
A location to which to install ESXi 5 is the first technical decision you have to make. In Figure 6 below, you can see that I have a single 40 GB volume from which to choose as an install location on my machine.
Figure 6: Choose an installation location for ESXi 5
Next up, as shown in Figure 7, choose your keyboard layout. I’m sitting smack in the middle of Missouri, USA, so I’ve chosen the US Default option.
Figure 7: Choose your keyboard layout
The root password on your ESXi 5 system is the key to your virtual kingdom, so choose with care. Make sure you provide a strong password. As you can see in Figure 8, you have to provide the password twice to make sure you don’t include any typos.
Figure 8: Provide a password for the root user account
The ESXi installer now scans your system to get additional information (Figure 9). Once that’s complete, you’re asked to confirm the installation by pressing the F11 button (Figure 10). Once you initiate the installation, your selected disk will be repsrtitioned. Throughout the process, the installer provides you with an installation status like the one shown in Figure 11.

Figure 9: Gathering additional system information
Figure 10: Confirm the installation

Figure 11: Installation status
When the installation process has finished, you’ll get a message indicating such (Figure 12).
Figure 12: Installation is complete
The last screen you’ll see is a yellow and gray one like the one shown below. Take note of the IP address on the screen.
Figure 13: ESXi 5 server display
Install the vSphere Client
With the ESXi 5 installation complete, turn your attention to preparing the administrative tools you’ll need to work with your new server. Start this phase of your journey by pointing your web browser at the IP address shown in Figure 13 and downloading the vSphere 5 client software. Execute the client software installation routine and provide an answer to the first question you’re asked: What language would you like to use for the installation?`

Figure 14: Choose an installation language
The first four screens of the installer don’t add much technical value, but you need to run through them in order to proceed with the installation:
- Welcome screen (Figure 15). Click the Next button to proceed.
- Patent agreement (Figure 16). If you like, read through the patent information and click the Next button to proceed.
- License agreement (Figure 17). Decide whether or not you agree with the license terms and, if so, click Next.
- Customer information (Page 18). Provide a user and organization name for the installation.

Figure 15: vSphere Client installation welcome screen
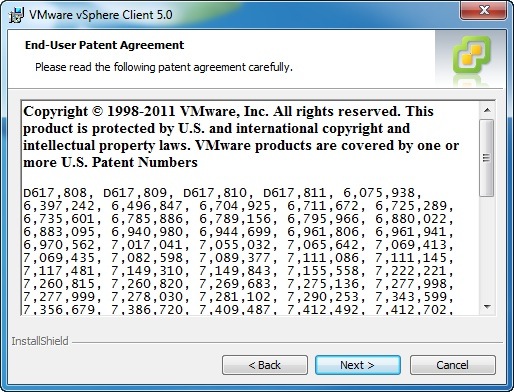
Figure 16: Patent agreement
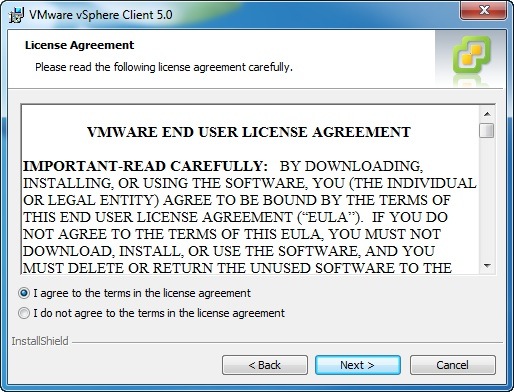
Figure 17: End User License Agreement
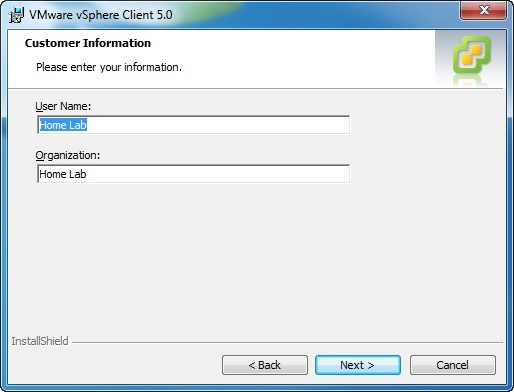
Figure 18: Provide customer information
On the Destination Folder step, shown in Figure 19, choose a location to which to install the vSphere Client. The default installation location is C:\Program Files\VMware\Infrastructure. If you’d like to choose a different location, click the Change button and provide one.
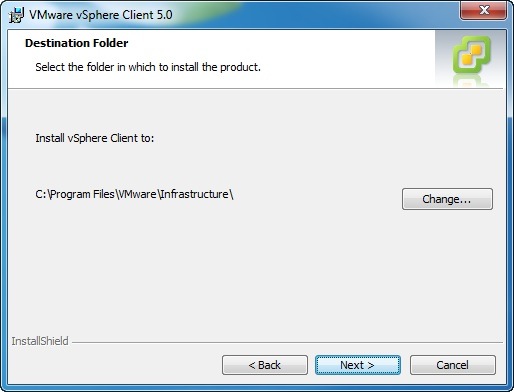
Figure 19: Installation location
Once you’ve made your selections, you’re presented with one final screen on which you need to click the Install button to proceed with the installation.
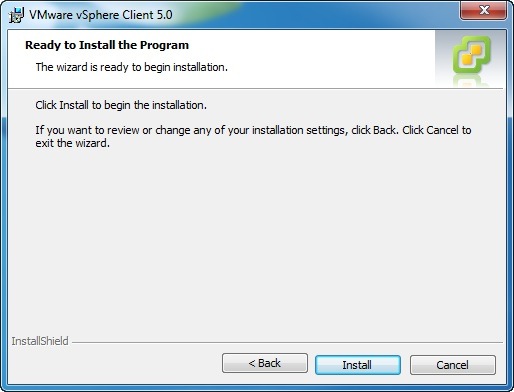
Figure 20: Perform the installation
Once complete, click the Finish button on the Installation Completed screen shown in Figure 21.
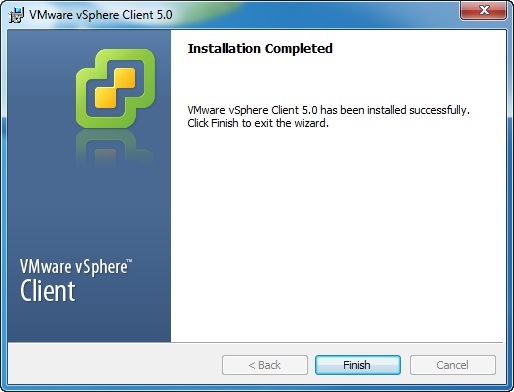
Figure 21: Click the Finish button to complete the process
Summary
Obviously, this installation is taking place for a small environment since we’re using the vSphere Client without vCenter. In the next part of this series, we’ll go through the installation of a single virtual machine.
If you would like to read the next part in this article series please go to Getting Started with ESXi 5 (Part 2) – Create your first virtual machine.


