In a recent article, I explained how you could try out the Windows 11 preview within a Hyper-V virtual machine. Even though getting the Windows 11 preview installed can be a little bit of a trick, installation is never the ultimate goal. The real goal is to kick the tires and try out Microsoft’s latest operating system to see how well it works. With that in mind, I was curious to try out the Windows 11 version of Hyper-V, but I didn’t have any spare hardware that I could use for the project. As such, I used virtual machine nesting to install Hyper-V inside of a Windows 11 virtual machine. In this article, I will show you how it’s done.
I will assume that you already have Windows 11 up and running inside of a Hyper-V VM. If not, go ahead and install Windows 11 as described in my previous article. Once you have successfully created a Windows 11 VM, go ahead and shut it down.
Prepare the VM
The first thing that I recommend is taking a few minutes to review the virtual machine’s settings and make sure that they are suitable for use with Hyper-V. Remember, any virtual machines you create inside the Windows 11 virtual machine will only have access to the hardware resources allocated to the Windows 11 VM. As such, it’s a good idea to make sure that the Windows 11 VM has plenty of memory and virtual processors assigned to it.
To review the settings, right-click on the Windows 11 VM and choose the Settings command from the shortcut menu. This will reveal the virtual machine’s settings page. You can see the memory settings in the image below. The processor settings are located just beneath the Memory tab on the left side of the dialog box.
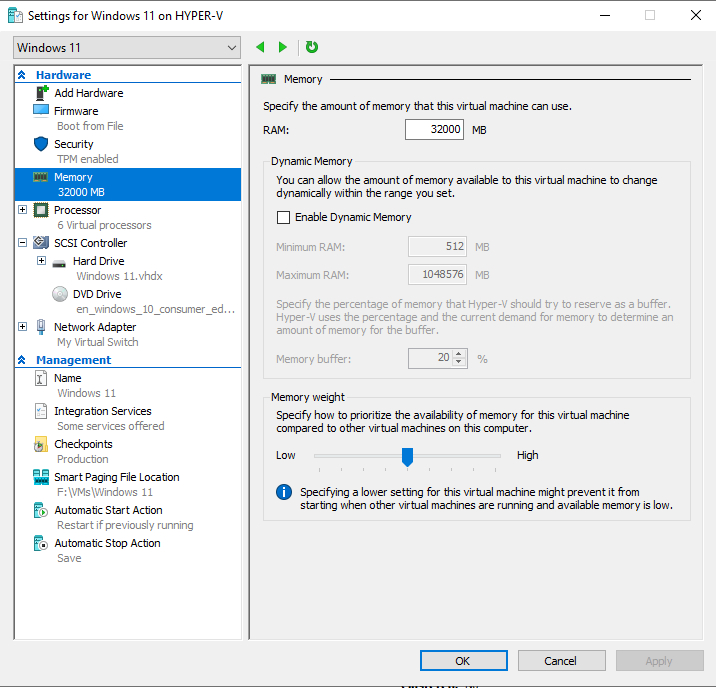
Unfortunately, I can’t tell you exactly how much memory or how many virtual CPUs to allocate to the virtual machine because the appropriate amount will vary based on your own needs. In my case, I allocated 32GB of memory and six virtual CPUs.
Enable nested virtualization
Once you have verified that plenty of hardware resources have been allocated to your Windows 11 virtual machine, the next step in the process is to enable nested virtualization. To do so, you are going to need to open an elevated PowerShell window.
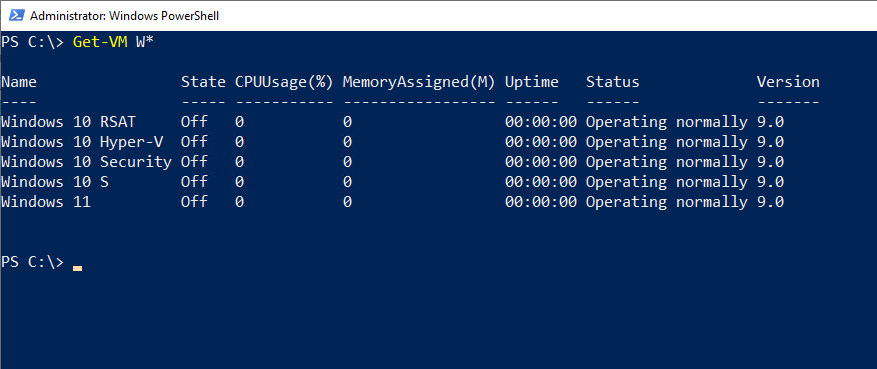
The first thing you will need to do is get the exact name of your Windows 11 virtual machine. If you don’t already know the name, you can use the Get-VM cmdlet to retrieve a list of virtual machines. In the image below, I entered Get-VM followed by W* to retrieve a list of all of the virtual machines whose names start with a W. The name of my Windows 11 virtual machine is “Windows 11.”
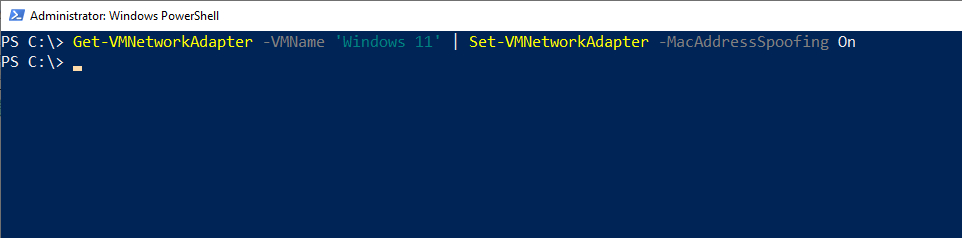
Once you know the virtual machine name, the next thing that you will need to do is to enable MAC address spoofing for the virtual machine. This will allow any nested VMs that you create to be able to communicate across the physical network. The command you will need to use is:
Get-VMNetworkAdapter -VMName <VMName> | Set-VMNetworkAdapter -MacAddressSpoofing On
In this command, you will need to replace <VM Name> with the actual name of your virtual machine. You can see what this looks like in the following image.
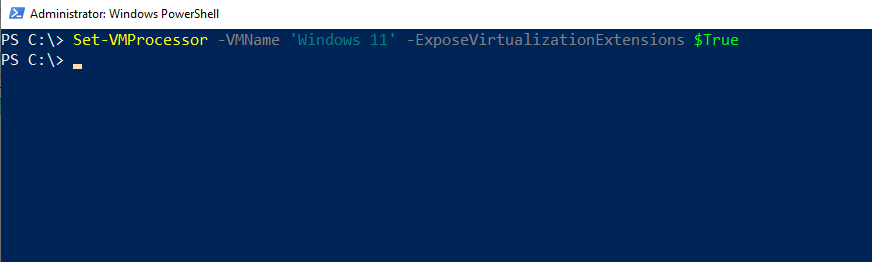
Before restarting the VM, the final thing you need to do is expose the virtualization extensions to the virtual machine. Here is the command. Again, be sure to substitute your virtual machine name for <VM Name>.
Set-VMProcessor -VMName <VM Name> -ExposeVirtualizationExtensions $True
Here is what the command looks like:
Install Hyper-V
Now that you have performed all of the necessary low-level configuration tasks, it is time to install Hyper-V. Go ahead and boot the Windows 11 virtual machine and log into it. You can also close PowerShell.
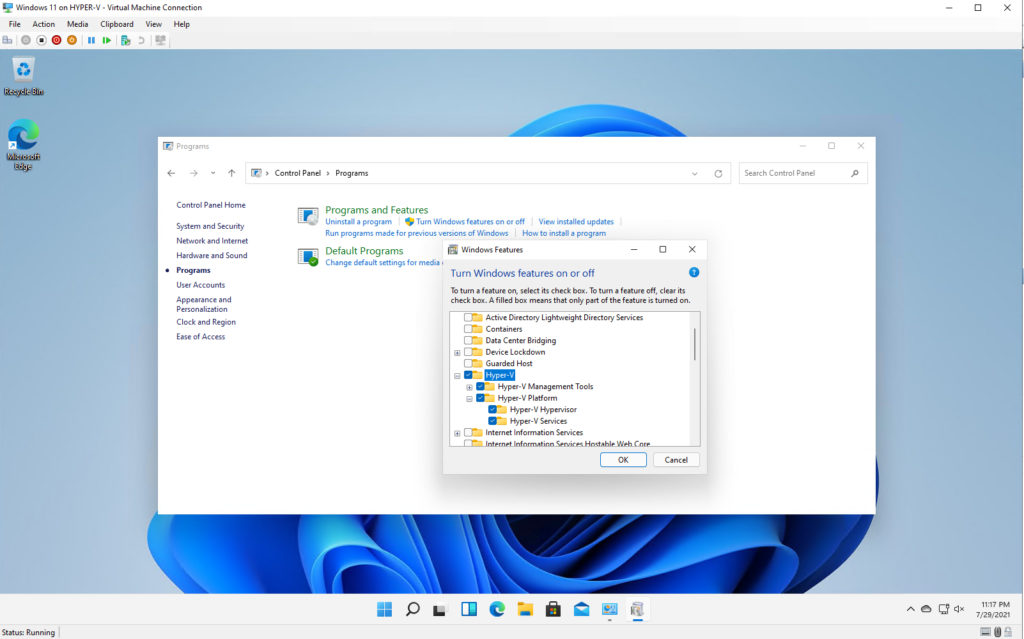
Upon logging into the VM, right-click on the Start button and then click on the Run command. Enter the word “Control” at the Run prompt to access the Windows Control Panel. Next, click the Turn Windows Features On or Off link. This will cause Windows to display a list of all of the available features. Select Hyper-V and all of its subcomponents, as shown in the image below. Click OK to install Hyper-V.
When the installation process completes, you will need to reboot the Windows 11 virtual machine. When the reboot completes, you can access Hyper-V by clicking on the Windows 11 Start button and then clicking the Apps button in the upper right corner of the Start menu. When the list of apps appears, click on Windows Tools. When the Windows Tools screen appears, click on Hyper-V Manager. Incidentally, if you look at the image below, you can see that Hyper-V Manager now has its own icon. However, you can still access Quick Create through the Hyper-V Manager.

As you can see in the next image, I have successfully created and launched a Hyper-V virtual machine inside of a Windows 11 virtual machine. In doing so, I spent some time exploring the Hyper-V Manager and its various options to see if I could find anything new. As it stands now, I do not really see any difference between the Windows 10 and Windows 11 versions of Hyper-V. However, I have not done an exhaustive side-by-side comparison of the two.

And, as you can see above, Hyper-V is running inside of a Windows 11 virtual machine.


